Drawstring Bag Logo Placement and Print Size Guide
A logo that looks centered on a flat artwork file can rise into the gathers when the bag closes, lean toward a side seam after filling, or disappear behind the wearer's arm. That is why drawstring bag logo placement should be engineered from the finished bag—not guessed from the cut panel.
This guide shows buyers, designers and sourcing teams how to establish a usable print zone, select a logo size, document coordinates, approve a sample and inspect bulk production. It applies to promotional drawstring backpacks, retail pouches, cotton or canvas sacks, polyester gym bags, non-woven packs and gift pouches. The dedicated small-pouch placement section below addresses jewelry, beauty and gift packaging in particular. For available constructions and customization routes, start with LUCKYSTAR's custom drawstring bags.
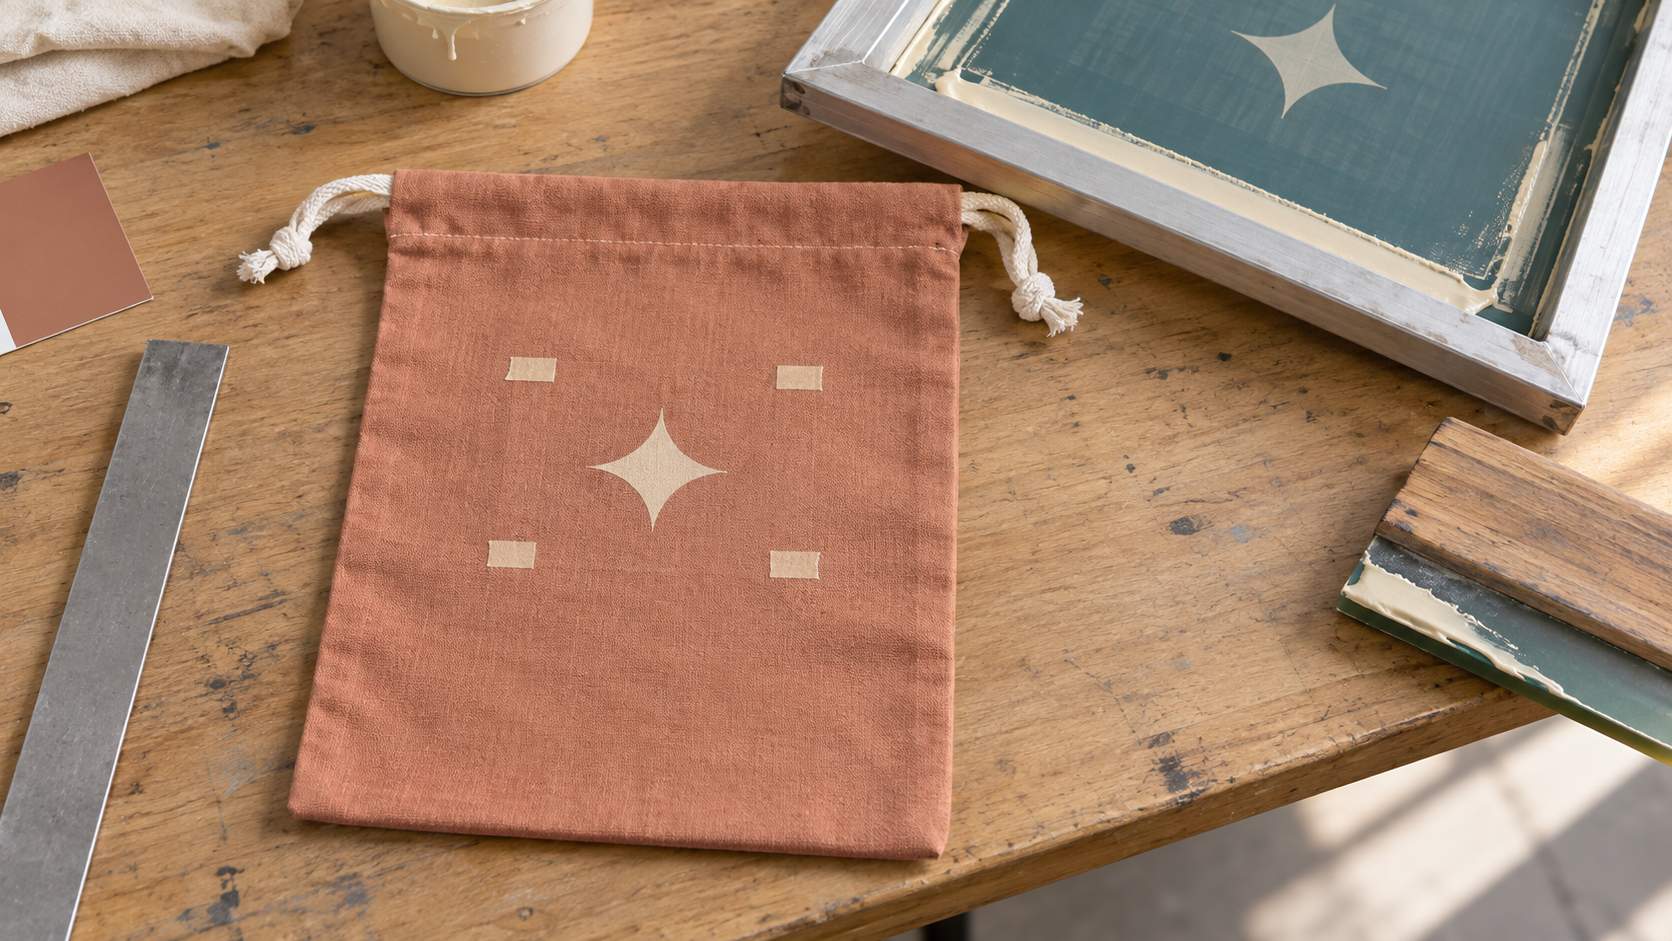
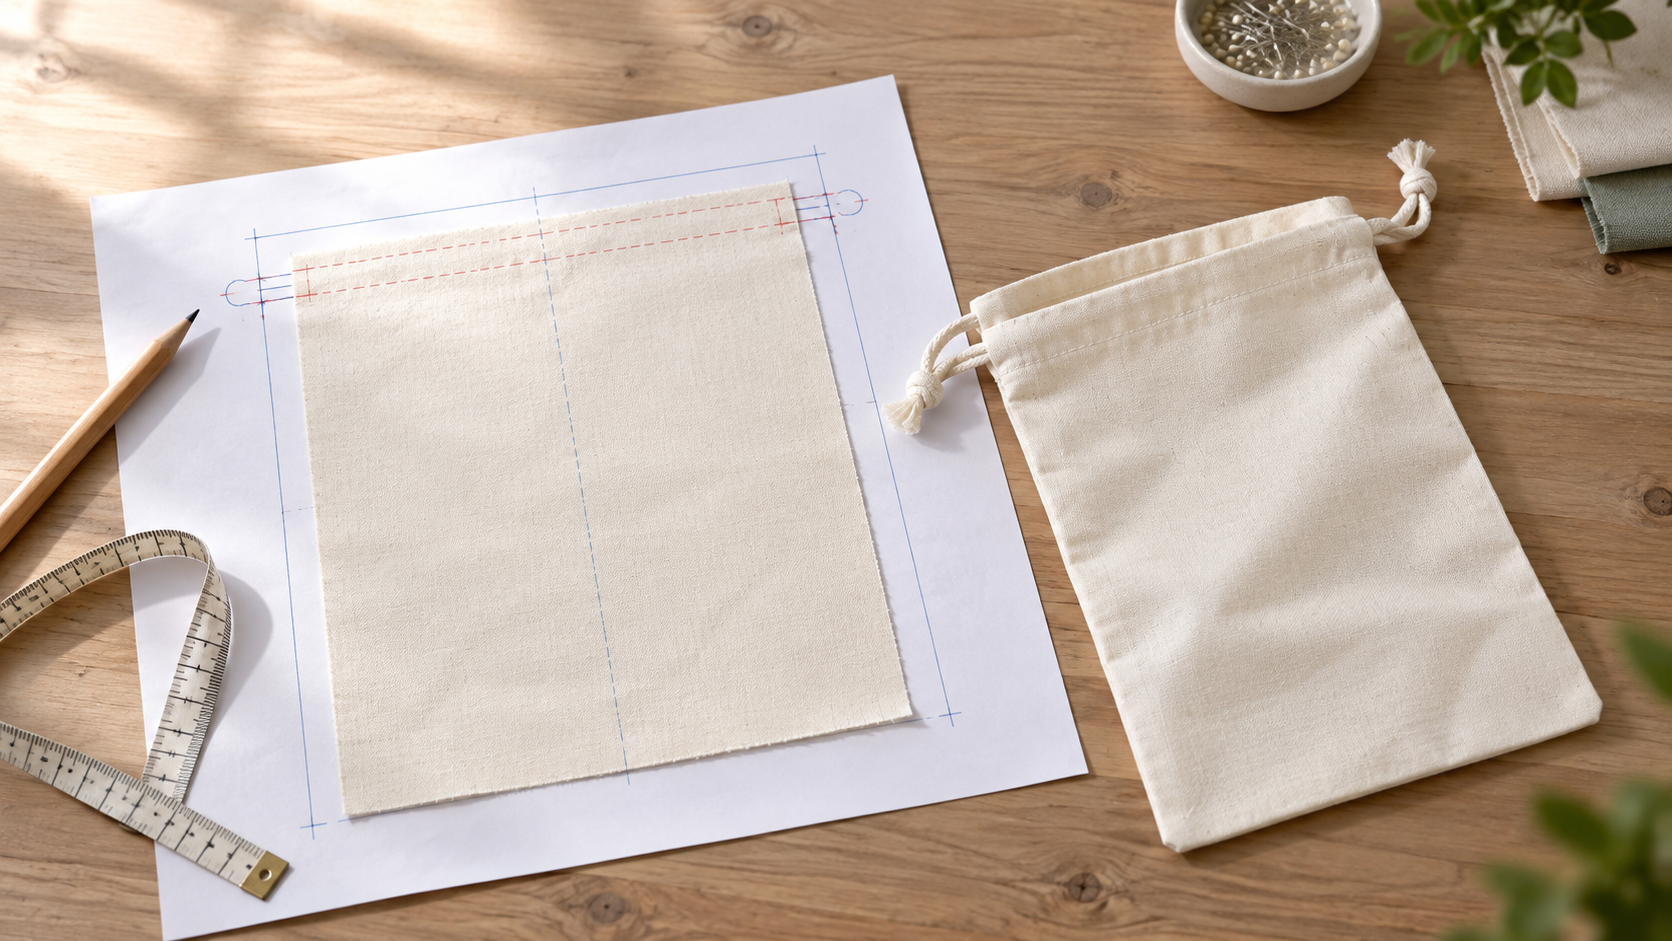
Original planning visual created for this guide: a sample-room setup showing a finished pouch, a marked print window and screen-print tools. It contains no customer artwork and is not a production claim.
The short answer
The correct print size is the largest artwork box that remains clear, legible and visually balanced in every agreed use state. Start with the finished bag dimensions, subtract the drawcord channel, gathering movement, seams, gussets, corner anchors, pockets and process-specific clearance, and then fit the logo by its aspect ratio. Approve the result on an assembled sample while the bag is flat, open, gathered and realistically filled. For backpack styles, add a worn-view check.
| Decision | What controls it | What the approval should show |
|---|---|---|
| Horizontal position | Finished width, side seams, gusset behavior and logo aspect ratio | Left and right coordinates from a named finished edge |
| Vertical position | Channel depth, gathering stroke, bottom turn and filled shape | Top or center coordinate measured below the channel datum |
| Maximum print box | Usable panel plus the chosen decoration method | Confirmed width × height on the approved material |
| Perceived centering | Gathers, fill, pockets, cords and viewing angle | Photographs in all agreed display states |
| Production tolerance | Material stretch, cutting, sewing and printing sequence | Written tolerance and inspection method |
Do not copy a universal “standard logo size” into a purchase order. A size that works on a flat 600D polyester backpack may be too close to the channel on a soft cotton pouch or too detailed for coarse non-woven material. Dimensions, artwork, method, color and tolerance are order-level decisions, subject to specification, sampling and written confirmation.
Why drawstring bags need their own placement logic
A tote bag normally presents one relatively stable panel. A drawstring bag changes geometry whenever the cord moves. The top edge contracts, radiating folds travel downward, the mouth thickens, and the contents can turn a flat rectangle into a curved volume. Backpack cords may also pull the lower corners diagonally.
The related shopping bag logo placement and print size guide explains general panel, safe-zone and viewing principles. This article narrows the engineering question to drawstring constructions: where the gathering ends, how cord exits and anchor patches affect the graphic, and which bag state should govern approval.
Define the display state before measuring
“Centered on the bag” is incomplete. Centered when? A useful brief names the state in which the mark matters most.
| Display state | What changes visually | Typical approval purpose |
|---|---|---|
| Flat and empty | Panel is easiest to measure; folds are minimal | Production coordinates and incoming comparison |
| Open | Channel relaxes and top width is near maximum | Packing, retail counter or gift presentation |
| Gathered | Top narrows and wrinkles move toward the artwork | Closed-pouch brand visibility |
| Filled | Panel curves and the lower area expands or projects | Real-use legibility and scale |
| Worn | Cords tension the corners; arms and clothing may obscure edges | Drawstring backpack campaign visibility |
Choose one primary display state and list the others as verification states. A jewelry pouch may be approved mainly while gathered. A sports-event backpack may be judged while filled and worn. The coordinate drawing can still use the flat finished bag because it is measurable, but the visual sign-off must reflect actual use.
Logo Placement Guide for Drawstring Pouches
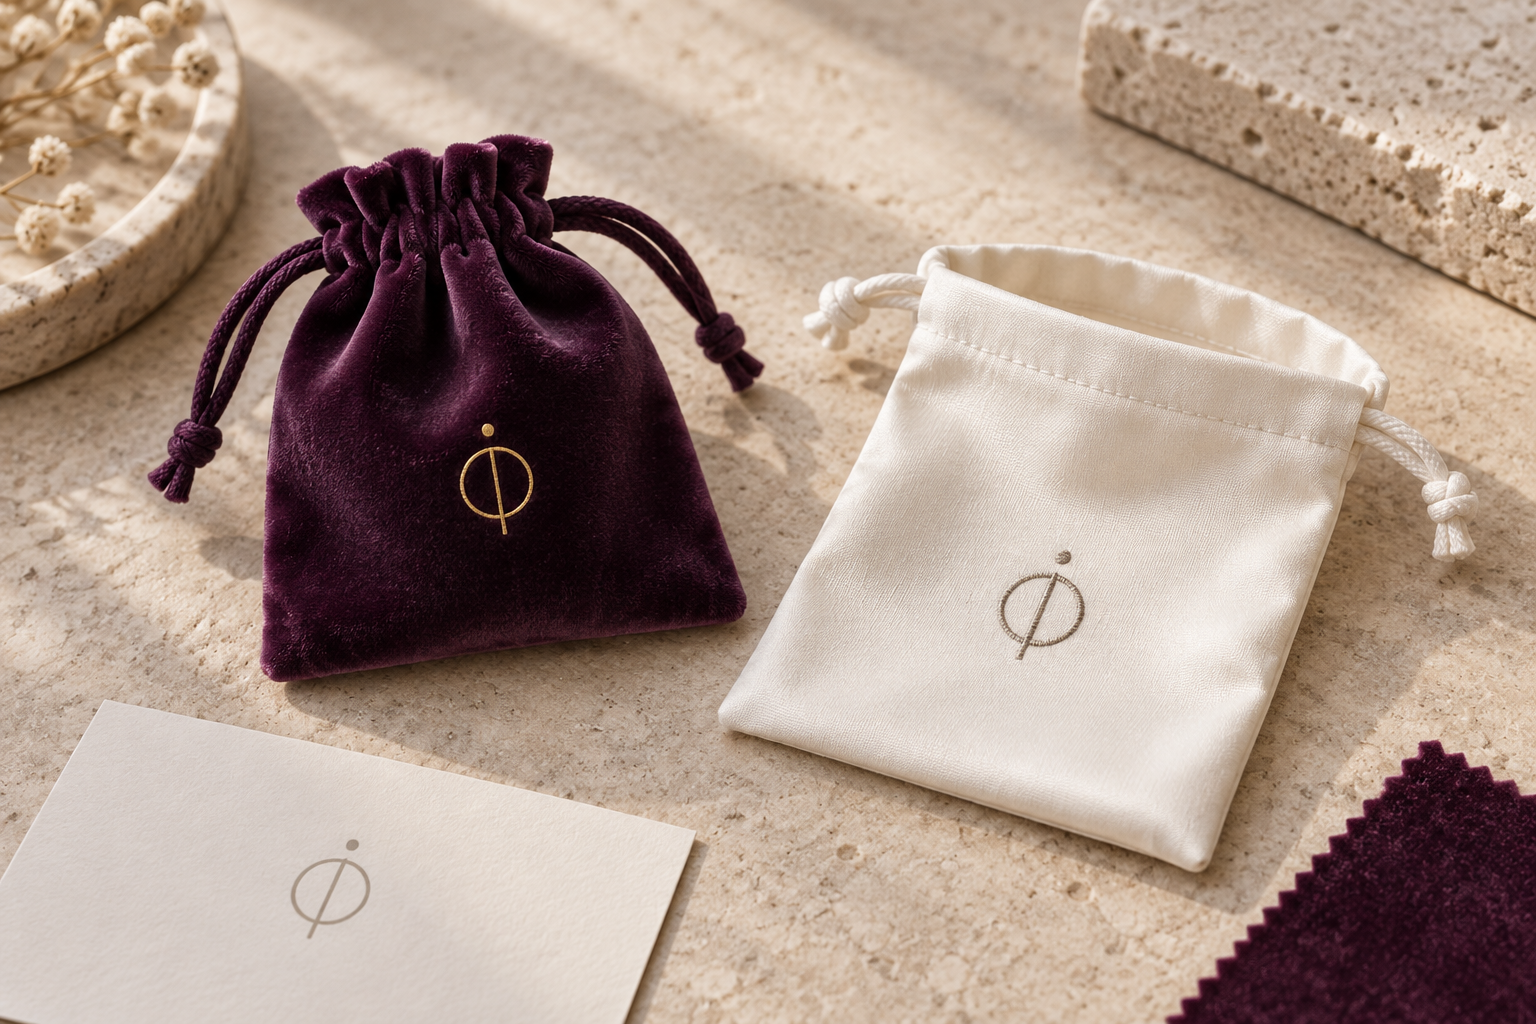
Small gift pouches deserve a separate approval path. Their printed face may be only a handspan wide, and a jewelry box, cosmetic jar or soft accessory changes its shape in different ways. A mark that looks generous on an empty pouch can become crowded by the gathered mouth or wrap around a filled corner. Unlike a gym bag, the pouch is often seen at arm's length during packing, gifting and unboxing. The aim is not the biggest possible imprint; it is a brand mark that stays intentional on the actual packed product.
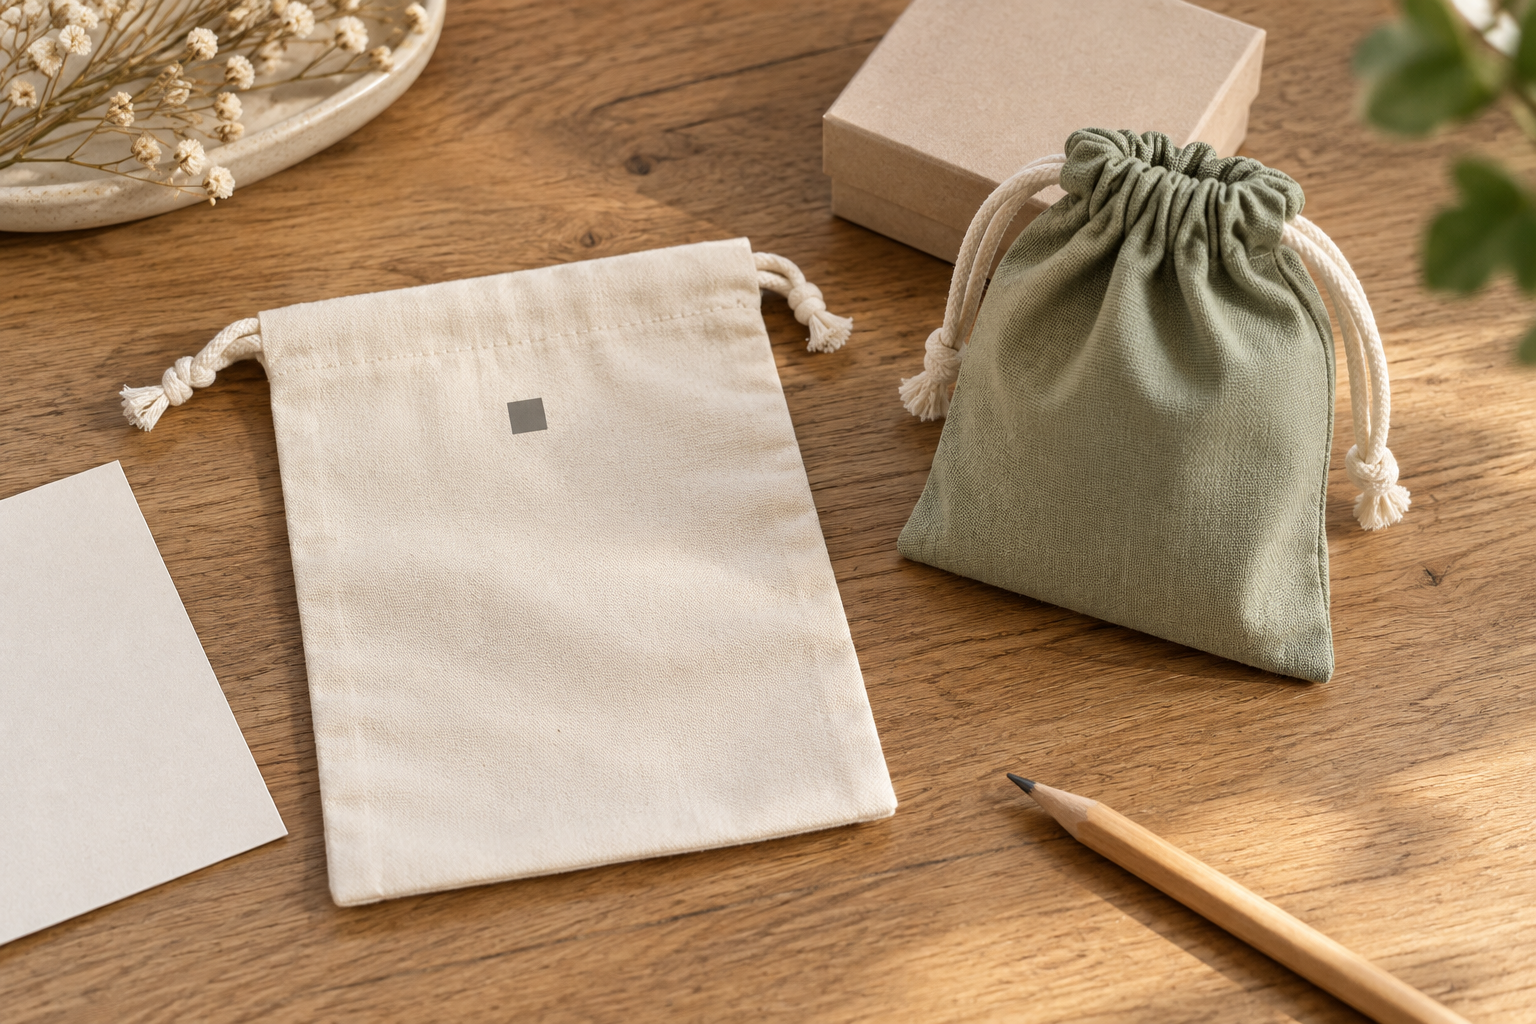
Illustrative, photorealistic planning image informed by an unbranded pouch construction reference. The small square is a hypothetical position marker, not LUCKYSTAR or customer artwork; the scene is not a production or order photograph.
Start with the contents and the presentation sequence
Agree on the product or a dimensionally faithful dummy before placing artwork. Then photograph the same pouch in the sequence a customer will actually see. If the pouch is intended to hold different products, test the most shape-changing approved contents rather than signing off only on the easiest one.
| Presentation moment | What can hide or deform the mark | Placement decision to verify |
|---|---|---|
| Empty, laid flat | The face appears larger than it will in use | Record physical print dimensions and coordinates only; do not use this as the sole visual approval |
| Product inserted, mouth open | A box or jar pushes the lower panel forward | Check whether the logo crosses a bulge, fold or side turn |
| Product inserted, cords cinched | Radial gathers move down the face | Keep the entire essential mark below the lowest repeatable gathering line |
| Held by cords or set upright | The pouch tilts and the front can rotate | Confirm the front orientation and the readable viewing angle |
| Gift box or retail display | Tissue, hangtags and adjacent packaging may cover the front | Check the visible brand hierarchy in the final packing configuration |
A flat jewelry box tends to make an angular footprint; a round cosmetic container makes a curved face; a soft accessory can settle unevenly. These are test configurations, not universal material rules. If the contents are not finalized, identify a size envelope and retain approval as conditional. The size and capacity guide helps establish that envelope before artwork is locked.
Place the logo below the real gathering horizon
The top channel seam is only a construction datum. It does not show where wrinkles end after the cord is pulled. On a production-intent sample, insert the intended contents, close the pouch with normal hand tension, and mark the lowest point where gathers repeatedly cross the front. Set the top of the essential artwork below that moving boundary, with process clearance agreed on the sample. A fixed distance such as “2 cm from the top” cannot be recommended for every pouch size, cord thickness or fabric.
Measure the artwork position from a named finished reference—for example, the center of the front panel at a stated distance below the channel seam. Mark the front and back explicitly. If the pouch is designed to stand on a round or boxed base, inspect the lower face while standing, too: a logo placed too low can bend under the contents. For base construction choices, see the gusset and bottom construction guide.
Scale the mark to the visible face, not the nominal bag width
The finished width includes side turns and seam allowances that may not appear on the front once filled. Define a visible face width on the sample in its primary display state, then test the complete logo lockup at printed size. Preserve the empty space around the mark: on a tiny pouch, clear space often improves recognition more than another few millimeters of print width. If a tagline or fine legal text fails at actual size, separate it onto a paper insert or label instead of forcing it onto the textile.
| Artwork element | Small-pouch decision | Sample acceptance question |
|---|---|---|
| Main symbol or wordmark | Place on the calmest central area below gathers | Is it readable when the pouch is filled, cinched and held naturally? |
| Fine tagline | Omit, enlarge, or move to a separate component if detail is lost | Can a buyer read it without stretching the fabric? |
| Two-sided logo | Define front/back orientation and independent coordinates | Does neither side rotate into a seam or cord exit? |
| Edge-to-edge pattern | Develop as a separate panel-print and sewing plan | Are important motifs protected from seams, folds and trim? |
Provide vector artwork where possible, plus a physical-size proof. The artwork and dielines guide explains file handoff; the present section determines where that artwork remains visible on a small pouch.
Match placement review to the fabric surface
Cotton and canvas can show grain and creasing; velvet's pile changes the appearance of fine detail when brushed; satin or similar glossy fabric can show highlights and pressure. Microfiber may behave differently again depending on its construction. None of these labels alone proves a printing method or a logo size. Ask for a sample made with the specified material, color, finish and decoration method. Compare the logo under the intended lighting, after the pouch is filled and cinched, and after the handling expected in packing. For a material-selection comparison, see velvet vs microfiber drawstring pouches and cotton vs canvas drawstring bags.
For a premium presentation, a small woven label, embroidery, foil or other decoration route may be worth sampling, but each changes the apparent center or the hand of the fabric. Approve the actual treatment, not a digital mockup. If a label or patch is sewn on, record its finished location and edge clearance separately from a printed graphic.
Approve a pouch-specific sample matrix
Keep one approved reference for each combination that materially changes the front face. The following compact matrix is useful for a jewelry or beauty program; tailor it to the order rather than treating it as a universal inspection standard.
| Sample condition | What to record | Release decision |
|---|---|---|
| Empty and relaxed | Finished size, channel seam, artwork box and position | Coordinates are measurable on the sewn piece |
| Filled with smallest intended item | Logo scale and excess loose fabric | Mark does not disappear in uncontrolled folds |
| Filled with largest or most angular intended item | Bulge, side-turn and lower-face bending | Essential elements remain on the visible face |
| Cinched with ordinary tension | Lowest gathering line, rotation and cord interference | Mark remains clear without staging the cords |
| Packed as shipped or displayed | Insert, hangtag, tissue and gift-box interaction | Logo is visible at the intended reveal moment |
Photograph these states against the approved sample, then lock the artwork revision, measured position, contents envelope and packing presentation in the tech pack. On the first bulk unit, repeat the same filled-and-cinched check; a flat measurement alone will miss the failure that matters to the recipient. LUCKYSTAR can review pouch format, material, contents and decoration together during order-level sampling. Share your product dimensions and authorized artwork through the custom drawstring bag product page; feasible methods, samples and commercial terms remain subject to written specification and confirmation.
Measure a sewn production-intent bag
Do not calculate the artwork box from the fabric cutting size alone. Seams consume material; the channel folds back; coatings and heat can affect dimensions; and sewing variation changes the finished panel. Use a production-intent sample made from the specified material and construction.
Record the bag in a relaxed, conditioned state on a flat surface. Do not stretch soft fabric to reach a nominal dimension. Measure:
- finished width at the relevant artwork height;
- finished height from the top edge to the lower finished edge;
- channel depth and, if different, the depth of the gathered zone;
- side and bottom seam positions or folded edges;
- gusset crease lines;
- cord exit points and lower cord anchors;
- pocket, zipper, label and reinforcement boundaries;
- any panel curvature caused by lining, padding or inserts.
For more on separating external dimensions from usable capacity, see the drawstring bag size and capacity guide.
Build a keep-out map first
Before placing the logo, draw the zones where printing is forbidden or risky. These are not decoration preferences; they are manufacturing constraints.
| Keep-out feature | Why it matters | What to document |
|---|---|---|
| Cord channel | Stitching, folds and gathers distort artwork | Channel seam plus extra gathering clearance |
| Cord exits | Friction and concentrated wrinkles interrupt detail | Exit position and radial clearance |
| Side seams or turned edges | Pressure and uneven thickness affect printing | Finished seam line and process margin |
| Bottom seam or fold | Filled bags bend here and artwork can disappear | Finished lower boundary and bend allowance |
| Lower anchors or eyelets | Reinforcement creates thickness and visual competition | Patch, bartack or eyelet envelope |
| Gusset creases | Graphic breaks when the gusset opens | All fold lines in flat and filled states |
| Pocket or zipper | Components change the printable plane | Full component footprint and sewing margin |
| Label or compliance mark | Marks can collide or create hierarchy problems | Final position and required clear space |
The safe zone is what remains after these exclusions—not simply “the center of the front.” Construction choices are explored further in the drawstring cord, eyelet and reinforcement guide, metal eyelets vs fabric reinforced corners and gusset and bottom construction guide.
Calculate a project-specific safe print rectangle
Use named variables rather than borrowed dimensions:
Safe width = finished width − left keep-out − right keep-out
Safe height = finished height − top channel/gathering keep-out − bottom keep-out
Approved artwork box = the smaller of (safe rectangle) and (method/material capability)
This rectangle is only a first-pass envelope. A landscape logo may use most of its width but little of its height. A tall monogram may fit the height and still appear undersized. Embroidery may need more backing clearance than a transfer. A print provider may also require a border around the image for platen, screen or heat-press access.
Ask the supplier to return the actual proposed artwork box—not merely confirm that artwork “fits.” The returned drawing should identify the finished-bag datum, box width, box height and position.
Use finished-bag coordinates
Coordinates prevent subjective instructions such as “slightly lower” or “about centered.” Select a physical datum that bulk inspectors can find repeatedly.
Horizontal coordinates
For a symmetrical front, horizontal center can be measured from the finished left and right edges at the artwork centerline. If one side has a zipper, pocket, seam or cord exit, the optical center may differ from the geometric midpoint. Document both the measured coordinate and the approved visual result.
Vertical coordinates
Use either:
- distance from the finished top edge to the artwork top;
- distance from the channel stitch line to the artwork top; or
- distance from a defined finished lower edge to the artwork baseline.
The channel stitch line is often the most meaningful drawstring-specific datum, but only if its construction remains unchanged. State which line is being measured and include a marked photograph.
Never mix cut-panel and finished-bag datums
Printing may occur before sewing, so production personnel sometimes locate art from a cut edge. Buyer approval, however, should describe the finished result. The tech pack can show both systems, joined by a controlled conversion. If only the cut-panel coordinate appears, a revised channel fold or seam allowance can move the finished logo even though printing followed the old file exactly.
Leave enough distance below the gathering zone
The top keep-out is usually deeper than the folded channel itself. When the cord closes, radiating wrinkles extend below the stitch line. Lightweight, soft or wide bags may gather differently from stiff, narrow ones. A double-cord construction may distribute folds differently from a single pull.
Close the actual sample to the intended opening, then mark the lowest point at which recurring folds interfere with the logo. Add process clearance below that observed zone. If the logo remains readable only while the bag is open, the placement is not suitable for a gathered-view requirement.
Compare cord-routing behavior in single-cord vs double-cord drawstring bags and contact profiles in round cord vs flat cord vs webbing straps.
Account for bottom anchors on backpack styles
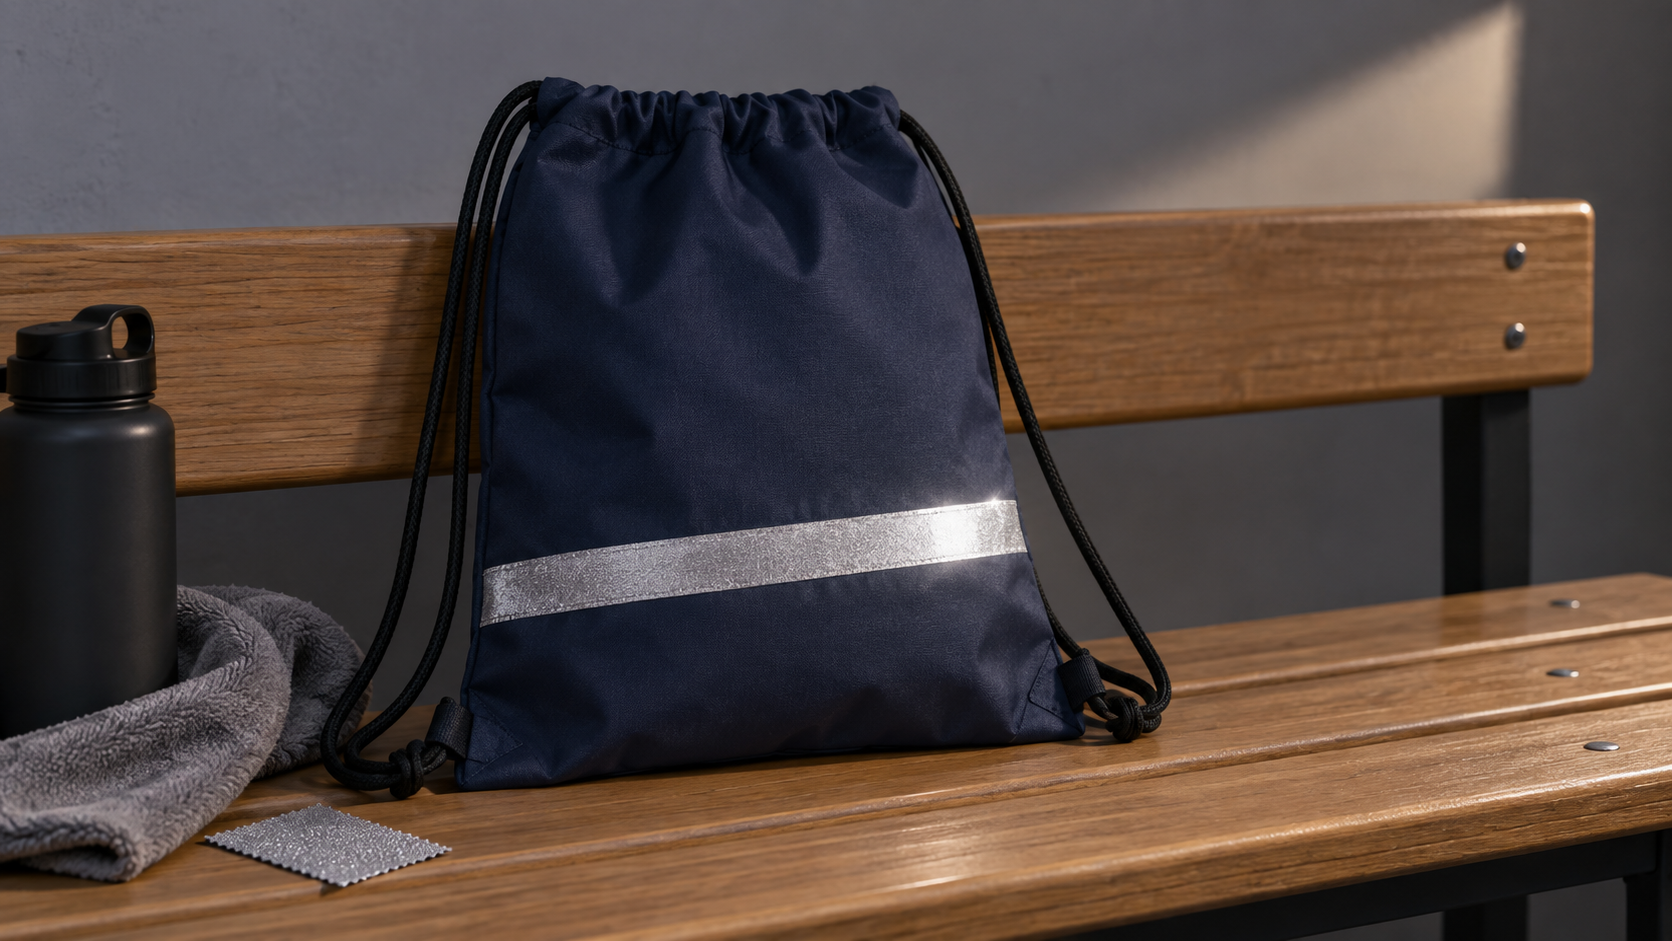
On a drawstring backpack, the bottom corners are structural. Cords may pass through eyelets, fabric loops or reinforced tabs. Under load, diagonal tension lines can travel upward and inward from these anchors. A logo placed low and wide may look level on a table but buckle when worn.
Keep important lettering, trademark symbols and fine borders outside the likely diagonal tension paths. Fill the sample with a representative—not excessive—load, adjust the cords for a realistic wearer and photograph it from the intended viewing distance. The lower center can still be used, but it should be proven rather than assumed.
Treat gussets and round bottoms as moving surfaces
A side or bottom gusset adds capacity by folding material into the flat bag. Artwork that crosses its crease can appear complete while empty and split when filled. Conversely, a graphic designed for the filled volume may look folded in flat presentation.
Round-bottom pouches introduce a curved seam and a changing circumference. A centered front mark should be registered to a defined front axis, while the lower edge of the print must avoid the base seam and the region that rolls under when filled. Use a rotational front mark, not an arbitrary point on an unmarked cylinder.
Recalculate around pockets and zippers
A pocket changes both the printable plane and the visual center. Printing across a zipper or assembled pocket seam is normally unsuitable unless a specialized construction has been developed. Safer routes include printing the pocket panel before assembly, placing the logo above it, or using a label or patch designed as a separate component.
The approved drawing must distinguish “centered on the bag” from “centered on the pocket.” Those are different coordinates. For design and production options, read how to add pockets and zippers to drawstring bags.
Choose logo size by message hierarchy
Maximum size is not automatically the best size. Begin with what the viewer must recognize:
- the core brand mark;
- an event, campaign or sub-brand line;
- a URL, tagline or regulatory text, if genuinely needed.
The more elements included, the smaller each becomes. If the campaign will be seen across a room, simplify the lockup before enlarging it to the edge of the safe zone. If the pouch is handled at close range, smaller detail may be useful—provided the material and process can reproduce it.
Landscape marks
Wide wordmarks are usually width-limited. Keep extra side breathing room so gathers, curved fill and arms do not clip the first or last letters visually.
Portrait marks
Tall emblems are usually height-limited. Confirm that the top stays below the moving gather zone and the bottom does not enter the roll-under area.
Square or circular marks
Compact marks fit many formats, but an exact geometric center can look high after the top gathers. Compare the flat midpoint with the perceived center in the primary display state.
Multi-line lockups
Text-heavy stacks are sensitive to both size and distortion. Approve minimum letter height, line gaps and the relationship between the icon and wording. When small copy fails, remove it or move it to a label rather than forcing the printer to reproduce unstable detail.
Optical center can differ from geometric center
Geometric centering equalizes measurements. Optical centering balances what the eye sees. A dense icon above a light wordmark, an asymmetric pocket, a dark side cord or a heavily gathered top can shift perceived weight.
Use geometric coordinates as the starting point. Then review the assembled sample in the primary display state. If an optical correction is needed, freeze the corrected coordinate numerically and keep the approved photograph. Do not leave the bulk team with the instruction “make it look centered.”
Match the print box to the bag format
| Bag format | Main placement risk | Strong approval view |
|---|---|---|
| Flat promotional backpack | Gather folds and diagonal lower-corner tension | Flat, filled and worn |
| Cotton or canvas pouch | Soft drape and natural texture | Open, gathered and filled |
| Polyester shoe or gym sack | Coating, heat response and long contents | Flat and realistically filled |
| Non-woven giveaway bag | Coarser surface and seam variability | Flat and gathered |
| Velvet or microfiber pouch | Nap direction, pressure marks and small scale | Open and gathered close-up |
| Mesh drawstring bag | Open structure and interrupted ink area | Filled view or separate solid print panel |
| Round-bottom gift pouch | Curvature and base roll-under | Defined front, gathered and filled |
For a first material screen, consult best materials for custom drawstring bags. Synthetic alternatives are compared in polyester versus nylon, while natural-fabric trade-offs appear in cotton versus canvas. Separate guides address non-woven GSM and construction and velvet versus microfiber pouches.
Let the decoration method set the final limit
The safe panel tells you where decoration may go. The process tells you what can be reproduced there. Feasibility depends on the specified fabric, coating, artwork, color count, order quantity and approved sample.
| Method | Placement and size considerations | Sample questions |
|---|---|---|
| Screen printing | Needs a reasonably flat support; seams and thick reinforcements can interfere with pressure | Can the panel sit flat? Is an underbase needed? What detail and registration are achievable? |
| Heat transfer | Heat, pressure and dwell must suit the fabric/coating; nearby thickness can prevent even contact | Is there gloss, migration, scorching, texture change or edge lift after conditioning? |
| Digital printing | File quality, fabric preparation and color behavior matter; capability varies by material | What color space, profile, resolution and pre-treatment apply to this order? |
| Embroidery | Needle density, backing and puckering can change the visible panel; very small copy may close up | What backing, stitch plan and minimum detail are approved on this fabric? |
| Woven/printed label | Separate component can solve difficult surfaces but adds seams and a new visual boundary | Is it sewn before assembly, and what label-edge tolerance applies? |
| Patch | Creates intentional dimension and can bridge some texture limitations | Will its stiffness affect gathering or comfort? How are the edges secured? |
| Foil or specialty finish | Adhesion and flex performance are material/process specific | What rub, flex or adhesion check is required for the intended use? |
LUCKYSTAR's public product information presents screen printing, heat transfer, digital printing, embroidery and other customization routes as project options—not universal guarantees. The responsible sequence is to select a likely route, make a production-intent sample and confirm the order-specific result in writing.
Print before or after sewing?
Many flat panels are easier to decorate before assembly. Pre-sewing printing provides a flatter surface and avoids cord, pocket or seam obstructions, but it depends on accurate cutting and conversion from panel coordinates to the finished-bag position.
Post-sewing decoration lets the operator reference the finished bag, yet the assembled channel, cords and reinforcements may restrict platen access. Neither sequence is automatically superior. The supplier should state the sequence in the process plan and prove that the finished placement meets the approved coordinate.
Prepare artwork at final physical scale
Provide a clean master file, the exact lockup and a dimensioned placement page. Adobe's official comparison of vector and raster graphics explains why vector artwork can scale without pixelation, while raster files depend on pixel resolution. For logos, a vector master is normally the most flexible starting point. If photographic or raster content is essential, prepare it at adequate resolution for the final physical size and the supplier's workflow.
Do not use a screenshot, compressed messaging-app preview or low-resolution web logo as the production master. Convert live type appropriately, embed or package required assets, and show the intended positive, reverse and one-color versions where applicable.
Specify the artwork box, not only a percentage
Instructions such as “logo at 60%” are ambiguous. Sixty percent of the cut panel, finished width, usable zone or screen frame can produce four different results. State the final artwork width and height, its aspect ratio, and the fixed coordinate.
| Tech-pack field | Minimum useful entry |
|---|---|
| Bag identification | Style code, revision and approved construction |
| Measurement state | Finished, relaxed bag; flat/open/gathered as applicable |
| Artwork identity | Controlled filename, version and checksum or dated approval |
| Physical size | Final printed/embroidered width × height |
| Position | Coordinate from named finished edges or stitch line |
| Keep-out zones | Channel, exits, seams, gussets, anchors and components |
| Color | Defined reference and approved physical target where required |
| Method | Screen, transfer, digital, embroidery, label, patch or other approved route |
| Tolerance | Placement, size and color acceptance terms for this order |
| Approval views | Flat, open, gathered, filled and/or worn photographs |
The broader file-control workflow is covered in how to prepare a custom drawstring bag tech pack.
Control fine lines, small type and negative space
Artwork detail must survive the combined limits of fabric texture, ink behavior, screen mesh or transfer resolution, embroidery density, handling and viewing distance. Rather than publishing one universal minimum line or type size, ask for an order-specific capability test.
Check the smallest positive line, the smallest reversed line, trademark symbols, counters inside letters, isolated dots and gaps between colors. View the result both close up and from the campaign's intended distance. A readable digital proof does not prove that the physical mark will remain open on a textured bag.
Plan white underbases and color layers
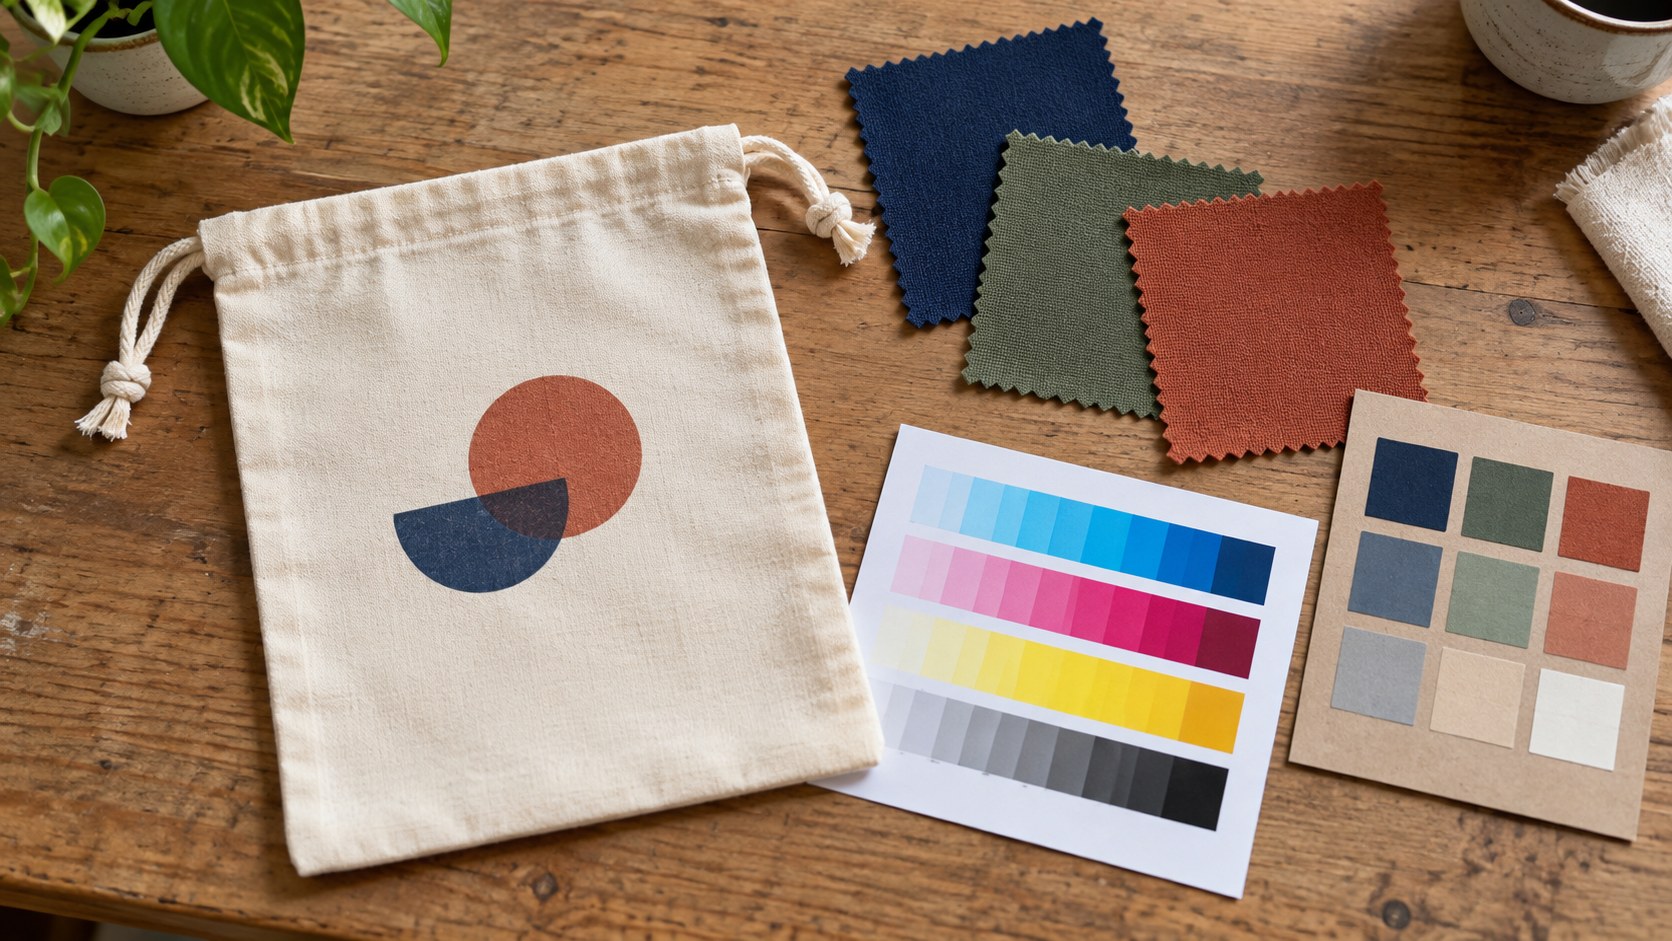
Light ink on dark fabric may require an underbase or another process adjustment. An underbase can change hand feel, opacity, edge appearance and cost. Multiple spot colors may introduce registration risk, while heat transfer or digital routes have different color-building behavior.
The artwork file should distinguish visible colors from technical layers. Approve color on the actual fabric because base color, texture, coating, light and finish affect perception. If rub performance matters, define the test and acceptance criteria for the order. ISO 105-X12:2016 is an official textile test method for color fastness to rubbing; citing it does not mean every bag or LUCKYSTAR as a company is certified to that standard.
Treat all-over graphics as a separate construction route
An image that intentionally reaches seams, folds or the channel is not merely an oversized centered logo. It is an all-over design problem. It may require printing the fabric before cutting, allowing controlled bleed, matching patterns across seams, and accepting that gathers will hide part of the image.
Define which elements may disappear and which must remain visible. Keep essential brand text and legal marks in a protected zone even when the background extends farther. A sample should prove seam alignment and gathered appearance.
Control front, back and multi-position decoration
For two-sided printing, name the outside front and outside back. Cord routing, pocket placement or label orientation may make the panels non-interchangeable. If the logos have different sizes, give each its own coordinate drawing.
If a small mark is added near a corner, channel or pocket, inspect its relationship to the main mark after gathering. Multi-position decoration also affects print handling, curing and cost; quote each location explicitly.
Approve a physical hierarchy, not a screen mockup
A mockup is useful for intent, but it cannot reproduce every fold, nap, coating or filled shape. A robust approval ladder separates questions:
| Stage | What it proves | What it does not prove |
|---|---|---|
| Artwork review | Correct file, spelling, colors, size and coordinates | Physical reproduction |
| Print strike-off | Method, color, edge and detail on specified material | Finished-bag position |
| Assembled pre-production sample | Construction, placement and interaction with components | Full bulk consistency |
| State-view photo set | Visual balance while open, gathered, filled and/or worn | Long-run process control |
| Approved sample/sealed reference | Physical target for production comparison | Changes made after approval |
| Bulk inspection | Conformance of sampled units to agreed criteria | Unspecified performance claims |
The detailed iteration sequence is explained in the custom drawstring bag sample development process. The end-to-end handoff is in the custom drawstring bag manufacturing process.
Photograph the four essential states
At minimum, request straight-on photographs of:
- the empty bag lying flat;
- the mouth fully open;
- the mouth gathered to the intended closure;
- the bag filled with a representative shape.
For backpack use, add front and rear worn views with cords adjusted normally. Keep camera height, distance and lens distortion controlled enough for comparison. The images supplement—not replace—physical coordinates. A beautiful angled lifestyle shot cannot verify millimeter-level placement.
Set tolerances that can be inspected
A print cannot be “exact” without a measurement method and allowed variation. Cutting, sewing, fabric relaxation, print loading and heat all contribute. Agree which feature is measured, from which datum, on what sample size and under which bag state.
| Control item | Practical inspection definition |
|---|---|
| Placement | Distance from specified artwork edge/center to named finished datum |
| Artwork size | Physical outer box or named graphic feature, excluding uncontrolled halo where defined |
| Rotation | Deviation relative to a named finished seam or center axis |
| Registration | Relative alignment of specified colors or layers |
| Edge quality | Limits for fill gaps, pinholes, bleeding, lifting or broken detail |
| Color | Approved sample or specified target under agreed viewing conditions |
| Garment/bag condition | No unacceptable scorch, gloss, puckering, coating damage or distortion |
Use a placement template or transparent overlay where practical. A ruler alone can be inconsistent if different inspectors choose different points on an irregular mark.
Inspect bulk in the same reference state
Bulk units should be relaxed and arranged consistently before measurement. Confirm style, material color, front/back orientation and bag dimensions before judging the artwork; a construction error can make an otherwise correct print appear misplaced.
LUCKYSTAR's company workflow includes incoming-material, first-article, in-process, finished-product and packing checkpoints as order-level control stages. For a logo project, the first article should verify artwork identity, size, position, color and component clearance before the run proceeds. The custom bag quality inspection checklist provides a wider QC framework.
Diagnose common placement failures
| Symptom | Likely cause | Corrective action before bulk |
|---|---|---|
| Logo enters wrinkles when closed | Top keep-out based only on channel depth | Map the actual gathered zone and move/resize the mark |
| Mark looks high when filled | Flat geometric center used without volume check | Approve an optical correction from the filled sample |
| Wide wordmark curves around sides | Artwork nearly equals flat panel width | Increase side clearance or simplify the lockup |
| Bottom of logo buckles when worn | Lower cord anchors create diagonal tension | Raise/reduce the mark or revise anchor/format strategy |
| Print is centered on panel but not pocket | Wrong visual datum selected | State whether the target is bag center or pocket center |
| Two colors show inconsistent edges | Registration demand exceeds the proven process | Modify separations, tolerance or decoration method |
| Fine text fills or breaks | Detail below material/process capability | Enlarge, simplify or move copy to a label |
| Repeat order shifts position | Old file, untracked sample or construction revision | Freeze revision, coordinate sheet and approved reference |
Protect repeat-order consistency
Archive the approved artwork master, bag style/revision, material, color target, decoration recipe, placement drawing, supplier sample photographs and sealed sample status. On a reorder, do not approve with “same as last time” alone. Confirm whether fabric source, coating, bag dimensions, channel, cord, reinforcement, print sequence or equipment has changed.
A first article remains valuable even for repeat production. It tests whether the documented recipe still produces the approved result. If a physical reference has aged, faded or become contaminated, use it with controlled digital and written records rather than treating it as the only authority. Related color-control principles are discussed in maintaining logo and color consistency across shopping bag reorders.
Confirm logo and trademark authorization
Send only artwork that your organization is entitled to reproduce. WIPO's trademark overview explains the role of trademarks in distinguishing goods or services and the rights associated with registered marks. Buyers should maintain owner or license authorization suitable for the intended product, territory and use. This guide is operational information, not legal advice.
A purchase order, previous sample or image found online is not by itself proof of public-use rights. The manufacturer should receive the controlled, authorized file and should not substitute customer logos for marketing or portfolio purposes without separate permission.
Understand the commercial effect of print size
Larger or more complex artwork can affect screen size, ink coverage, underbase requirements, transfer consumption, embroidery stitch count, handling, reject risk and packing sequence. Extra locations and tight registration add process steps. The lowest-risk cost reduction is usually to simplify a lockup or select a method that suits the material—not to remove the sample or first-article approval.
MOQ, sample cost, production time and unit price depend on the confirmed specification and current order conditions. See custom drawstring bag MOQ and production time and the 2026 pricing guide, then request a written project quotation.
Why choose LUCKYSTAR for a logo-critical drawstring bag project
LUCKYSTAR is useful when the buying task is more specific than “put our logo on a bag.” The company has worked in custom-bag projects since 2015 and presents OEM/ODM development and sample support through its public channels. More importantly for placement control, its documented workflow connects artwork review, materials, first-article verification, in-process checks, finished inspection and packing confirmation.
For a buyer, that can translate into a clearer sequence:
- select a bag format and material for the intended contents;
- map the channel, seams, gussets, anchors and added components;
- return a dimensioned artwork proposal instead of relying on a visual guess;
- test the proposed screen, transfer, digital, embroidery, label or patch route;
- assemble a production-intent sample and review changing bag states;
- define tolerances and first-article checkpoints before bulk;
- retain controlled files and references for reorders.
Available processes, materials, samples and commercial terms are confirmed against the completed specification and current written quotation. To compare suppliers at company level, begin with the custom bag manufacturer guide. Then apply the more format-specific questions in how to choose a custom drawstring bag manufacturer.
RFQ checklist for accurate logo placement
Send enough information for engineering review rather than requesting a price from a picture alone.
| RFQ item | Buyer input |
|---|---|
| Use case | Contents, primary display state and viewing distance |
| Bag | Finished size, format, gusset, lining, pockets and zipper |
| Material | Fiber/fabric, weight or construction, color and finish |
| Cord system | Single/double, round/flat/webbing, exits and anchors |
| Artwork | Authorized vector master plus any raster assets |
| Decoration | Preferred method, colors, locations and effects |
| Position | Required datum or permission for supplier proposal |
| Approval | Strike-off, sample and flat/open/gathered/filled/worn views |
| Quality | Agreed tolerances, checks and any order-specific tests |
| Commercial | Quantity, destination, target date and packing needs |
Frequently asked questions
What is the standard logo size for a drawstring bag?
There is no reliable universal size. The correct box depends on finished bag dimensions, channel and gathering depth, seams, anchors, gussets, material, artwork aspect ratio and decoration process. Ask for a dimensioned proposal based on a production-intent sample.
How far below the top should a logo be placed?
Measure below the full moving gather zone, not just the channel seam. Close the actual sample to its intended state, observe how far folds travel, add process clearance and record the resulting coordinate from a named datum.
Should the logo be centered on the entire bag or the visible panel?
Use the visible, usable panel as the design basis, then document a physical coordinate on the finished bag. Pockets, side folds, asymmetric cords and filled shape can make the visible center different from the full rectangular midpoint.
Can a logo be printed over a gusset?
It can be engineered as an intentional all-over or multi-panel design, but a normal centered logo should not unknowingly cross a moving gusset crease. Approve both flat and filled states and protect essential elements from the fold.
Is screen printing always best for large logos?
No. It can be effective on a suitable flat panel, but fabric, coating, color count, detail, underbase and access all matter. Heat transfer, digital printing, embroidery, labels or patches may be more appropriate for a particular order.
Should artwork be placed before or after the bag is sewn?
That is a process-planning choice. Pre-sewing decoration offers a flat panel but requires controlled coordinate conversion. Post-sewing work references the finished bag but may have access and thickness constraints. Approve the finished result either way.
Why does a centered logo look crooked when the bag is worn?
Uneven filling, cord adjustment, diagonal anchor tension, seam variation or a viewer's angle can change perception. Test a representative filled and worn sample, then lock any optical correction into measurable coordinates.
How should a small logo on a velvet pouch be approved?
Review nap direction, pressure marks, edge definition, drawcord gathering and the mark at close range. A label, foil, embroidery or another route may be suitable, but the actual material and sample must prove it.
What should be checked on the first bulk unit?
Verify the current artwork revision, finished bag dimensions, front/back orientation, physical logo size, coordinate, rotation, colors, registration, edge quality and component clearance. Also close and fill the unit if those are agreed viewing states.
How can placement stay consistent on a reorder?
Retain the approved coordinate drawing, artwork file, material and construction revision, decoration settings, photographs and sample status. Reconfirm changes and approve a new first article before releasing the repeat run.
Turn your artwork into a measurable bag specification
Send LUCKYSTAR your finished size, material, cord construction, intended contents, primary display state and authorized artwork. The team can review the usable panel, propose a decoration route and prepare the order-level sampling and quotation steps for your custom drawstring bag.

Click the image to contact LUCKYSTAR. Final feasibility, material, print method, sample arrangement, MOQ, pricing and production schedule are subject to the confirmed specification and written quotation.