A custom bag can look acceptable in a sales photo and still fail in use. A handle may be stitched a few millimeters off center, a zipper may catch at the curve, or a carton may contain the wrong color assortment. Those are not abstract quality problems. They become returns, repacking, missed launch dates and uncomfortable conversations with customers.
This custom bag quality inspection checklist is written for buyers, product developers and quality teams who need a repeatable way to judge an order. It covers the approved reference, incoming materials, dimensions, construction, function, branding, defect classification, packing and shipment release. It also shows what evidence should appear in an inspection report.
No generic checklist can replace the specification for a particular product. A lightweight drawstring bag and a padded travel backpack do not share the same risks. Use the framework below, then add the measurements, tolerances, tests and appearance limits that matter to your design. For the larger sourcing picture, read our Custom Bag Manufacturer: Complete OEM/ODM Buyer's Guide. You can also compare constructions in our product range.
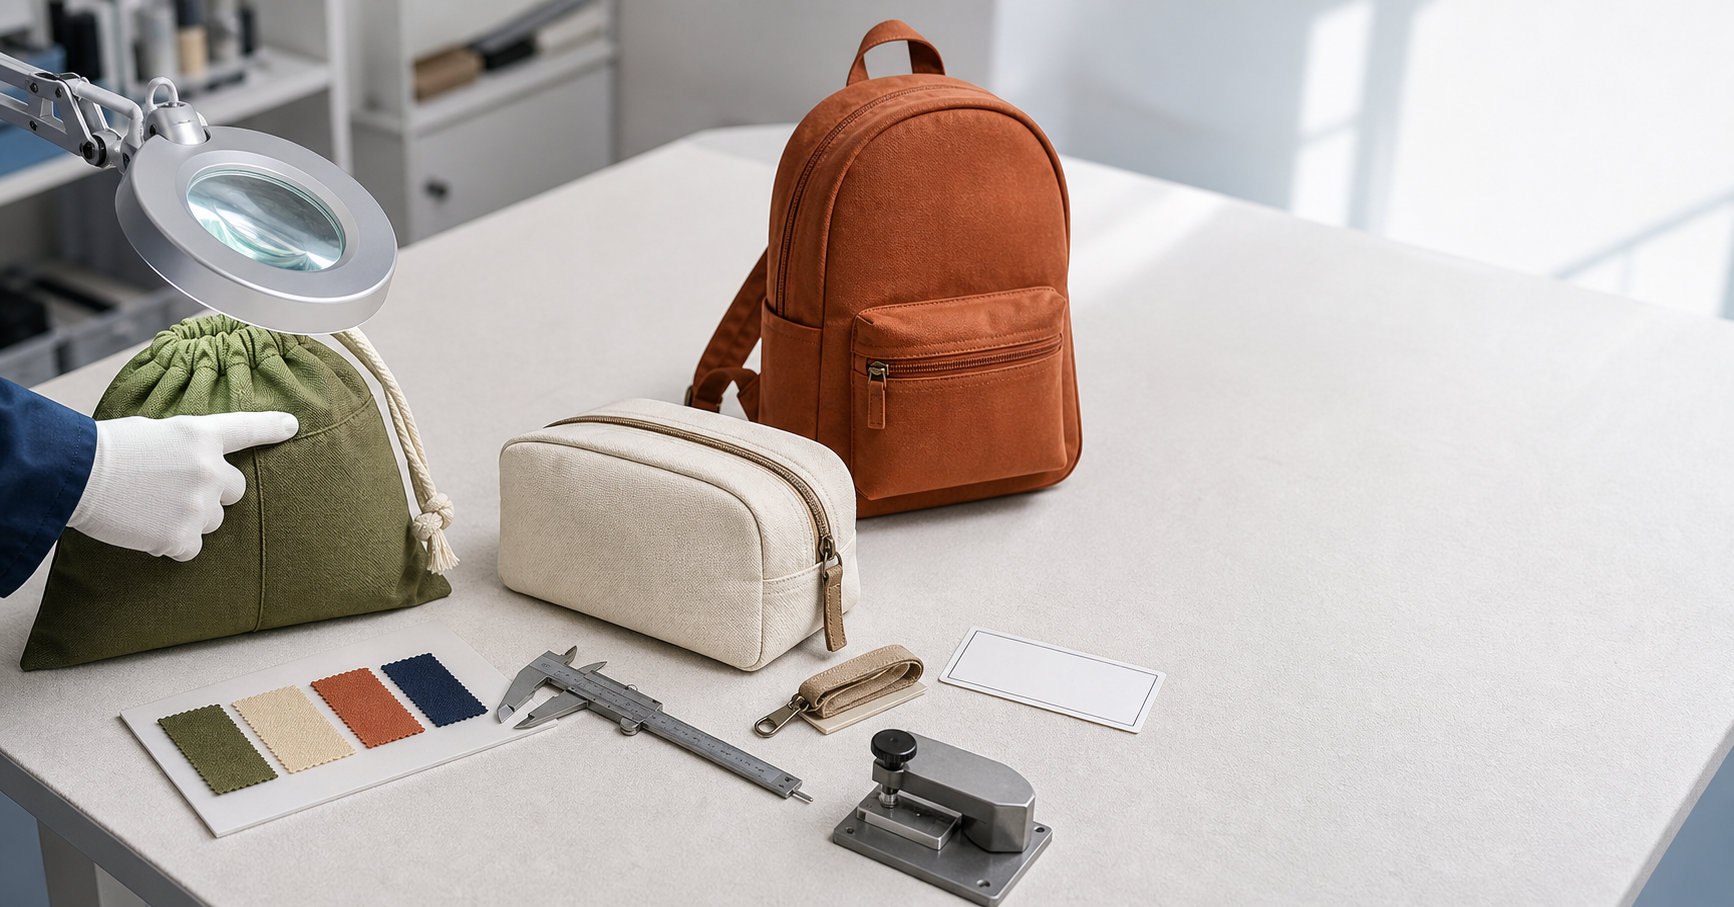
The Five Quality Gates at a Glance
Quality control is most effective when it follows production. Waiting until every bag is packed makes correction expensive and slow. A simple gate plan catches material mistakes before cutting, construction mistakes near line start and packing mistakes before the cartons leave.
| Quality gate | When it happens | Main checks | Decision |
|---|---|---|---|
| Reference approval | Before bulk commitments | Sample, specification, artwork, colors, components and packing | Freeze the production standard or list open points |
| Incoming material check | Before cutting and decoration | Identity, shade, weight, width, coating, hardware and labels | Accept, segregate or hold the lot |
| First-off and inline inspection | At line start and during production | Construction, measurements, workmanship, logo and function | Continue, correct the process or stop affected work |
| Pre-final review | When most goods are complete | Quantity status, recurring defects, finishing and packing readiness | Close corrective actions before final inspection |
| Final random inspection | Goods finished and substantially packed | Sampled workmanship, function, quantity, assortment and cartons | Pass, fail or hold pending an authorized decision |
The names of these stages vary between factories and inspection companies. The important part is the timing and the authority attached to each result. If an inline inspector finds repeated crooked topstitching, someone must be able to stop the process, isolate the affected quantity and confirm the correction.
1. Freeze the Approved Reference Package
Inspectors cannot make consistent decisions from memory or a marketing rendering. They need a controlled production standard. The approved sample is valuable, but it is only one part of that standard. A sample cannot show an internal measurement tolerance, the allowed barcode position for every carton, or which small shade variation the buyer has accepted.
| Reference item | What it should define | Control point |
|---|---|---|
| Sealed approval sample | Overall appearance, construction, hand feel and proportion | Signed or otherwise identified with approval date and version |
| Specification sheet | Finished dimensions, tolerances, materials, stitches and assembly details | Latest revision available to production and inspection |
| Artwork files and proof | Logo size, colors, position, orientation and decoration method | Production-ready file tied to the correct SKU |
| Material and color standards | Fabric, lining, webbing, zipper, hardware and acceptable shade | Physical swatch or named standard under agreed lighting |
| Packing instruction | Folding, protective bag, label, assortment and carton markings | One pack-out example where complexity justifies it |
| Test and defect criteria | Required performance checks and critical, major and minor defect rules | Agreed before inspection, not negotiated after a failure |
Write down every temporary substitution in a development sample. A prototype may use a stock zipper color or a slightly different lining because the bulk component is not yet available. If that substitution is not recorded, the factory and buyer may each believe a different item was approved. Our guide to the custom bag sample development process explains how to close those gaps before production.
2. Check Fabrics, Trims and Components Before Cutting
A wrong material is difficult to recover after it has been printed and sewn. Incoming inspection should confirm identity as well as appearance. That means checking the actual bulk lot against the approved standard, not checking a supplier's label and assuming the roll beneath it is correct.
| Item | Inspection points | Simple verification method |
|---|---|---|
| Outer fabric and lining | Fiber or material identity, weight, width, shade, finish, odor, stains and visible weave faults | Compare lot samples with the approved swatch; record roll or lot references |
| Coated or laminated material | Surface consistency, adhesion, cracking, tackiness and crease behavior | Flex a representative sample and inspect edges and fold lines |
| Webbing, cord and elastic | Width, thickness, color, stretch, surface damage and end fraying | Measure relaxed material and compare cut ends and shade |
| Zippers | Size, tape shade, tooth alignment, slider direction and smooth operation | Open and close samples through straight and curved positions |
| Buckles and metal parts | Shape, finish, color, fit, sharp edges, cracks and corrosion | Mate paired parts repeatedly and inspect contact points |
| Labels and packaging | Copy, SKU, barcode, dimensions, print quality and material | Compare against released artwork and scan test where required |
Material tests must reflect the product claim and destination. A cooler bag may need different performance evidence from a cotton promotional tote. A buyer may also request restricted-substance or labeling documentation for a specific market. Those requirements belong in the request for quotation and purchase order, because they affect sourcing, time and cost.
3. Measure the Finished Bag the Same Way Every Time
Two inspectors can obtain different results from a soft bag if one pulls the fabric flat and the other leaves it relaxed. Define the measuring method: where the bag sits, whether it is empty, how curves are handled, where a zipper opening begins and ends, and how much force may be used. Photographing the method for critical dimensions can remove a surprising amount of debate.
| Measurement | Recommended method | Common mistake |
|---|---|---|
| Body width and height | Lay the empty bag naturally on a flat surface and measure between specified seam lines | Stretching the fabric or including gusset depth in body width |
| Base or side gusset | Open the gusset to its intended shape and measure the specified finished depth | Measuring a folded edge that does not represent usable depth |
| Handle drop and length | Use named attachment points and define whether the measurement follows the curve | Switching between top-edge drop and total strap length |
| Pocket size and position | Measure finished opening plus position from fixed body references | Checking only the cut panel rather than the sewn opening |
| Logo size and placement | Measure visible artwork and distance from named seams or center line | Using a shifting fold or loosely filled bag as the reference |
| Strap adjustment range | Measure usable minimum and maximum after all hardware is assembled | Reporting raw webbing length instead of wearer adjustment |
Tolerances should be realistic for the material and construction. A rigid molded case may hold a tighter dimension than a washed cotton bag. Instead of setting one blanket tolerance, identify measurements that affect function first: laptop compartment fit, zipper opening, bottle-pocket diameter, strap length and printed logo placement are typical examples.
4. Inspect Sewing and Workmanship Systematically
A quick glance tends to catch stains and loose threads while missing structural faults. Follow the same route around each sampled bag: front, back, sides, base, opening, handles, hardware, lining and interior pockets. Turn the bag inside out when the construction allows it. Repeated order creates fewer blind spots.
| Area | What good work looks like | Defects to flag |
|---|---|---|
| Main seams | Secure, aligned and evenly tensioned without open sections | Skipped stitches, seam grin, broken thread, puckering or caught fabric |
| Handle and strap attachments | Centered reinforcement with full stitch coverage and intact material | Missed box stitch, incomplete bar tack, needle damage or asymmetry |
| Binding and edge finish | Consistent width, smooth curves and fully enclosed raw edges | Exposed edge, twisting, narrow catch or bulky overlap |
| Zipper installation | Smooth tape, balanced ends and a clear slider path | Wavy tape, trapped lining, uneven opening or loose stop |
| Lining and pockets | Correct orientation, clean corners and secure openings | Twisted lining, hole, reversed pocket or unfinished seam |
| Appearance and cleanliness | No removable marks, oil, adhesive, odor or untrimmed thread | Stain, chalk mark, glue residue, scorch, abrasion or contamination |
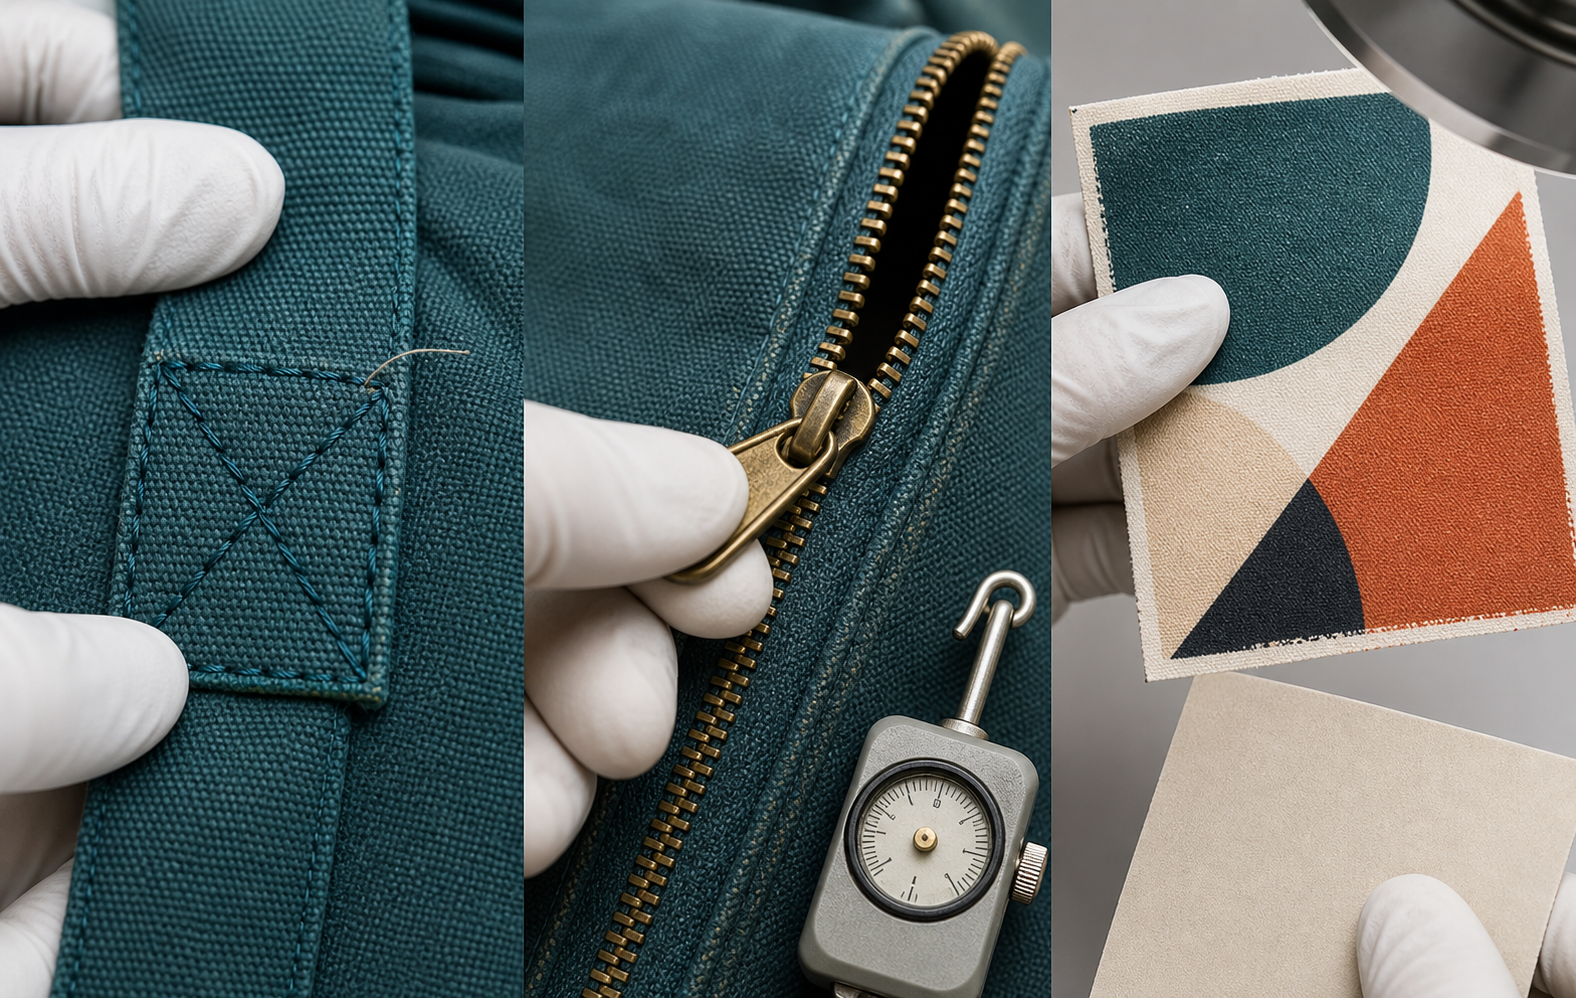
Do not let the checklist turn into a defect-counting exercise only. A repeated defect points to a process problem. Five bags with the same missed stitch at the base corner suggest an operation, guide or training issue; sorting the five samples does not protect the rest of the lot. Trace the defect back to the operation and expand the check to the affected production window.
5. Test Function, Not Just Appearance
A bag is an object people carry, open, close, load and store. Function checks should imitate reasonable use without pretending that a short factory test predicts every year of service. Define the load, duration, number of cycles and pass condition before the inspection.
| Bag or feature | Practical check | Look for |
|---|---|---|
| Tote or shopping bag | Load to the agreed test weight, lift and hold using both handles | Seam opening, handle slippage, fabric distortion or hardware movement |
| Backpack | Adjust both straps, operate buckles and carry a representative load | Uneven strap length, slipping adjuster, pressure point or attachment stress |
| Cosmetic pouch | Run the zipper through the full curve and fill typical contents | Slider catch, lining trap, restricted opening or unstable base |
| Cooler bag | Inspect insulation coverage and perform the agreed leak or condensation check | Gaps, punctures, unsealed seams or moisture at vulnerable joins |
| Drawstring bag | Pull both cords repeatedly and load the reinforced corners | Channel friction, cord fray, eyelet movement or corner tearing |
| Laptop or device compartment | Insert the agreed fit model or dimensional block | Tight opening, inadequate padding, closure contact or poor retention |
The test method matters. "Check handle strength" is not a method; "load the bag with 8 kg, suspend it for 30 minutes and confirm no seam opening or handle displacement" is much closer. The correct value must come from the buyer's intended use, product design and applicable requirement, not from a generic blog table.
6. Verify Logo, Print, Embroidery and Labels
Brand decoration is often the first thing the end customer notices. Inspect it against the approved proof and the actual bag, because a correct transfer can still be applied in the wrong position or orientation. View the bag as the customer will receive it, not only as a flat panel on the printing table.
- Confirm the artwork version, spelling, orientation and SKU before judging color.
- Measure visible logo size and position from fixed reference points.
- Check print coverage, opacity, edge definition, registration and unwanted transfer marks.
- Inspect embroidery for density, thread color, puckering, backing and loose ends.
- Rub or flex the decoration using the agreed method when adhesion is a concern.
- Check care, composition, country-of-origin and brand labels for content, sequence and location.
- Compare color under consistent lighting and record whether the reference is physical or digital.
Phone photographs are useful evidence, but they are unreliable color standards. Camera processing, screen settings and room light all change appearance. If shade is commercially important, use an approved physical reference or an agreed color standard and define the viewing conditions.
7. Classify Defects Before You Set Acceptance Rules
An inspection result needs more than a total defect count. A sharp exposed wire, a non-functioning main zipper and a removable loose thread do not have equal consequences. Buyers commonly group defects as critical, major and minor, then apply an agreed sampling and acceptance plan. The classification must be tailored to the product and market.
| Class | Practical meaning | Custom bag examples | Typical response |
|---|---|---|---|
| Critical | Could create a safety, legal or serious compliance risk | Sharp exposed part, prohibited contamination, serious label noncompliance | Immediate hold and investigation; acceptance is normally extremely strict |
| Major | Likely to cause functional failure, return or obvious rejection | Broken zipper, open structural seam, wrong material, unusable strap or badly misplaced logo | Compare count with the agreed acceptance plan and address systemic cause |
| Minor | Does not materially reduce function but falls below the agreed finish standard | Small removable mark, slightly uneven noncritical stitch or isolated loose thread | Count consistently and correct where practical |
AQL is a sampling framework, not a promise that every unit is defect-free and not permission to ship known defects. Before inspection, define the lot, inspection level, sample size, defect categories and acceptance or rejection numbers. The inspector should draw units across cartons and positions in the shipment rather than accept a hand-picked group from the factory.
Avoid inventing universal limits after the report arrives. A logo shifted 4 mm may be minor on one promotional tote and major on a tightly registered retail design. Put representative photos and measurable limits into the defect list when appearance could be interpreted differently.
8. Check Quantity, Assortment and Packaging
A well-made bag in the wrong carton is still a delivery problem. Packing inspection connects the product to the purchase order, retail system and warehouse. It should cover the smallest selling unit through the master carton.
| Packing level | Checklist | Evidence |
|---|---|---|
| Individual bag | Correct fold, protective material, accessories, insert, barcode and SKU label | Open and closed pack photos plus barcode result where required |
| Inner pack | Correct count, color mix, orientation and protective separation | Counted sample and assortment record |
| Master carton | Carton quality, quantity, dimensions, gross/net weight, sealing and marks | Measured carton, scale photo and all visible sides |
| Shipment | Total cartons, total units, SKU breakdown and packing-list agreement | Carton count and reconciliation against the order |
| Handling protection | Moisture control, sharp-part protection, compression risk and pallet rules | Packed-product review and loading instructions |
Measure finished cartons rather than relying on an early estimate. A small change in folding can change carton dimensions, freight volume and compression. For orders with several colors or logos, verify the assortment at more than one level so a correct master-carton label does not hide an incorrect inner mix.
9. Require a Report That Supports a Decision
A strong report allows someone who was not present to understand what was checked. It identifies the product and lot, states the references and method, records actual findings, and shows enough photographs to trace the conclusion. A folder of random product photos is not an inspection report.
| Report element | Minimum useful content |
|---|---|
| Order identity | PO, SKU, color, inspected quantity, lot size, location and date |
| Inspection basis | Specification revision, approved sample, artwork and packing instruction |
| Sampling plan | How units and cartons were selected plus acceptance criteria |
| Measurements | Actual values for sampled units, tolerance and pass/fail status |
| Defect summary | Counts by class, photos, locations and repeated patterns |
| Function tests | Method, quantity tested, actual result and failure details |
| Packing and quantity | Assortment, carton count, dimensions, weights and marks |
| Conclusion | Pass, fail or pending decision, with unresolved items clearly listed |
When a result fails, ask three questions: What quantity could be affected? What process created the issue? How will correction be verified? The answer may be sorting, rework, replacement, a controlled concession or rejection. The right choice depends on customer impact and evidence, not only on the cost of delay.
10. Common Inspection Mistakes Buyers Can Prevent
- Inspecting without the latest standard. A superseded drawing creates arguments even when the inspector works carefully.
- Checking only finished goods. Material and inline gates give the team time to correct a process before every unit is affected.
- Using vague language. Replace words such as acceptable, strong and centered with a reference, tolerance or test method.
- Allowing the factory to preselect all samples. Random selection should represent different cartons, lines and production times.
- Counting defects but ignoring patterns. Repetition is evidence of a process issue and may justify expanded inspection.
- Treating photos as proof of everything. Photos cannot reliably confirm material composition, hidden construction, load performance or exact color.
- Booking cargo with no correction buffer. Final inspection should occur early enough to permit a responsible response.
- Changing criteria after failure. Agree on classification and acceptance rules before the result is known.
For a closer look at problems that appear in larger orders, see How to Avoid Quality Problems in Large-Volume Custom Bag Orders. The full custom bag manufacturing process also shows where each quality gate fits between design and delivery.
A Compact Shipment-Release Checklist
Before releasing cargo, use this custom bag quality inspection checklist to answer each item below with evidence. If the answer is no or unknown, record who will close it and by when.
- The inspected lot matches the purchase order, SKU and latest approved reference.
- Required material and compliance documents correspond to the actual bulk inputs.
- Measurements, workmanship, decoration and function meet the agreed criteria.
- Any recurring defect has been contained and the affected quantity assessed.
- Quantity and color or artwork assortment reconcile with the order.
- Individual packing, labels, carton marks, dimensions and weights are confirmed.
- Corrective work has been reinspected using an agreed method.
- The final report states a clear conclusion and lists every approved deviation.
- Shipping documents and cargo-ready date match the logistics plan.
Frequently Asked Questions
When should a final inspection take place?
It should take place when the order is complete enough to represent the shipment and enough cartons are packed to inspect packing properly. The exact completion percentage should be agreed with the inspector. Schedule it before the last possible cargo handover so there is time to respond to findings.
Is AQL inspection enough for custom bags?
AQL sampling is useful for making a lot decision, but it does not replace approved specifications, material control, inline checks or appropriate performance testing. A statistically selected final sample can reveal a recurring issue; it cannot repair a process that was uncontrolled from the start.
Should every bag receive a load test?
Usually no. Some tests are destructive or impractical for every unit. Define a test frequency that reflects the product risk and construction, while using workmanship checks on a broader sample. Critical safety or regulatory requirements may need a different control plan.
Who should perform the inspection?
It may be the factory quality team, the buyer's representative or an independent inspection company. Independence can be helpful, but competence and a clear standard matter more than the label. The inspector must understand soft goods construction, the product specification and the authority for decisions.
What happens if the inspection fails?
Hold shipment while the buyer reviews severity, frequency and likely affected quantity. Agree on containment and corrective action, then verify the result through focused or full reinspection as appropriate. Do not convert a failed result into a pass simply because the vessel cutoff is close.
How does quality inspection affect lead time and cost?
Inspection requires planned time, and rework requires more. That is still cheaper than sorting after international delivery. Add quality gates to the schedule described in How Long Does Custom Bag Production Take? and include inspection or testing in the landed-cost view explained in How Much Do Custom Bags Cost?.
Turn the Checklist Into a Product-Specific Control Plan
A useful custom bag quality inspection checklist is not a single sheet copied to every order. It starts with the intended use, then translates the design into controlled materials, measurable dimensions, construction checkpoints, functional tests, defect classes and packing evidence. The clearer those decisions are before production, the less time the team spends debating them at the shipping deadline.
Supplier capability still matters. A manufacturer should explain how it controls incoming lots, first-off pieces, inline work, final inspection and corrective action. Use our How to Choose a Custom Bag Manufacturer checklist when comparing those systems, and return to the Custom Bag Manufacturer guide for the complete sourcing framework.
When you request a quotation, share the bag type, dimensions, target material, logo method, quantity, destination, intended use and any required testing. That information helps the factory propose a quality plan that fits the actual product instead of sending a generic promise.

Share your specification through our contact page. We can review the product, sampling route and practical inspection checkpoints for your custom bag project.