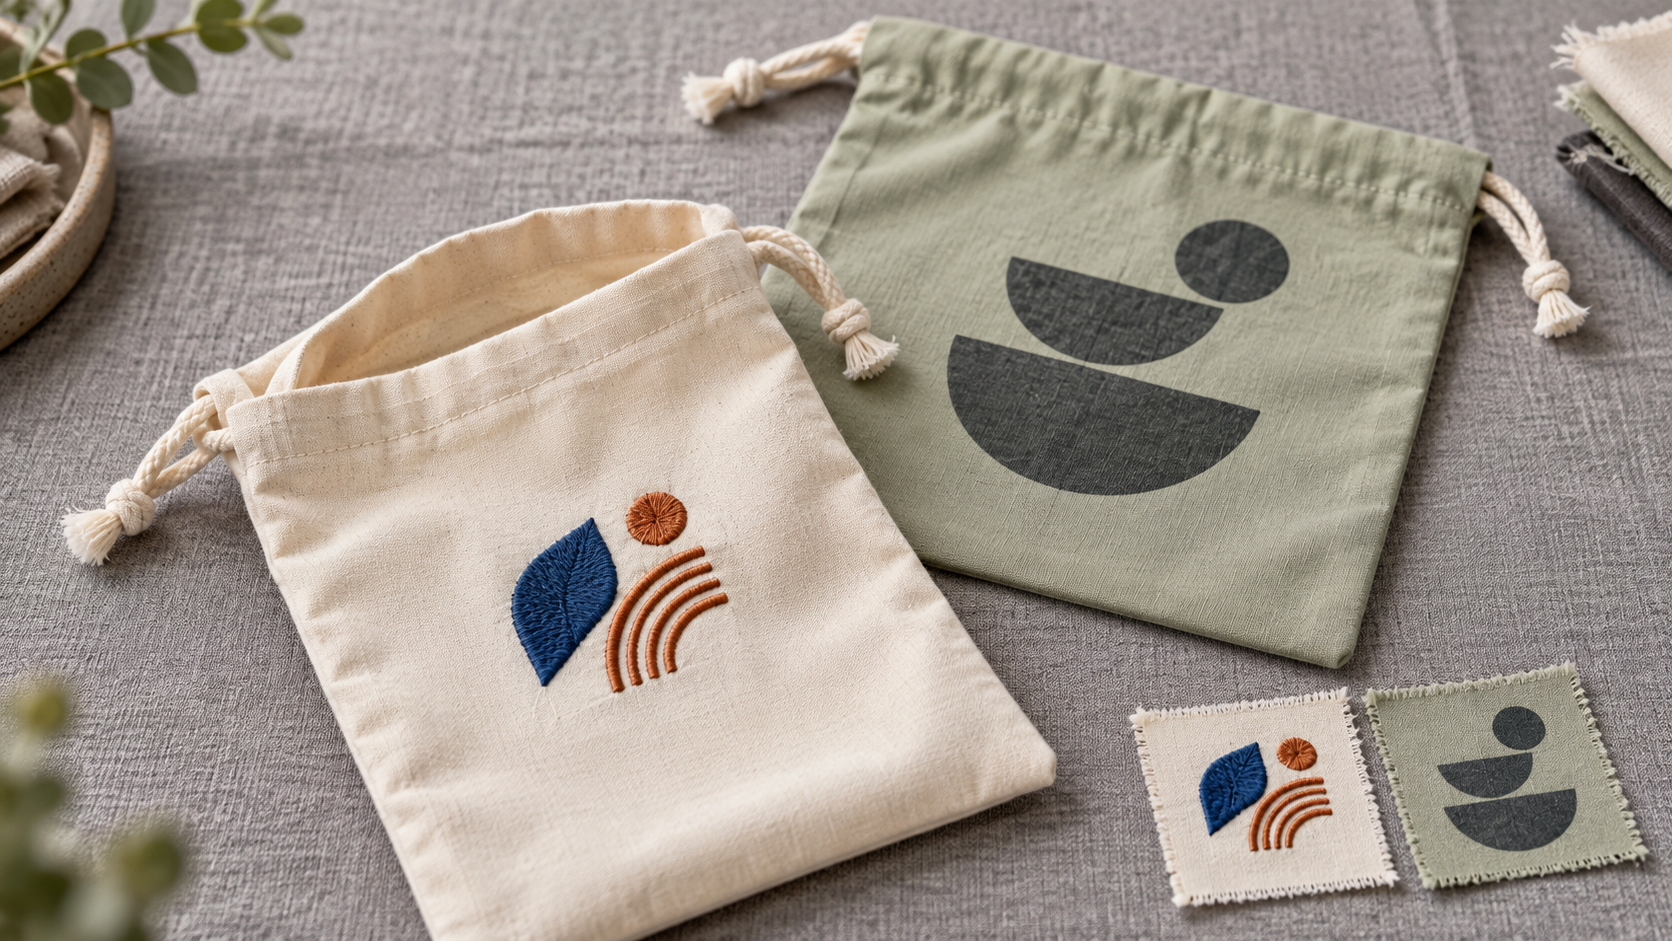
How to Prepare Drawstring Bag Artwork and Dielines
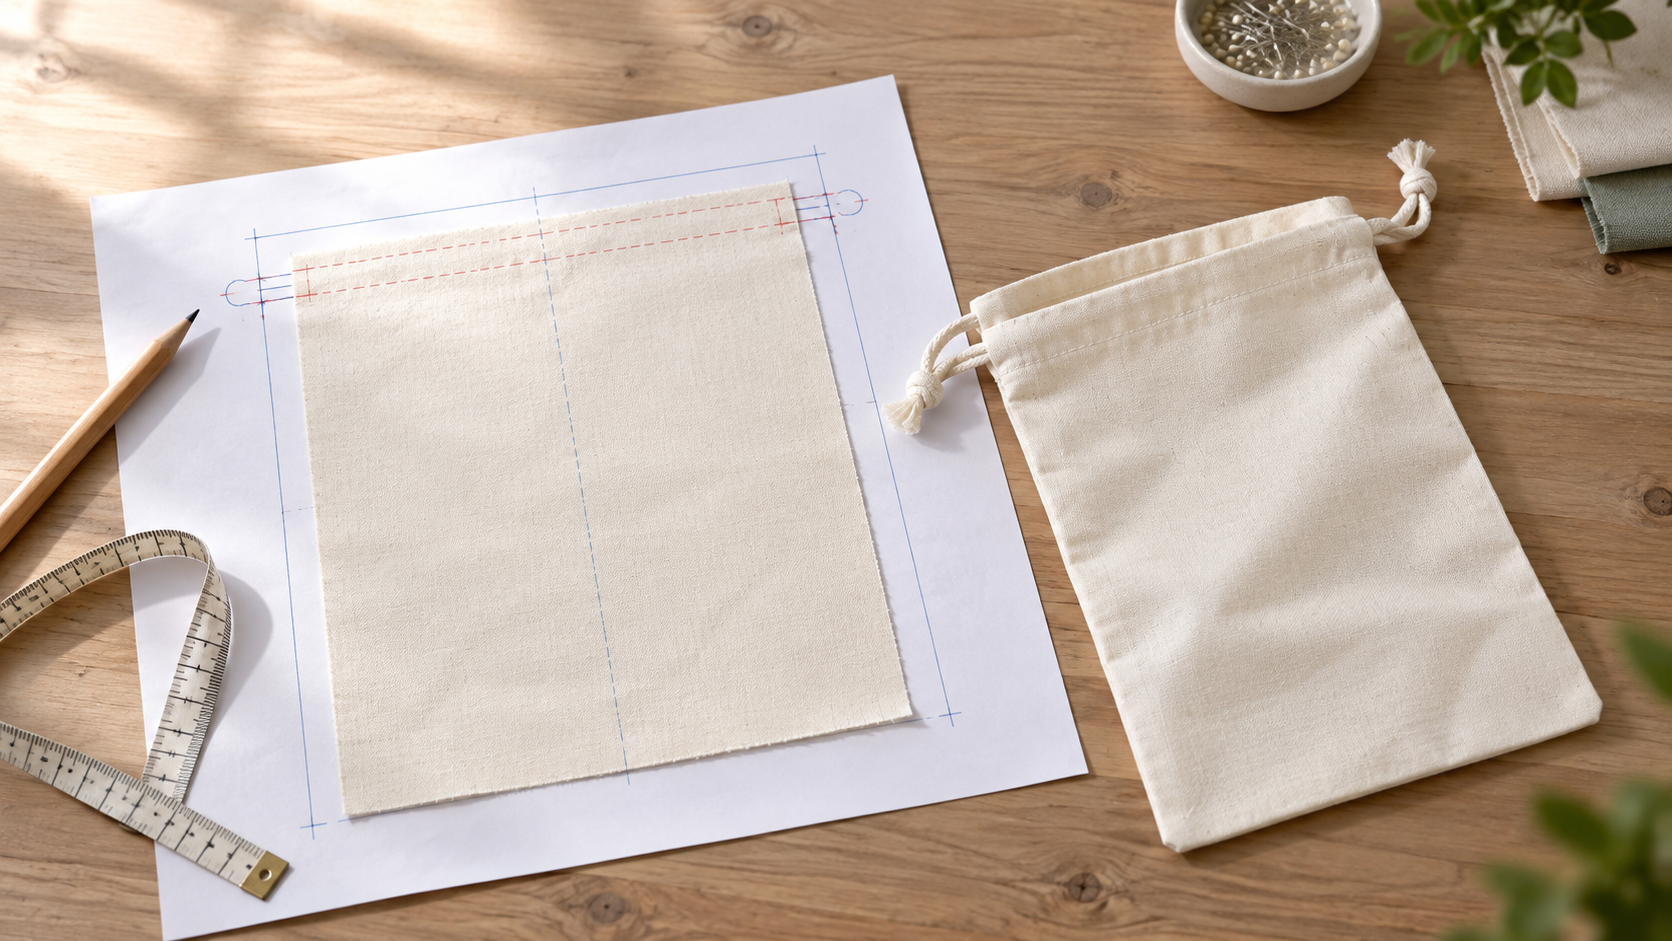
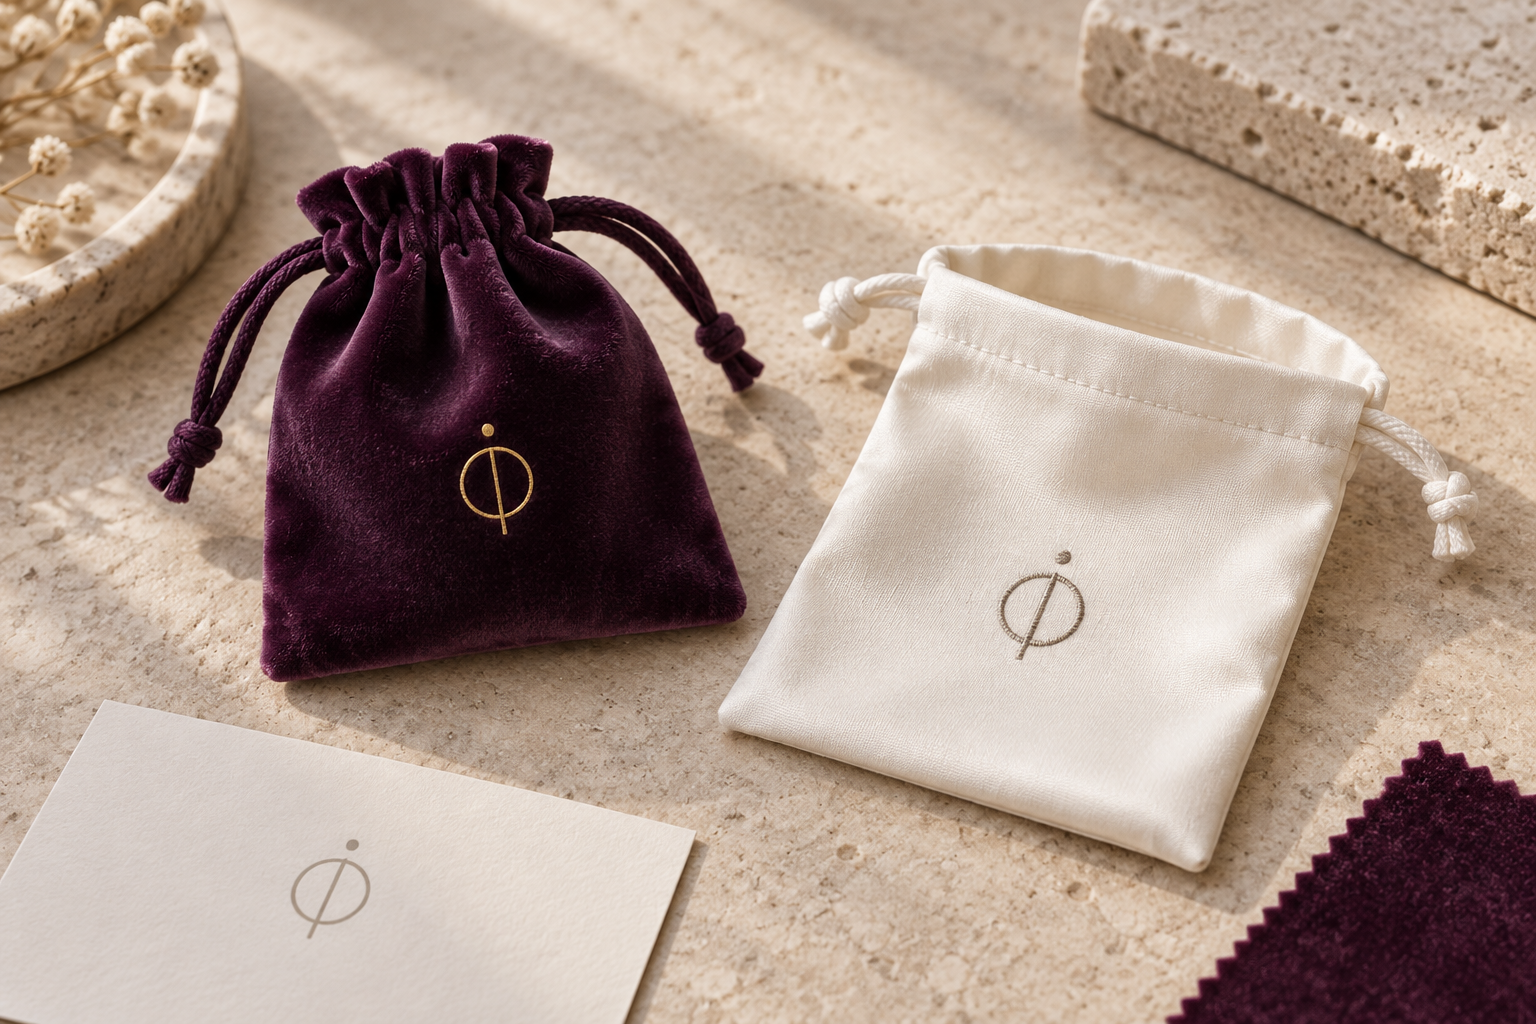
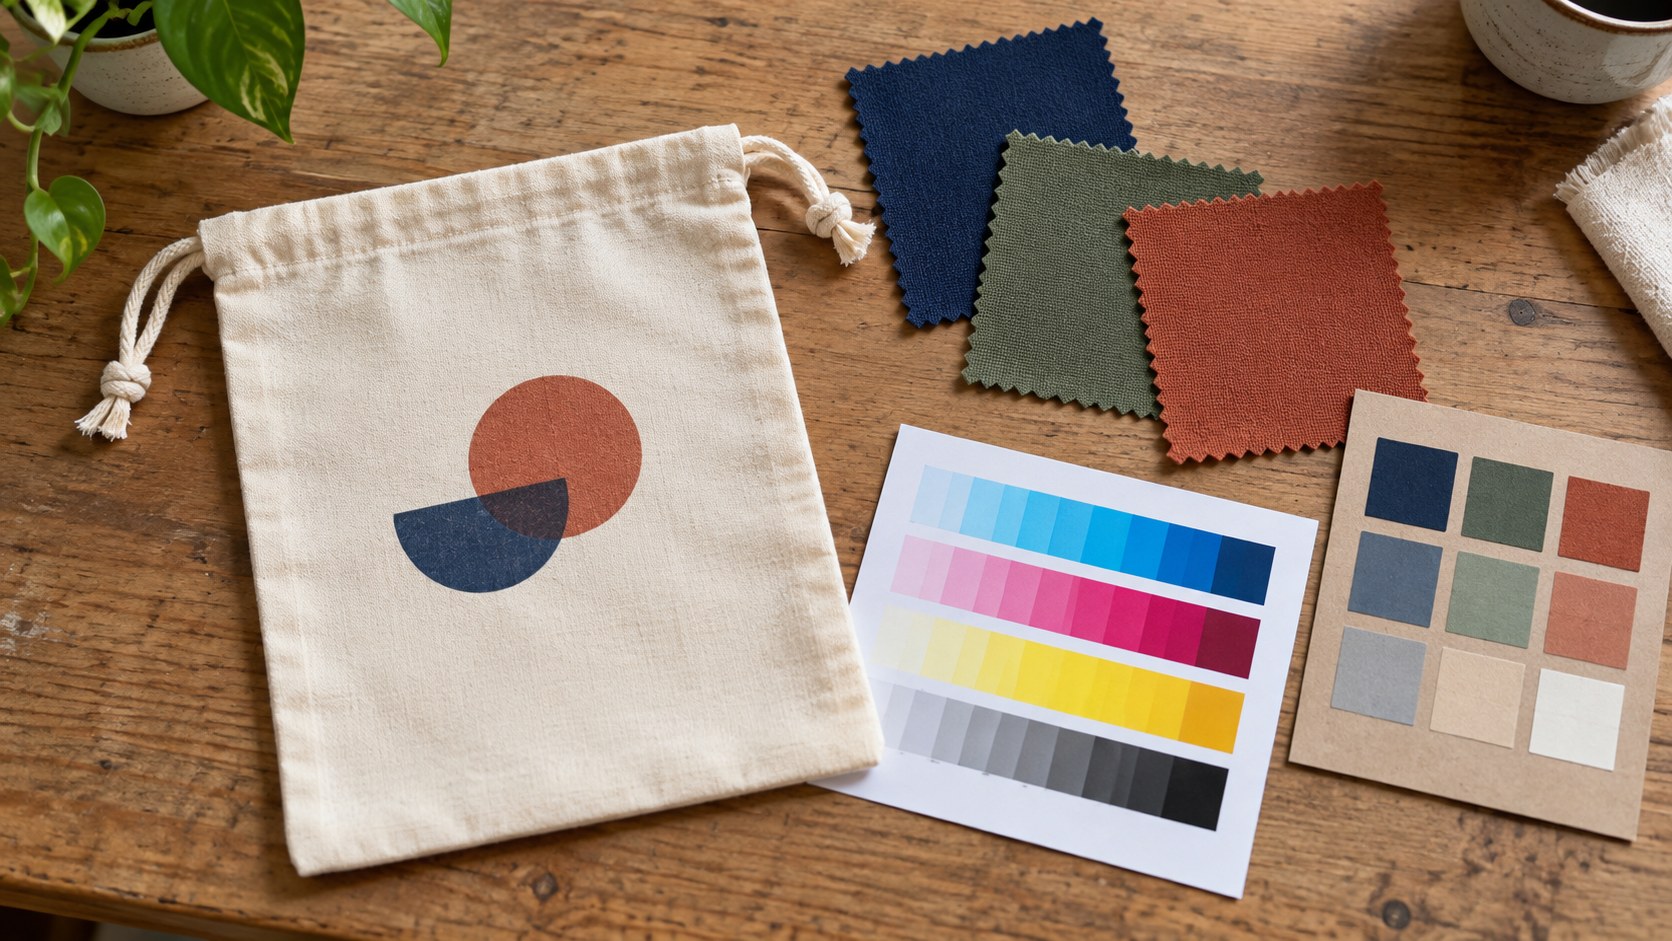
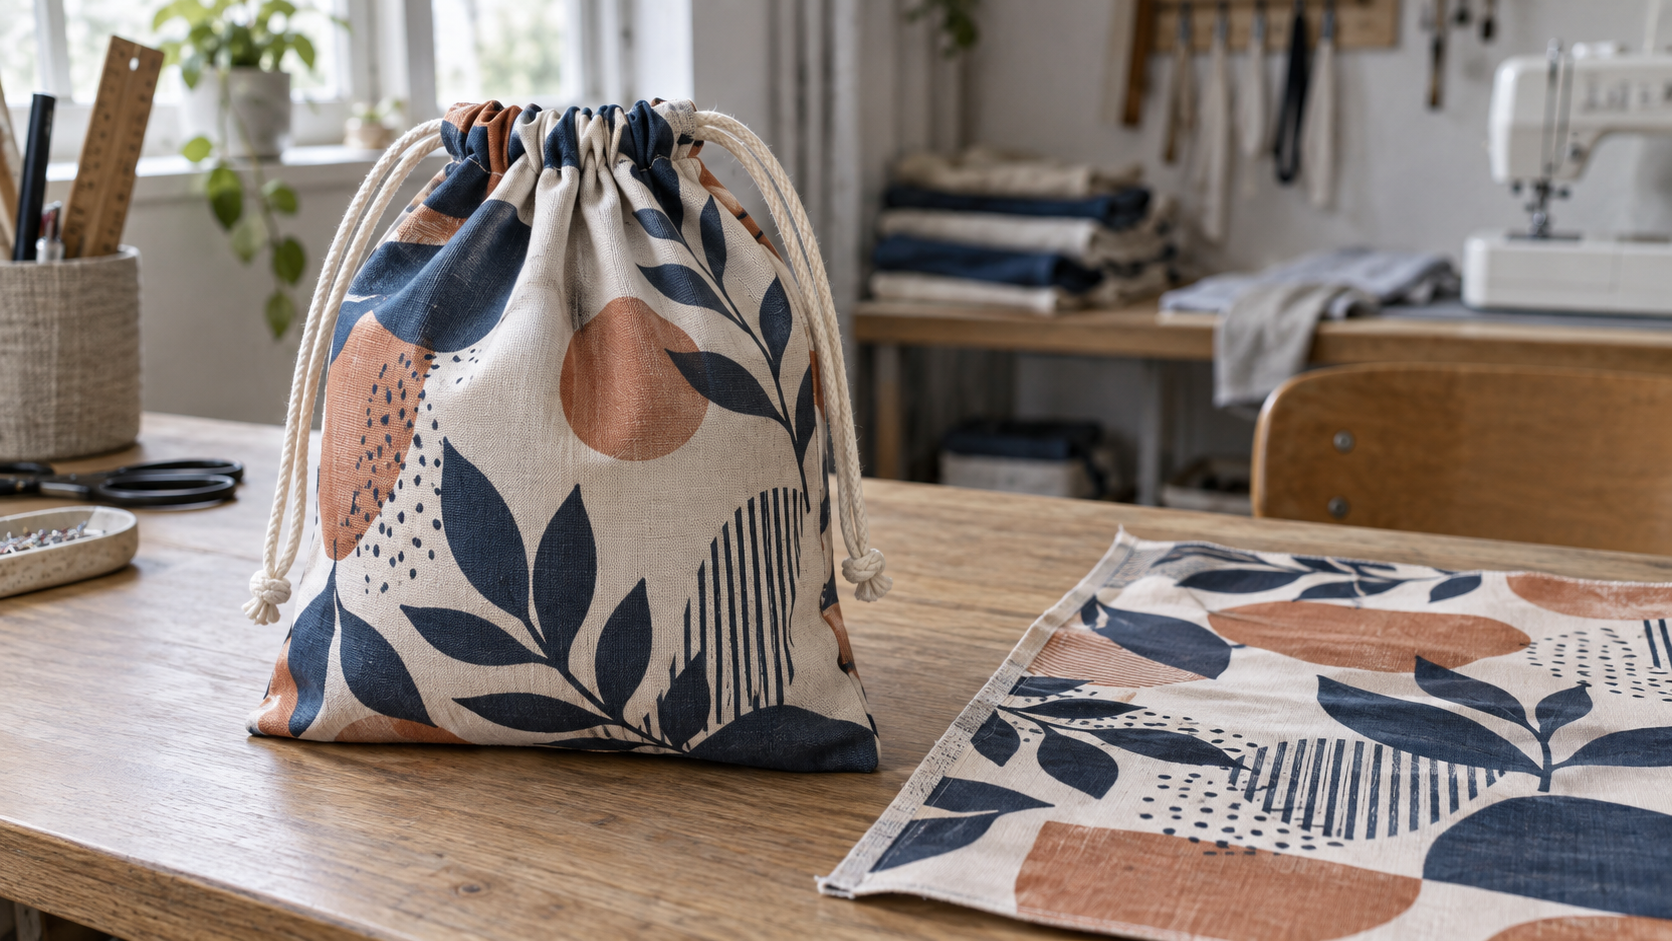
Illustrative artwork-planning scene informed by an unbranded physical pouch reference; not a photograph of a customer order or factory operation.
A usable drawstring bag artwork file is more than a logo placed on a rectangle. It must show how graphics relate to the cut panel, the sewn and filled bag, and the drawcord system. Before production, the buyer and supplier should agree on one construction-specific template, one print method, one set of approved files, and a physical sample. The supplier—not a generic internet template—should confirm the final cut dimensions, seam allowances, channel turnover, cord exits, decoration limits, and bleed for that exact bag.
This guide is the artwork-and-pattern handoff companion to our broader custom drawstring bag tech pack guide. The tech pack defines the whole product. Here, we focus on the actual drawing layers, coordinates, files, and checks a designer needs to release art without a costly interpretation gap. If you are still selecting a supplier, start with how to choose a custom drawstring bag manufacturer and the wider custom bag manufacturer guide.
1. Start with the finished bag, not a blank canvas
The visible face of a filled pouch is not identical to its flat unsewn panel. Side seams consume width; a bottom seam or gusset changes height and shape; the top folds to make a cord channel; and the drawcord gathers the mouth. A graphic that looks centered on a flat PDF can appear low, crooked, or partly hidden once the bag is closed.
First choose the actual format from LUCKYSTAR's custom drawstring bag range: for example, a small jewelry pouch, a rectangular gift bag, or a drawstring backpack. Record the intended contents, whether the bag will be viewed flat, filled, or cinched, and which face should carry the main message. Our size and capacity guide covers how to define the finished measurements; do not replace those with an assumed “standard” artboard.
| Decision to freeze | Why the artwork team needs it | What to obtain |
|---|---|---|
| Finished width and height | Establishes the customer-visible canvas | Signed points-of-measure sketch and measurement state |
| Flat or gusseted bottom | Changes the panel outline and lower visual zone | Approved construction sketch or sample |
| Single- or double-cord closure | Changes channel openings and gathering behavior | Cord-path sketch and exit positions |
| Side exit, eyelet, or reinforced corner | Creates physical no-print or no-embroidery areas | Hardware/patch position on each panel |
| Fabric and decoration route | Determines ink, transfer, sublimation, or stitch limits | Actual material, color, finish, and print proposal |
| Front/back orientation | Prevents mirrored or upside-down art | Labeled assembled-bag views |
Ask for a production-intent pattern
The best starting file is the supplier's revision-controlled cut-panel template for the agreed sample. It should be labeled with units, scale, date, revision, panel name, and “viewed from outside” or “viewed from inside.” If only a sample exists, ask the supplier to draft and approve that pattern before artwork is finalized. A photograph of a pouch is useful for concept discussion, but it cannot tell a printer exactly where the stitch line or cord exit belongs.
Never infer cut size directly from finished size
For a simple two-panel rectangular pouch, a preliminary worksheet may express cut-panel width as finished width + left seam allowance + right seam allowance. Panel height also needs the top channel turnover and any bottom seam allowance. That is only a relationship, not a universal calculation: a folded one-piece body, boxed corner, flat base, lining, binding, or different stitch method changes the pattern. Have the converter provide the actual numbers. For construction choices, see our gusset and bottom guide.
2. Distinguish a drawstring-bag dieline from print artwork
For sewn bags, “dieline” is often shorthand for a panel pattern and construction map, rather than a rigid packaging die. It tells the cut-and-sew team where fabric is cut, folded, stitched, and fitted with hardware. The print artwork is a separate layer or file that must be registered to that map. The approval PDF may show both together for review; the production file should make them independently switchable so guide lines are not accidentally printed.
| Layer | Meaning | Output rule |
|---|---|---|
| CUT | External edge of each fabric component | Technical guide only; never part of the graphic |
| STITCH | Seam or topstitch path | Confirm the approved sewing method and tolerance |
| FOLD / CHANNEL | Turnover and channel boundaries | Keep critical art outside the portion that folds or gathers |
| CORD EXIT / EYELET | Hole, opening, and reinforcement footprint | Include the entire hardware/patch keep-out area |
| BLEED | Art that intentionally extends beyond a trim or cut edge | Supplier specifies it for the chosen print route |
| SAFE ART | Area intended to remain visibly unobstructed | Derived from the physical sample, not guessed from a generic margin |
| ARTWORK | Actual printed, transferred, or embroidered design | Separate from all construction lines |
| CENTER / GRAIN | Alignment and fabric orientation aids | Technical guide only; verify direction on front and back |
Use unmistakable layer names and a small legend. Do not rely solely on line color: a monochrome proof or software import can erase that distinction. If a supplier uses different conventions, agree on a shared legend before the first art revision.
3. Build coordinates from an assembled-bag view
Prepare at least four labeled views: front, back, open mouth, and cinched mouth. For each design placement, record its distance from stable finished-bag references, then map it back to the flat panel. For a front logo, the reference may be the finished side-seam-to-side-seam width and a measured distance below the lower edge of the channel. The raw top cut edge is usually a poor placement datum because part of it disappears into the turnover.
Separate finished-bag and cut-panel measurements
Write “finished” and “cut” on every dimension. A request such as “logo 40 mm below top” is ambiguous: below the raw cut edge, the channel fold, the first stitch, or the top edge after cinching? A useful note would specify the exact reference and the viewing state, for example: “Logo optical center measured from the lower channel stitch on the finished, uncinched front face; confirm on filled sample.” The final value should come from the approved project drawing, not an example on this page.
Show a visible-area overlay
Print a transparent outline of the finished front silhouette over the flat panel drawing. Mark the areas lost to side seams, bottom construction, channel turnover, and drawcord gathering. This gives the designer a realistic canvas and gives the sample team a measurable approval target. Our logo placement and print-size guide goes deeper on visual hierarchy; this article addresses how to encode the placement into production files.
4. Map the top channel and cord exits explicitly
The channel is the most common source of drawstring-specific artwork errors. Its fold and stitch lines are not decorative guides. They determine which part of the printed panel remains visible, where graphics may distort as the mouth closes, and whether a transfer or embroidery panel can be applied without blocking the cord path.
| Channel detail | Mark on the template | Common error if omitted |
|---|---|---|
| Raw top edge | Cut line and panel orientation | Artwork is aligned to an edge that later turns inside |
| Turnover / fold | Each fold line, including any double turn | Logo or background breaks unexpectedly after sewing |
| Channel stitch | Intended stitch path | Small text is pierced or hidden by stitching |
| Side opening | Left/right exit and opening length | Artwork or seam closes the intended cord exit |
| Drawcord route | Single- or double-cord path and pull direction | Final gathered shape differs from approved mockup |
Do not place a wordmark across the fold or exit simply because the flat artwork looks clean. If a full-bleed pattern intentionally continues into a folded channel, the supplier must define a registration plan and accept a realistic seam/gather transition. The cord, eyelet and reinforcement guide explains those components in more detail.
Side exits and bottom anchors are separate constraints
A small gift pouch may have side exits near the top. A backpack-style bag may have cords anchored at reinforced lower corners. Draw both. An eyelet, patch, bar tack, or folded corner can conceal art and introduce abrasion. Any “keep-out” should describe the whole assembly, including reinforcement and practical positioning tolerance, not only the nominal hole diameter.
5. Create a panel-by-panel artwork map
Avoid “print both sides” as the only instruction. Label front, back, left gusset, right gusset, base, pocket, and lining where relevant. Specify which artwork applies to each, its orientation when viewed from the outside, and whether matching across seams is intentional. If a component is not printed, state that too.
| Panel or feature | Artwork instruction | Approval view |
|---|---|---|
| Front body | Hero logo or visual; centered to finished face | Flat, filled, and cinched front |
| Back body | Same, alternate, or blank—never assumed | Flat and filled back |
| Side gusset | Pattern continuation or deliberate solid color | Side view with seam visible |
| Bottom | Usually a separate orientation and wear consideration | Loaded bottom view |
| Pocket / flap | Independent art position and seam allowance | Closed and accessed states |
| Lining or label | Separate specification; not implied by outer art | Interior view |
For a pocketed pouch, decide whether the pocket face is decorated before assembly and whether the main-body art remains visible above it. Our pockets and zippers guide covers the construction trade-offs. For all-over graphics that deliberately cross panels, use the separate full-surface graphics guide; a basic logo handoff should not promise seamless joins it cannot control.
6. Choose the print route before fixing bleed and safe zones
There is no universal bleed or safe-area number for every drawstring bag. A design printed on fabric before cutting behaves differently from a transfer applied to a pre-cut panel or a logo printed onto a sewn pouch. Adobe's Illustrator bleed guidance defines bleed as artwork beyond the trim boundary and notes that the print shop should advise the amount needed for a particular job. For a sewn bag, the supplier must also account for textile movement, cut accuracy, seam turn-in, and channel construction.
| Production route | Art reference | Buyer should confirm |
|---|---|---|
| Print on roll, then cut | Repeat, panel orientation, cut registration | Repeat tolerance, grain direction, print-to-cut alignment |
| Print pre-cut panels | Actual panel cut line and seam map | Edge bleed, fixture position, seam loss |
| Heat transfer to panel | Transfer outline and pressable zone | Heat/pressure suitability, placement tolerance, hand feel |
| Decorate assembled bag | Accessible finished-face area | Channel, seams, folds, and press/platen clearance |
| Embroider panel | Stitch field and backing area | Fabric stability, reverse-side finish, seam and cord clearance |
The supplier should mark two different boundaries: the maximum production print/embroidery field and the smaller area where important words or marks are expected to remain visible. Decorative background can sometimes extend to a seam; legally required text or a precise logo should not be treated as disposable bleed. Compare the relevant options in custom drawstring bag printing methods.
Prevent a print route from silently changing
If a quotation changes from pre-cut screen printing to a finished-bag transfer, request an updated template and proof. The previous placement coordinates, safe area, color behavior, and approval sample may no longer apply. For two common alternatives, read screen printing vs heat transfer; for polyester graphics, see sublimation vs screen printing.
7. Set up editable art without contaminating production output
Use a native editable file at the agreed physical scale and units, plus a PDF proof that shows the intended result. Separate construction guides from production colors. Keep linked images available, confirm that fonts render correctly, and provide the exact brand-color reference and approved material swatch. A low-resolution visual mockup can explain intent, but should not be mistaken for production artwork.
| File element | Handoff check | Why it matters |
|---|---|---|
| Vector logo | Editable paths or approved production file | Avoids pixelated edges or accidental redraw |
| Raster photo/pattern | Effective resolution at final physical size | Prevents enlargement artifacts |
| Fonts | Properly licensed and either outlined in production copy or otherwise supplied legally | Prevents substitution without breaking font terms |
| Spot/CMYK colors | Named reference and print-route decision | Avoids treating screen RGB as a production standard |
| White or special ink | Separate clearly named plate if required | Prevents missing underbase on dark fabric |
| Construction lines | Non-printing, locked technical layers | Prevents cut/stitch guides from appearing on the product |
| Proof PDF | Matches the native file revision | Allows unambiguous visual sign-off |
Adobe's Illustrator packaging instructions describe gathering linked graphics and a package report for handoff; the report can expose missing links and fonts. Check font redistribution rights before sharing font files. The final file method, color space, image-resolution target, and outline policy should be agreed with the actual printer—not assumed from a generic checklist. For color decision-making, our Pantone vs CMYK drawstring bag guide provides a separate workflow.
8. Make one-page instructions for every artwork position
The pattern alone cannot communicate all the intent. Attach a position sheet to each art file. It should allow a person who did not attend the design call to identify the panel, front/back, print route, size, location, color, and approval reference without guessing.
| Field in the position sheet | Example of a useful instruction |
|---|---|
| Position ID | FRONT-01; links artwork file and sample photograph |
| Physical artwork size | Width and height in mm at 100% scale |
| Placement datum | Distance from named finished seam/channel reference |
| Orientation | Upright when bag is filled and held by cords |
| Decoration route | Pre-cut screen print, transfer, sublimation, embroidery, etc. |
| Color | Approved ink/thread reference plus fabric color reference |
| Visibility state | Flat, filled, and cinched acceptance views |
| Tolerance / approval | Agreed order-level acceptance limits and signed sample |
For multi-SKU programs, show exactly which file applies to which size and fabric. A file named only “final-final.ai” is not an adequate control. Use an item code, position ID, revision, and date in the filename and on the PDF proof.
9. Preflight the dieline and artwork together
Run the design check before asking for a production sample. This catches contradictions when changes are still inexpensive. The supplier should recheck after converting files for its actual process.
Geometry and construction preflight
Confirm scale and units; front and back orientation; each cut, fold, stitch and exit line; channel turnover; seam allowance; gusset or base construction; reinforcement footprint; and whether the visible-area overlay matches the approved sewn sample. Check that a mirrored back panel has not silently mirrored the logo. Check that the cord can move freely after any heat or stitched decoration.
Graphic and file preflight
Inspect tiny text and lines at true size, linked images, font handling, overprints or spot layers, transparency, white ink, artwork bleed, and crop/registration guides. View the PDF with technical layers visible for engineering review, then hide them for the customer-facing visual proof. The two views serve different purposes; neither substitutes for a physical sample.
| Red flag | Likely consequence | Corrective action |
|---|---|---|
| Logo measured from raw top edge | Sits too close to channel after folding | Re-anchor to finished channel reference |
| “Same art both sides” without panel orientation | Back reads upside down or mirrored | Issue labeled front/back PDFs |
| Background stops at cut edge | White gap after cut variation | Agree route-specific bleed with supplier |
| Important words in seam or cord-exit zone | Partial loss or distortion | Move essential content into safe area |
| Flat mockup is the only proof | Cinched appearance is overlooked | Photograph filled and closed sample |
| One file reused after pattern revision | Misregistration against new panel | Re-release art with matching pattern revision |
10. Approve a production-intent sample, not just a screen proof
A digital proof validates intended arrangement; a sample validates what the fabric, print process, sewing, and cord actually do together. For the first article, ask for a sample using the intended substrate, decoration route, channel construction, and hardware. Check the front, back, closed mouth, seams, and loaded shape. If a color-critical mark or fine graphic is involved, compare under agreed lighting against the approved reference.
Record the sample ID, artwork revision, pattern revision, material, printer/process, date, photographs, deviations, and approver. Correct the source file when a sample change is approved; handwritten instructions alone are easy to lose before a reorder. Our sample-development process guide explains the wider approval sequence.
A compact sign-off matrix
| Check | Approval evidence | Release decision |
|---|---|---|
| Finished size and silhouette | Measured sample against drawing | Pass / revise |
| Logo physical size and placement | Ruler photo on filled and flat face | Pass / revise |
| Mouth in open and cinched states | Two-state photos | Pass / revise |
| Seam/channel/cord clearance | Close-up of construction | Pass / revise |
| Color and edge quality | Agreed swatch or target sample | Pass / revise |
| File-to-sample identity | Revision labels match | Pass / revise |
Do not release bulk printing while a material change, altered seam allowance, or unresolved print route makes the signed sample unrepresentative. Any change to the pattern should trigger an artwork-fit review; any change to the decoration process should trigger an appropriate print/sample review.
11. Send a controlled handoff package
Deliver one folder, one revision, and one instruction sheet. A practical package contains the native art; proof PDF; supplier-approved pattern/dieline; separate front/back/component art; linked image assets or packaged links; brand-color references; position sheet; construction notes; approved sample photos; and a change log. Adobe's packaging workflow can help collect Illustrator dependencies, but it does not replace the bag-specific position sheet or signed sample.
Name the folder so the order, item, and revision are visible. Archive superseded revisions rather than leaving several apparently current files in the same release folder. Ask the supplier to confirm in writing which revision it has received and will use. This is particularly important when an order changes size, material, or cord system between quotation and sampling.
12. Why involve LUCKYSTAR early?
LUCKYSTAR's public drawstring bag product page shows several pouch formats and materials, while our company knowledge base describes customization, sampling, and order coordination. The practical reason to involve us before artwork is “finished” is that the bag's channel, seams, material, and decoration route can be reviewed together with the intended visual. That conversation can turn an attractive mockup into a specification a production partner can quote and sample.
We can discuss the use case, proposed material, logo method, panel pattern, cord/eyelet arrangement, and sample approval plan for a particular project. We do not treat a public photo as a universal production pattern, or promise a fixed print area, price, MOQ, lead time, certification, or in-house process for every style. Those details require the actual specification and written confirmation. If you are planning a related bag program, the broader custom bag manufacturer buyer guide provides a sourcing framework.
13. Copy-ready RFQ: what to send us
| Include with the inquiry | If it is still unknown |
|---|---|
| Intended product and contents | Describe the use case and target retail/gift setting |
| Target finished size and bag format | Share contents dimensions or a reference sample |
| Fabric, weight, color, finish | Describe feel, appearance, and performance priorities |
| Cord layout and exits | Show a reference image and expected open/close behavior |
| Logo or graphic file | Send a vector master or highest-quality source available |
| Print positions and colors | Mark front/back and provide brand-color references |
| Quantity, variants, destination, deadline | State estimates and identify what may change |
| Reference sample / approval criteria | Say which details are non-negotiable |
If you do not yet have a pattern, say so. Ask for a construction-specific template before investing in final art placement. If you already have a dieline, ask us to check its revision against the proposed fabric, drawcord, and print route. Commercial terms remain subject to the specification and written confirmation.
14. Frequently asked questions
Can I use one dieline for every drawstring bag size?
Usually not. A size change can move the top channel, seam turn-in, gusset, cord exits, and visible graphic area. A shared design system may be possible, but each production size needs an approved panel pattern and artwork position check.
Should a logo be centered on the flat fabric panel?
Only if a sample proves that the result appears centered on the finished bag in the intended use state. Side seams, gussets, pocket overlays, and gathering can change optical balance. Define the position on the finished face, then back-calculate it to the flat panel.
What file types should I send?
Send an editable master accepted by the production team and a matching PDF proof. Include linked graphics and font handling consistent with your licenses. The precise format depends on the printer and decoration route; confirm it before release rather than assuming any PDF is press-ready.
How much bleed should I add?
Use the amount specified by the actual supplier for the confirmed material, panel, and print method. Bleed for a paper print job does not automatically transfer to fabric cutting and sewing. Important copy should remain within the approved visible safe area even when the background bleeds.
Do I need separate front and back files?
Provide separately labeled views even when the graphics match. The supplier still needs the correct orientation, exit positions, and component mapping. One file may drive both positions only after that mapping is explicitly agreed.
Is a 3D mockup enough to approve production?
No. It is useful for intent, but it does not validate fabric appearance, print quality, seam registration, channel closure, or actual loaded shape. Approve a production-intent physical sample and preserve its file and pattern revisions.
Conclusion: release a bag-specific artwork system
The reliable handoff is a small controlled system: an approved finished-bag specification, a supplier-confirmed cut-and-sew template, separate production artwork, a position sheet, and a sample signed against matching revisions. That is the practical way to keep the logo visible, the channel functional, and the next order reproducible. Explore custom drawstring bags, then contact LUCKYSTAR with your brief to confirm the right pattern and decoration route for your project.
Request an artwork-and-dieline review
Have a pouch sketch, logo file, or sample you want to develop? Send the intended contents, finished size, material idea, decoration positions, quantity estimate, and any existing artwork. We can review what still needs to be defined for a sample and a project-specific quotation.