How to Add Pockets and Zippers to Drawstring Bags
Adding a pocket or zipper can turn a simple drawstring bag into a more useful retail, travel, gym, event, or product-packaging item. It can also introduce new failure points. A pocket changes the load path and usable volume. A zipper adds rigid components, extra seams, opening constraints, and an operating direction. Both features can interfere with the gathered top, artwork, lining, gusset, or lower cord anchors if they are added after the body pattern is already fixed.
The reliable approach is to engineer the bag, pocket, closure, and packed product as one system. Define what the extra compartment must hold, select its position, reserve clearance around moving parts, specify the complete zipper assembly, approve a production-equivalent sample, and inspect both function and appearance. Buyers developing a project can review LUCKYSTAR's custom drawstring bag options while using this guide to prepare the structural brief.
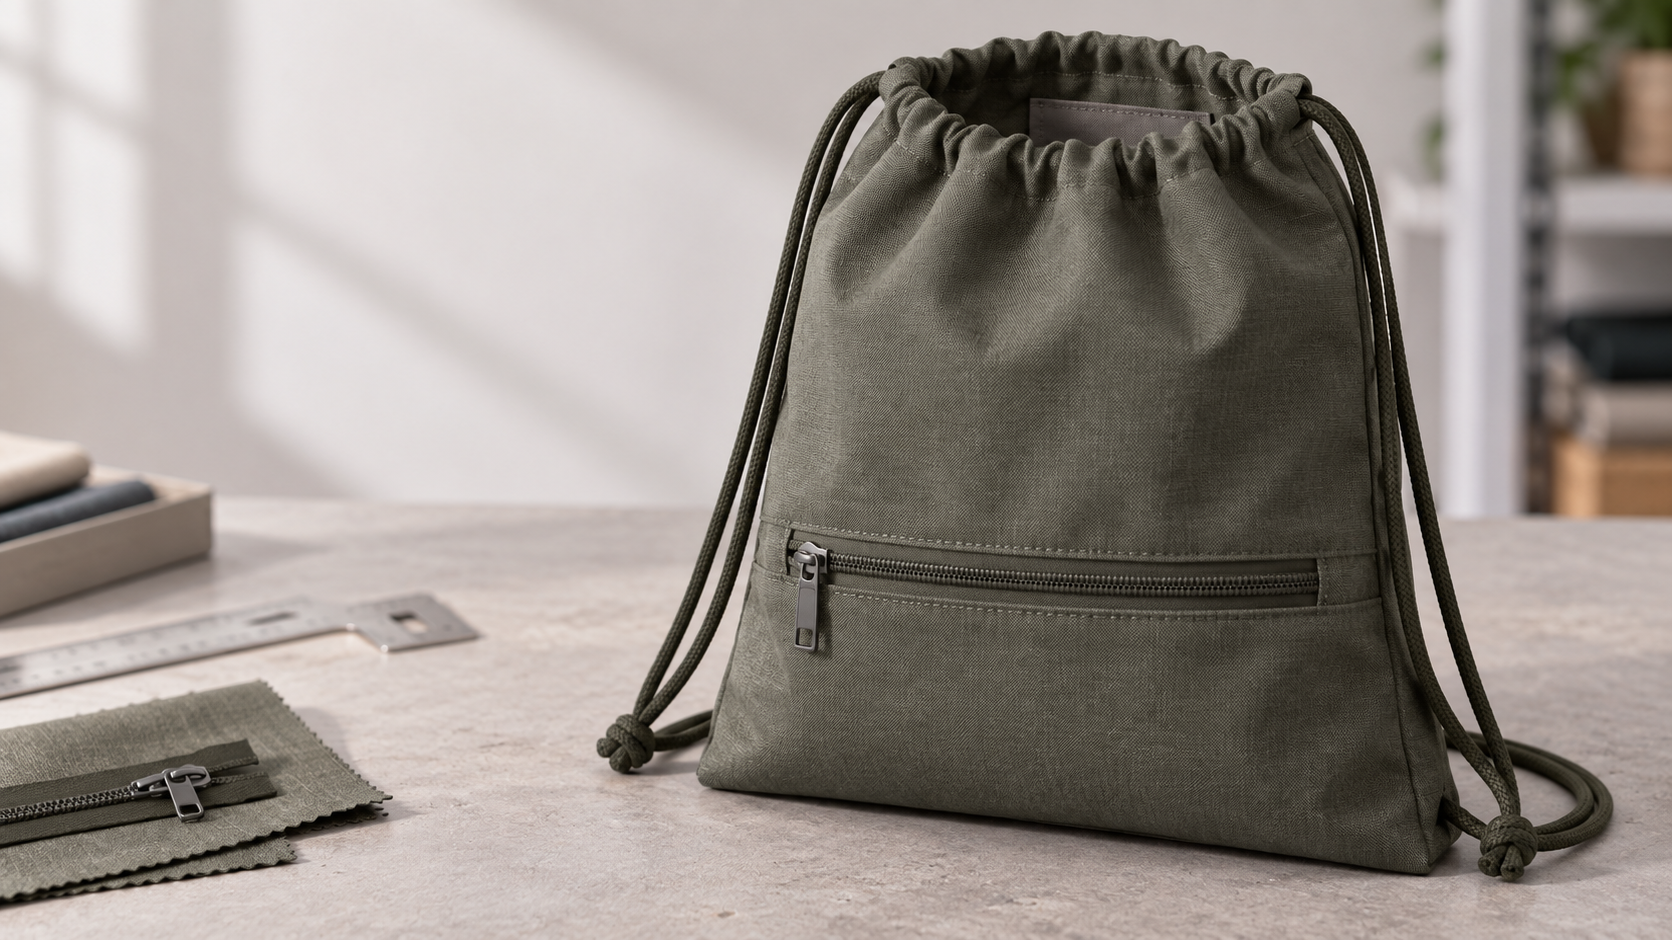
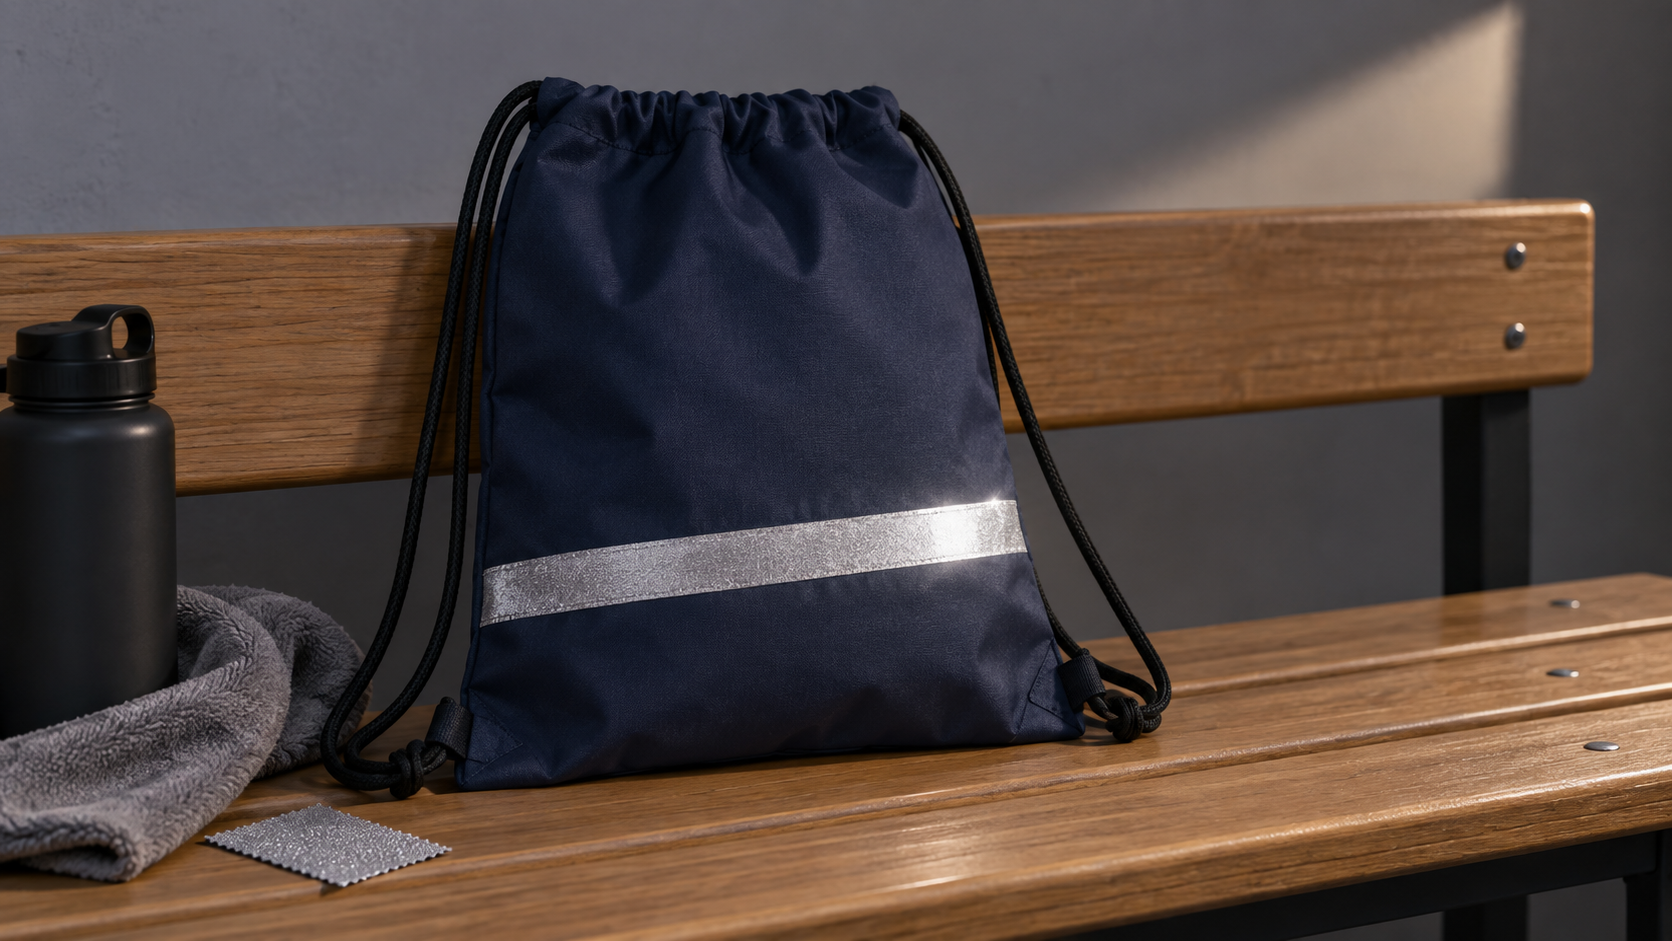
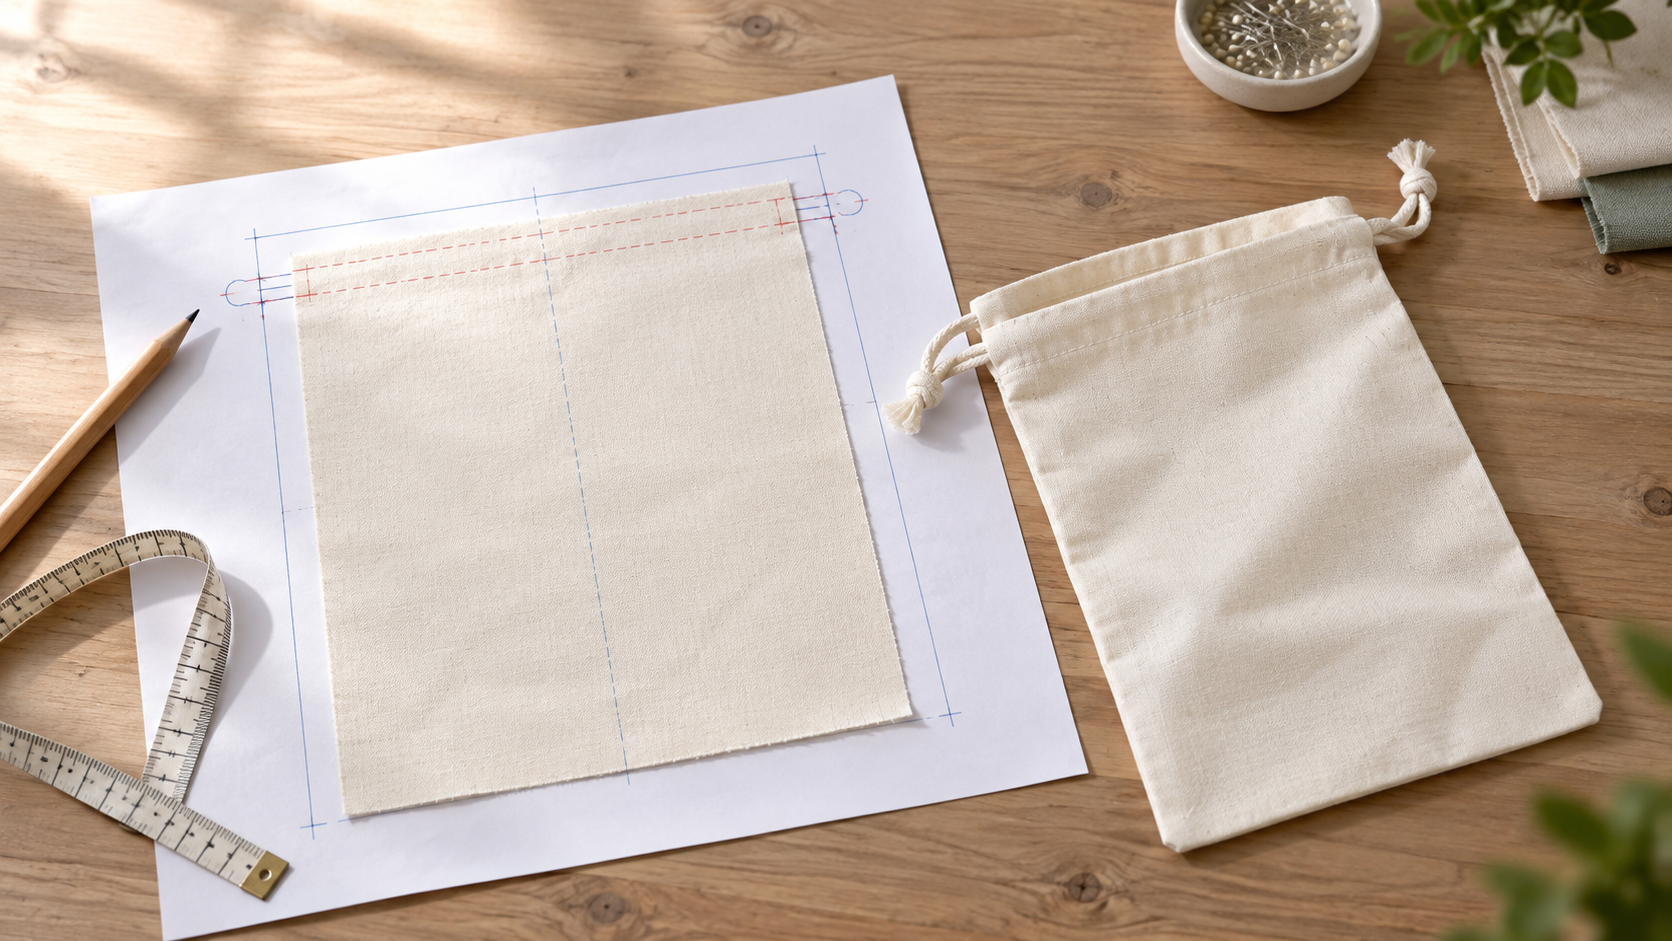
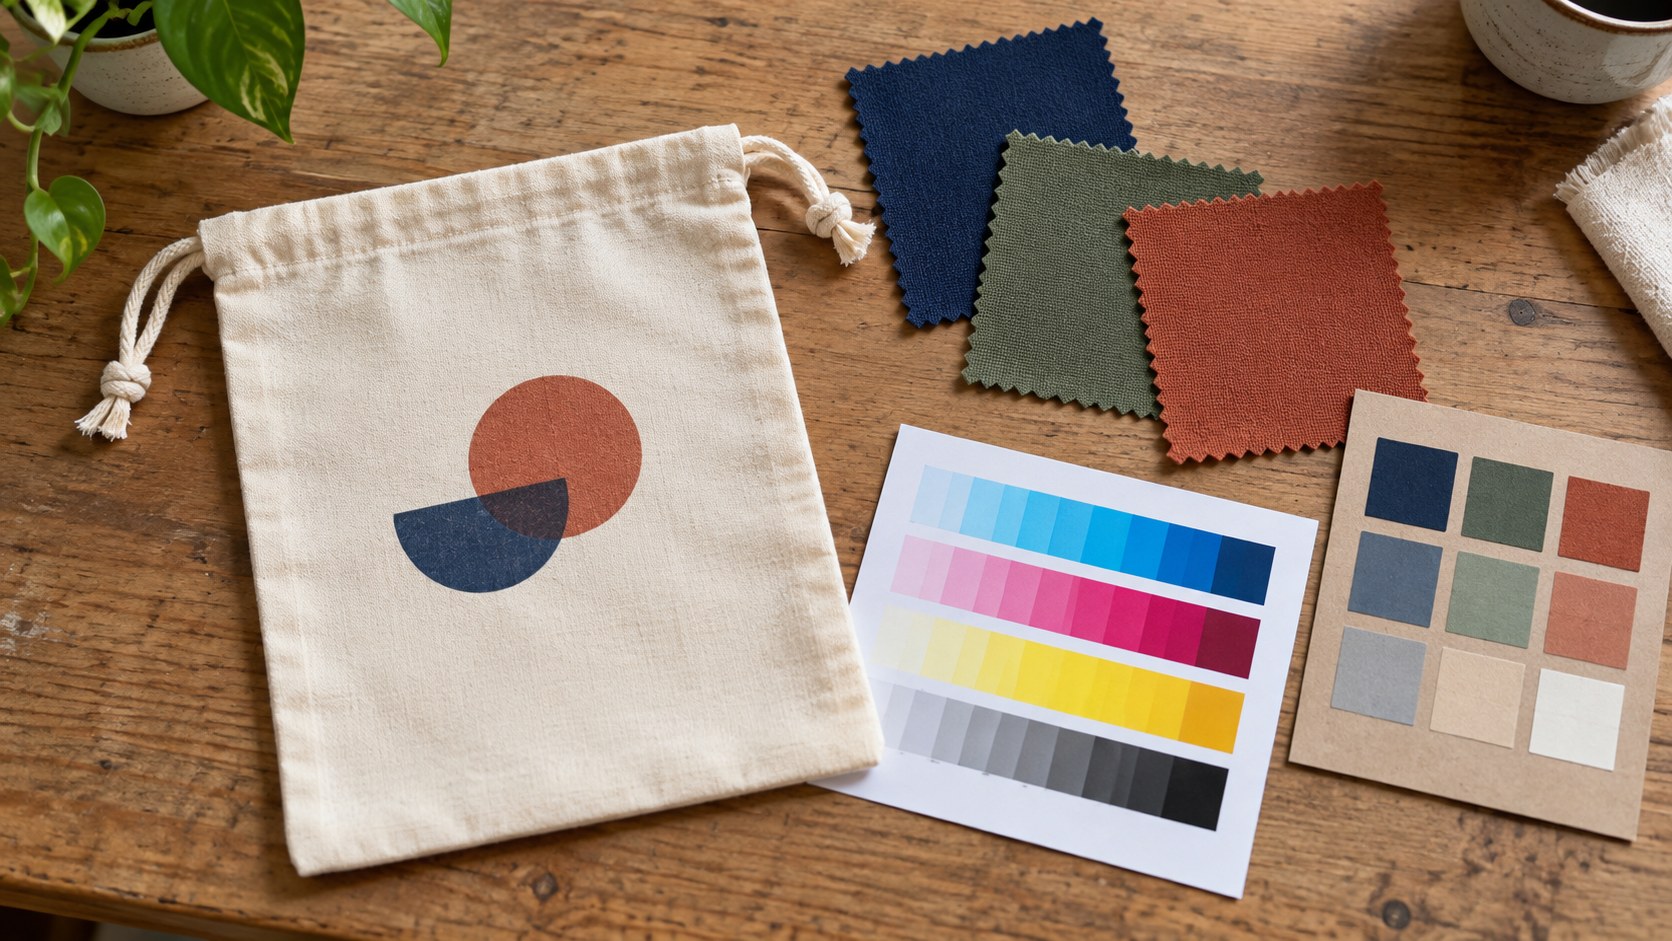
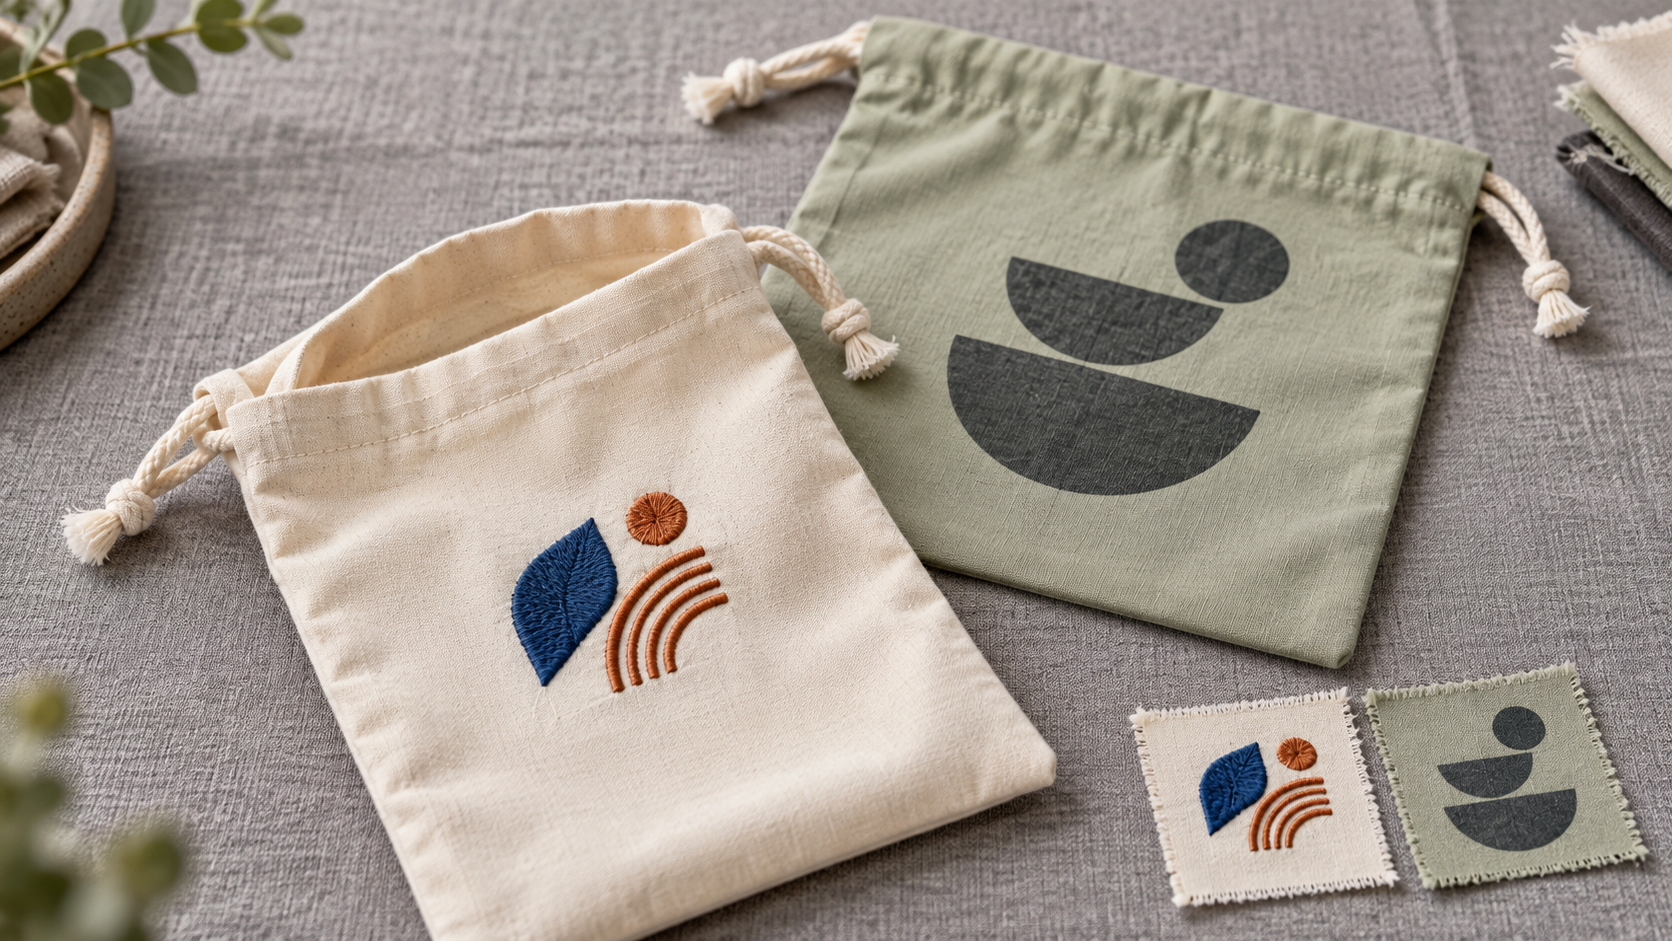
Visual disclosure: this reference-guided AI image uses an internal unbranded LUCKYSTAR sample and a separate zipper-detail reference to inform fabric scale, cord-channel construction, stitch appearance, and zipper geometry. It illustrates a possible prototype, not a current SKU, customer order, factory photograph, fixed material specification, or verified performance result.
The Short Answer: Design the Pocket Before Finalizing the Bag
Start with the item that must go into the pocket. Record its size, thickness, mass, insertion direction, access frequency, and whether it needs visibility, separation, ventilation, or security. Then position the pocket outside the drawcord's gathering zone, cord path, side seams, corner anchors, main load area, and reserved logo field.
For most projects, the lowest-risk choices are:
- an external patch pocket for quick access and simple assembly;
- an external inset zipper pocket when retention matters and a clean front is required;
- an internal hanging slip or zipper pocket for keys, cards, or small valuables;
- a mesh pocket when visibility or drainage is more important than concealment;
- a full-width divider when the goal is separation rather than frequent access.
A zipper should be specified as a system—chain or coil, tape, slider, puller, top and bottom stops, end construction, color, finished opening, orientation, and test plan—not as “add a zipper.” The approved sample must be checked with the intended contents while the bag is empty, loaded, open, gathered, carried, and repeatedly accessed.
| Feature route | Best used for | Main advantage | Main engineering risk |
|---|---|---|---|
| External patch pocket | Bottle, brochure, towel, quick-access item | Visible capacity and relatively direct sewing | Gaping, corner tear, blocked logo area |
| External inset zipper pocket | Phone, card, key, compact accessory | Better retention and cleaner silhouette | End stress, zipper waviness, shallow usable opening |
| Internal hanging slip pocket | Small light items | Keeps exterior clean; easy reach near top | Pocket swings, lining bears the load |
| Internal zipper pocket | Valuables or small loose items | Concealed retention | Difficult access and more complex assembly |
| Mesh pocket | Wet item, sports accessory, product visibility | Drainage, ventilation, visual inventory | Snagging, elastic fatigue, edge damage |
| Full-width divider | Shoes, kits, literature, paired products | Separates the main cavity | Reduces flexible volume and complicates cleaning |
First Define the Pocket's Job
“One front pocket” is not a functional specification. A flat card sleeve, a phone compartment, a bottle holder, and a shoe separator require different depth, opening, reinforcement, and access.
Answer these questions before choosing the construction:
- What exact item goes in the pocket, including its retail case or protective cover?
- Must it remain inside when the main bag is inverted or moved rapidly?
- Does the user need one-handed access?
- Will the pocket be reached while the drawstring is open, closed, or worn?
- Can the contents press against the main product?
- Must moisture, sand, or air escape?
- Is the pocket expected to carry concentrated mass?
- Does the feature need to survive washing or other care?
- Is a visible zipper part of the brand language, or should it be concealed?
- Which target-market safety, chemical, labeling, or performance requirements apply?
If the item is not known, provide a controlled dummy or maximum envelope. A pocket measured only from a flat drawing may become too tight after seam allowance, zipper tape, lining, binding, and body curvature consume space.
Map the Bag Into No-Conflict Zones
A drawstring body is not an uninterrupted rectangle. The upper section must gather; the sides may carry cords; the lower corners may anchor shoulder cords; the bottom may expand; and the center may be reserved for decoration. A useful layout marks all these zones before a pocket outline is drawn.
| Zone | What happens there | Pocket or zipper rule |
|---|---|---|
| Drawcord channel | Fabric folds compress and slide along the cord | Keep pocket layers and zipper ends below the gathered band |
| Cord exit | Cord changes direction and rubs the exit opening | Do not place a zipper pull or pocket edge in the swing path |
| Upper access band | User reaches into the main compartment | Keep an internal pocket reachable without trapping the hand |
| Logo field | Decoration needs a stable, unobstructed surface | Reserve clear space around pocket seams and zipper relief |
| Side seams | Body panels join and carry tension | Avoid burying zipper stops unless the assembly is deliberately engineered that way |
| Lower cord anchors | Shoulder-style cords pull at concentrated points | Separate the pocket bag and zipper from reinforcement patches |
| Gusset or bottom fold | Body changes from flat to three-dimensional | Test whether pocket contents cross or stiffen the fold |
| Wear face | Surface contacts clothing, floor, shelf, or product | Recess or protect hardware that could abrade adjacent surfaces |
When a pocket is placed too high, closing the bag can buckle the zipper and make the slider hard to move. When placed too low, the compartment may fold under the main load or collide with a boxed bottom. Use the drawstring bag size and capacity guide and the gusset and bottom construction guide together when the contents are bulky.
Choose the Right Pocket Architecture
The best pocket is not necessarily the most elaborate one. Each additional layer changes thickness, labor, usable capacity, and the order of assembly.
External Patch Pocket
A patch pocket is a separate panel sewn onto the outside. It can be open, elasticated, flap-covered, hook-and-loop secured, or zipper closed. Because the pocket bag is visible, its outline becomes part of the product design.
Specify finished width and height, corner shape, opening treatment, top hem, seam allowance, stitch rows, reinforcement at opening ends, and whether the pocket has volume. A truly flat patch pocket may fit only a slim item; adding a center pleat, side bellows, darts, or elastic creates expansion but also changes appearance.
Avoid stitching a patch pocket through an already attached floating lining unless the stitch-through appearance has been approved. If the body will be printed first, the pocket can cover or interrupt artwork; if the pocket is printed separately, panel registration needs its own tolerance.
External Inset Zipper Pocket
An inset, welt-style, or slit zipper pocket places the opening within the body panel. The pocket bag sits behind the shell, producing a relatively clean exterior. It works well for small secure items, but its ends concentrate stress and its assembly is less forgiving than a patch pocket.
The pattern needs a defined opening line, zipper tape reveal, end treatment, pocket-bag depth, stitch path, and reinforcement method. The cut opening must be controlled so the corners do not fray, stretch, or pucker. A lightweight shell may need a local backing chosen for compatibility rather than a stiff generic patch that prints through the face.
Internal Hanging Pocket
A hanging pocket is attached near the upper lining or back panel and remains free at its lower edge. It keeps the exterior uncluttered and brings small items near the mouth. A slip version suits lightweight contents; a zipper version improves retention.
The attachment line must carry the pocket's load. If it is sewn only to a weak lining, the lining can sag or tear even when the outer shell remains intact. For a heavier item, connect the pocket to a reinforced seam or engineer a load-spreading yoke. Confirm that the pocket does not enter the drawcord channel or obstruct the main opening when filled.
Mesh Pocket, Divider, or Hidden Sleeve
Mesh is useful when the contents should be visible or able to drain. Bind or fold its edge, control stretch direction, and keep sharp zipper components away from open mesh. A divider can be anchored along the side and bottom seams, but it may restrict the bag's ability to expand. A hidden sleeve between shell and lining can create a clean look, yet small gaps must not let items fall into an inaccessible cavity.
Decide Whether the Zipper Closes a Pocket or the Main Bag
A pocket zipper and a top zipper solve different problems. A pocket zipper retains small items while the drawcord remains the main closure. A top zipper creates a second closure across the main opening. Combining both a full top zipper and a drawcord is possible, but it affects opening width, gathering, assembly, and user sequence.
If a top zipper sits below the drawcord channel, the user may have to loosen the cord before reaching it. If the zipper is placed within the gathered band, the teeth and tape may wrinkle sharply when the cord is pulled. A gusseted zipper bridge can keep the top opening flatter, but it adds panels and reduces the simplicity that makes a drawstring bag attractive.
Before approving a dual-closure design, test whether the zipper can be operated with the bag loaded and whether the pull remains accessible after gathering. For many promotional or general-retail uses, a secure inner pocket plus the normal drawstring closure is a cleaner solution than a full secondary top closure.
Specify the Complete Zipper Assembly
Zipper shorthand varies by supplier and product category. A nominal size alone does not define chain width, tape width, slider body, pull design, finished length, or performance. Use a physical reference or a component data sheet when appearance or function is critical.
| Zipper field | What to specify | Why it matters |
|---|---|---|
| Construction | Coil, molded plastic element, metal element, reverse coil, or other agreed type | Changes flexibility, profile, mass, abrasion, and appearance |
| Chain/coil size | Supplier system plus measured reference | Number conventions are not always interchangeable |
| Tape | Fiber, weave, width, color, finish | Tape must sew cleanly and remain stable with the shell |
| Slider | Locking/non-locking if relevant, orientation, finish, color | Affects movement and unintended opening |
| Puller | Shape, length, material, finish, custom attachment | Influences grip, noise, snag risk, and brand appearance |
| Stops | Top/bottom stop type or closed-end construction | Prevents the slider leaving the chain and controls end bulk |
| End use | Closed-end or separable | Most bag pockets use closed-end construction |
| Finished opening | Usable clearance between defined end points | Determines what can actually pass through |
| Direction | Left-to-right, right-to-left, vertical, or paired | Affects ergonomics and visual consistency |
| Color approval | Tape, elements, slider, puller, thread | Prevents “matching zipper” from hiding multiple color decisions |
ASTM lists dedicated methods for zipper dimensions, strength, and operability. Its current catalog includes D2060 for dimensional measurements, D2061 for zipper and component strength, and D2062 for operating characteristics. These standards are useful references, not automatic requirements for every bag. The buyer and supplier must agree which method, edition, specimen, conditioning, performance threshold, and report format apply to the project.
Match the Zipper Type to Material and Use
Coil zippers are flexible and often suit textile pockets and curved or soft assemblies. Reverse-coil placement hides much of the chain for a cleaner face and can reduce direct contact with adjacent surfaces. Molded plastic elements provide a more pronounced technical look and may suit heavier constructions. Metal elements can support a premium aesthetic but add mass and a harder contact surface.
| Bag context | Usually worth sampling | Watch carefully |
|---|---|---|
| Lightweight polyester | Small flexible coil, narrow controlled tape | Panel distortion, heat sensitivity, needle damage |
| Heavier polyester or nylon | Coil or molded element depending on styling | Tape-to-shell balance, end bulk, abrasion |
| Cotton or canvas | Coil, metal, or molded options after sampling | Shrinkage mismatch, puckering, dye transfer, care method |
| Non-woven PP | Lightweight zipper with local support if required | Perforation, tearing at opening ends, heat/weld compatibility |
| Mesh | Zipper on a woven carrier or bound edge | Stretch mismatch, snagging, exposed raw mesh |
| Coated fabric | Flexible chain and compatible tape/needle plan | Coating puncture, delamination, false waterproof assumptions |
| Velvet or microfiber pouch | Fine coil or concealed treatment | Nap direction, pressure marks, sewing visibility |
The underlying material decision should come first. Start with the material-selection overview. For synthetics, compare polyester and nylon; for natural-fiber options, review cotton and canvas construction. Projects using spunbond structures need the separate non-woven GSM and assembly guide.
Finished Opening Is More Important Than Nominal Zipper Length
The distance ordered from a zipper supplier is not always the same as the unobstructed opening available to the user. End folds, seam capture, stops, topstitching, pocket-bag geometry, and the slider itself reduce clearance. A wide item also needs room for the user's fingers and for the pocket mouth to flex.
State at least three values:
- the zipper component's specified length and measurement points;
- the visible exterior opening between the finished ends;
- the minimum usable clearance verified with the intended item.
For a phone, card case, sample bottle, or folded brochure, test insertion at the real angle. A component may fit a paper rectangle yet catch at the zipper ends when inserted three-dimensionally. Also check access while the main bag is full; the main contents can press against the pocket and reduce its usable depth.
Reinforce the Ends Without Creating a Hard Spot
Pocket openings tend to fail first at their ends because the user pulls outward while accessing the contents. Reinforcement can include a backer, bartack, triangle stitch, extended zipper tape, folded welt, wider seam allowance, or load-spreading panel. The correct choice depends on the shell, lining, expected force, and appearance.
Control the Terminal Geometry
The zipper's closed ends should be symmetrical and protected from repeated bending. Do not let a bulky stop sit directly under a narrow needle turn. Do not trim tape so closely that fraying reaches the stitch line. When zipper ends are hidden in a seam, confirm that the seam has enough allowance and that the slider never runs into excessive folded bulk.
Match Reinforcement to the Fabric
More stitches are not automatically stronger. Dense needle perforations can weaken film, coating, non-woven material, or loosely woven cloth. A very stiff backing can move failure to its edge. ASTM's D7506/D7506M pocket-reinforcement method examines localized weakness associated with bartacking in garment pockets. Its scope is not a universal bag specification, but the principle is valuable: evaluate the assembled reinforcement and record where and how it fails, instead of approving a bartack by appearance alone.
Plan the Lining and Assembly Sequence
Pockets should be installed while the relevant panels remain accessible. Adding them late can force visible stitch-through, awkward turning, missed edges, or hand operations that are difficult to reproduce in bulk.
Unlined Bag
An external patch pocket can be attached directly to the shell, but its reverse stitching remains visible inside. An inset pocket needs clean finishing of both the opening and pocket bag. Define whether internal raw edges are overlocked, bound, folded, or enclosed. Loose pocket-bag corners should not catch the main contents.
Drop-In or Suspended Lining
Internal pockets are often attached to the lining before it enters the shell. The top attachment must not distort the lining or bear more weight than intended. The lining's shape should follow the body sufficiently to avoid bridging a gusset or hanging into the base.
Bagged-Out Lining
A fully lined construction can hide pocket and zipper edges, but it needs a planned turning opening and closing operation. Thick zipper ends may become trapped at narrow corners. Approve the exterior, interior, and partially turned construction view so the production route is understood—not just the finished front photo.
The broader custom drawstring bag manufacturing process explains how specification review, sampling, production, inspection, and packing connect. For a pocketed design, the operation bulletin should identify exactly when each pocket, zipper, reinforcement, lining, body seam, channel, and cord is installed.
Keep the Pocket Away From Drawcord Movement
The upper body compresses when the cord is pulled. A zipper positioned inside this gathering stroke can bow, twist, or pinch. An internal hanging pocket can also rise into the cord path if its attachment is too high.
Conduct a simple interference review in four states:
- bag flat and fully open;
- bag loaded but not gathered;
- bag gathered to the approved closure gap;
- bag worn, lifted, or carried as intended.
Observe cord sweep, puller position, pocket-mouth shape, access angle, and pressure from the contents. If the bag uses lower shoulder-cord anchors, review the attachment route with the drawstring cord, eyelet and reinforcement guide, single-cord versus double-cord comparison, and round cord, flat cord, and webbing guide.
Protect the Branding Area
A front zipper is visually dominant. It divides the surface, casts a shadow, and may bend the surrounding panel. Place artwork only after the filled and gathered shape is approved.
The tech pack should show:
- finished pocket and zipper outlines;
- logo center and orientation;
- minimum clearance from zipper topstitching and pocket edges;
- maximum decoration dimensions;
- safe area after seam allowance and assembly tolerance;
- whether artwork appears on the body, pocket panel, or both;
- print sequence relative to pocket installation;
- acceptable alignment between pocket and body graphics.
If a large logo is commercially important, consider moving the zipper to the back, using an internal pocket, or placing a patch pocket low enough to preserve the main branding field. The approved sample should be photographed flat and filled because pocket contents can curve a print that looked straight on an empty panel.
Build a Pocket-and-Zipper Tech Pack
A practical tech pack turns a visual idea into measurable production instructions. Use callouts, sections, and component references rather than paragraphs alone. The custom drawstring bag tech-pack guide provides the overall framework; add the fields below for this feature.
| Specification block | Required information | Approval evidence |
|---|---|---|
| Pocket purpose | Exact contents, mass, access frequency, retention need | Fit photo or controlled dummy |
| Pocket geometry | Finished W × H × D, corner radius, opening, seam references | Dimensioned drawing and measured sample |
| Position | Distance from finished top, centerline, sides, and bottom | Front/back elevation with tolerance |
| Zipper | Type, supplier code/reference, chain, tape, slider, pull, stops, color | Sealed component or clear reference image |
| Opening | Component length, visible line, minimum usable clearance | Insertion/removal trial |
| Pocket bag | Material, color, depth, seam finish, orientation | Interior photo and material swatch |
| Reinforcement | Backing, stitch type, bartack dimensions, end treatment | Construction close-up |
| Assembly | Operation order and which layers are captured | Section drawing or approved breakdown sample |
| Appearance | Tape reveal, waviness, puckering, symmetry, thread | Signed sample and defect boundary |
| Function | Loading, access, inversion, operation, care, or cycling method | Written test plan and report form |
Use one measurement datum. For example, position the zipper from the finished top edge when the bag is laid flat and fully open, not from a raw cut edge that disappears during sewing. State whether dimensions are measured with the pocket empty and the bag relaxed.
Develop Samples in Deliberate Stages
A decorated sales sample should not be the first time the pocket architecture is tested. Isolate structural uncertainties before paying for final color and branding.
Stage 1: Construction Mock-Up
Use production-representative layers to confirm opening formation, zipper installation, turning, reinforcement, pocket depth, and assembly access. The color can be provisional, but material thickness and stiffness should be close enough to reveal bulk and puckering.
Stage 2: Functional Prototype
Load the exact pocket item and main product. Operate the zipper from all intended positions, gather the bag, carry it, invert it if relevant, and inspect the lining. Mark every requested change on the same sample and revision sheet.
Stage 3: Pre-Production Standard
Approve component identity, colors, finished dimensions, pocket placement, zipper opening, stitch appearance, artwork, pack-out, and inspection plan. Treat this signed or digitally controlled sample as a production reference. The sample development process explains how to keep versions, feedback, and approvals traceable.
Inspect More Than Whether the Slider Moves
A zipper may open once at final inspection and still be unsuitable. Quality control should connect incoming components, panel preparation, sewing, in-process checks, final function, and packing.
| Stage | What to check | Typical evidence |
|---|---|---|
| Incoming zipper | Type, length, color, tape, slider/pull, stops, visible damage | Approved component versus sampled lot |
| Cut panels | Pocket opening, grain/direction, notches, reinforcement location | Pattern and cut-part audit |
| First article | Position, opening, symmetry, tape reveal, pocket depth, access | Signed measurements and photos |
| In-line sewing | Stitch path, end security, caught layers, puckering, loose threads | Patrol record and defect samples |
| Finished function | Smooth travel, no trapped lining, retention, usable clearance | Defined operation and fit check |
| Loaded assembly | Pocket and main contents together, closure and carry | Project-specific load/use trial |
| Appearance | Straightness, color, finish, dents, scratches, abrasion risk | Approved visual boundary |
| Packing | Puller protection, compression, transfer, deformation | Carton pack-out check |
For a broader order-control framework, see the custom bag quality inspection checklist. Sampling level, defect classes, measurement tolerance, test quantity, cycle count, and acceptance thresholds must be agreed for the actual order.
Recognize Common Failure Modes
Failure analysis is more useful when it names the location and mechanism, not just “zipper broken.”
| Symptom | Likely mechanisms | Prevention route |
|---|---|---|
| Slider jams | Lining caught, chain distorted, end bulk, contamination | Add lining clearance; control stitch path and finished geometry |
| Opening waves | Tape fed unevenly, shell stretches, incompatible stiffness | Stabilize locally; balance feeding; approve production material |
| Pocket mouth gapes | Opening too wide, body curves, contents too thick | Change geometry, add closure, or introduce controlled volume |
| Corner tears | Concentrated pull, short seam allowance, excessive perforation | Spread load and validate end reinforcement |
| Pocket bag turns out | Bag too shallow, access direction wrong, lining friction low | Increase depth or secure lower/side points appropriately |
| Item will not pass | Usable opening smaller than nominal zipper | Measure finished clearance and run a product fit trial |
| Zipper scratches product | Exposed metal pull or teeth contact another surface | Recess, cover, reorient, or change component material |
| Cord catches puller | Intersecting operating paths | Increase vertical/lateral separation and test gathered state |
| Print looks crooked | Artwork aligned to cut panel rather than finished pocket | Approve finished datums and define placement tolerance |
| Lining tears | Pocket load carried by lightweight lining | Connect load to a reinforced structure or reduce intended contents |
Create a Project-Specific Test Plan
There is no responsible universal cycle count or pocket-load rating for all drawstring bags. A light event giveaway, reusable gym bag, jewelry pouch, and retail kit have different duty profiles. Define the use case and agree methods and limits in writing.
Zipper Operability
Record the bag state, pocket contents, operating direction, speed if relevant, and the signs that constitute failure: sticking, slider separation, chain damage, pull detachment, stop failure, lining capture, or unacceptable increase in operating force. ASTM D2062 covers opening/closing and related operability characteristics, but a buyer still needs an end-use acceptance plan.
Component Strength
If strength is material to the project, identify which zipper property matters. ASTM D2061 includes separate procedures for elements, stops, slider lock, slider pull, and other components; one result does not certify the entire zipper or finished bag. Testing should use the zipper type and conditioning that match the written requirement.
Pocket and Seam Strength
Pulling only the zipper chain does not evaluate how the pocket is sewn into the shell. The current ISO 13935-2:2026 addresses maximum force to seam rupture by a grab method for stated sewn-seam applications and also defines scope limitations. Agree whether a recognized method is applicable or whether a repeatable product-specific load procedure better represents the assembly. Document failure mode—thread break, fabric tear, seam slippage, backing delamination, or zipper separation.
Do Not Turn a Zipper Into a Waterproof Claim
A zipper can improve retention without making a pocket waterproof. Water may enter through the chain, tape, stitch holes, opening ends, body seams, lining, or coating defects. A reverse-coil or coated zipper may alter exposure but does not prove whole-pocket or whole-bag performance.
Use precise terms such as “zippered pocket,” “covered zipper,” or “coated zipper option” only when they describe the approved construction. Claims such as water-resistant or waterproof require an agreed test method, condition, area, result, and order-specific evidence. Buyers developing wet-use or outdoor projects should read Waterproof Drawstring Bag Materials Explained and test the complete prototype.
Consider Safety, Care, and Target-Market Compliance
Hardware affects more than styling. A long puller can snag; a removable decorative charm can become a small part; sharp metal edges can damage skin or the packed product; nickel or other restricted substances may be relevant to the destination and product category; and a heavy slider can strike the user during movement.
Define the user group, destination, use environment, care method, and applicable requirements before selecting components. Ask for order-relevant evidence where needed, rather than relying on a generic supplier certificate. Current LUCKYSTAR knowledge-base records do not support presenting GRS, GOTS, BSCI, ISO, REACH, RoHS, CE, or another named scheme as a universal current company or product-line certification. Any material, chemical, recycled-content, safety, or performance statement must be tied to the correct legal entity, component or sample, scope, valid date, and order.
Care compatibility also matters. Zipper tape, shell, lining, thread, backing, coating, and hardware can react differently to washing, heat, solvent, or abrasion. If cleaning is part of the intended service life, approve the complete bag after the agreed treatment—not each material in isolation.
Understand Cost, MOQ, and Lead-Time Effects
Pockets and zippers affect more than component price. They add pattern pieces, cutting, preparation, reinforcement, sewing, turning, inspection, and possible rework. A custom puller or special color may create its own minimum order, tooling, or procurement time. Multiple pockets can change packing thickness and carton quantity.
| Decision | Potential cost effect | Potential schedule/MOQ effect |
|---|---|---|
| Open patch pocket | Extra panel and sewing | Usually fewer component dependencies |
| Standard zipper pocket | Zipper plus more operations and inspection | Depends on available component/color |
| Custom-color zipper | Color matching and approval | May require component minimum and added procurement time |
| Custom metal/rubber pull | Tooling or special component | Sample approval and supplier minimum may apply |
| Lined internal pocket | More material and assembly steps | Additional pattern and sample review |
| Multiple compartments | Repeated components, seams, checks | More complex line balancing and quality control |
| Waterproof-style treatment | Specialized component and seam choices | Testing and validation can extend development |
The most effective savings usually come from simplifying the feature around its actual job: one well-placed compartment instead of several speculative pockets, a standard approved pull instead of custom hardware, shared zipper colors across variants, and early fit validation to prevent rework. The broader drawstring-bag cost-engineering article shows how to make those trade-offs without quietly weakening the specification.
LUCKYSTAR does not publish one universal pocket surcharge, MOQ, sample fee, or lead time because these change with body material, lining, zipper source, color, puller, size, branding, quantity, testing, packing, and delivery plan. Review the drawstring bag MOQ and production-time guide and the 2026 pricing guide, then request an order-specific written quotation.
Check Packaging Before Approving the Design
Zipper sliders and custom pulls can mark the neighboring bag during bulk packing. A structured pocket may keep air inside and increase carton volume. Elastic mesh can catch another unit. A metal puller may need to face inward or be separated by tissue, film, or another agreed protective method.
Run a production-style pack-out with the intended fold, unit packaging, quantity per carton, and transport orientation. Inspect the bag after a realistic compression and unpacking interval. Make sure the zipper remains accessible, the pocket is not permanently creased, decoration is not scratched, and the proposed protection does not undermine sustainability or cost objectives.
Why Choose LUCKYSTAR for a Pocketed Drawstring Bag Project?
LUCKYSTAR's brand history dates to 2015. Its custom-project support is aimed at overseas brands and business buyers that need bags or related merchandise developed to a written brief. For a pocket-and-zipper project, the useful advantage is not a generic “customizable” claim; it is the ability to coordinate the interdependent decisions from brief and sample through production, inspection, and export-ready packing.
Project support can include:
- reviewing pocket purpose, product fit, bag size, material, lining, cord route, and branding together;
- developing OEM/ODM specifications from a drawing, sample, reference, or structured brief;
- sampling alternate pocket positions, zipper types, reinforcement, and assembly routes;
- recording approved dimensions, component references, appearance, and functional checks;
- coordinating first-article, in-process, finished-bag, and packing controls;
- discussing order-specific material evidence, testing, packing, and delivery needs before confirmation.
These capabilities do not replace a precise brief. They make that brief easier to convert into a controlled sample and repeatable production reference. Commercial conditions, test scope, certificates, origin, MOQ, price, and timing remain subject to specification and written confirmation for each project.
For a wider supplier evaluation, begin with the cross-category manufacturer guide. Then apply the more specific drawstring-bag supplier checklist. International buyers can also review the practical documentation and logistics sequence in the China-import guide for custom drawstring bags.
What to Include in Your RFQ
Send enough information for suppliers to quote the same product. An RFQ that says only “polyester bag with one zipper pocket” invites hidden assumptions.
Include:
- intended use, destination market, user group, and target quantity;
- main product dimensions, mass, shape, and photographs or dummy;
- overall finished bag dimensions and measurement method;
- shell, lining, backing, mesh, cord, and reinforcement requirements;
- pocket type, position, finished size, capacity, and exact contents;
- zipper construction, length definition, tape/chain/slider/pull color, direction, and reference;
- logo artwork, method, position, color references, and clearance from the pocket;
- construction drawings or a sample to match;
- required appearance, fit, function, cycling, strength, care, or chemical checks;
- tolerance, sampling, defect classification, inspection, and approval process;
- individual packing, carton, labeling, shipment, and delivery requirements;
- required documents, with the exact product, component, standard, market, and validity scope.
If alternatives are allowed, ask each supplier to separate the base configuration from optional pocket, lining, custom-puller, testing, and packaging costs. That makes offers comparable without forcing premature simplification.
A Buyer Approval Checklist
Before releasing production, confirm all of the following:
- The pocket holds and releases the exact item without forcing the zipper.
- The finished opening, not just zipper length, is measured and approved.
- The pocket remains usable when the main compartment is full.
- Neither pocket nor puller interferes with gathering, cords, anchors, gusset, or bottom.
- Pocket ends and attachment points have an approved reinforcement route.
- The lining cannot enter the slider or carry an unintended concentrated load.
- Logo size and position are approved on the finished, filled bag.
- Component identities and colors are traceable to the approved sample.
- Operation, appearance, load/fit, care, and packing checks are written.
- Test methods and limits apply to this material, construction, market, and use.
- MOQ, price, sample scope, production timing, and packing are confirmed in writing.
- The controlled pre-production sample and revision are unambiguous.
Frequently Asked Questions
Can you add a zipper pocket to any drawstring bag?
Not reliably without development. Very light, highly open, stretchy, coated, or non-woven materials may need a different opening, carrier, reinforcement, needle plan, or pocket route. The zipper must also clear the drawcord channel, seams, anchors, logo, and packed product. Sample the complete construction before production.
Is an inside or outside zipper pocket better?
An outside pocket gives faster access and can become a visible design feature. An inside pocket keeps the exterior cleaner and better conceals small valuables. Choose according to user sequence, access, load, lining construction, logo priorities, and whether the main compartment will be full when the pocket is used.
How far below the drawcord should a zipper sit?
There is no universal distance. It depends on channel depth, gathering stroke, fabric stiffness, opening height, pocket contents, and bag size. Mark the compressed upper zone on the prototype, then approve a measurable clearance in both open and gathered states.
What zipper is best for a lightweight polyester drawstring bag?
A flexible coil zipper is often a practical starting point, but chain size, tape, slider, pull, and reinforcement must suit the actual fabric and intended use. A lighter component can still cause waviness if the panel stretches during sewing, so a sample is essential.
Can a zipper pocket be waterproof?
Only if the full construction is designed and tested for a defined exposure. A coated or covered zipper alone does not seal tape, ends, stitching, pocket fabric, or adjacent seams. Use a scoped water-resistance claim only when the agreed completed-pocket or finished-bag test supports it.
How do I stop the lining from catching in the zipper?
Provide enough clearance between lining and chain, secure loose lining near the opening, control pocket-bag depth and orientation, and inspect the stitch path. Test with the main compartment loaded, because pressure from inside can push a previously clear lining toward the slider.
Does a zipper pocket reduce the logo area?
Usually yes. The opening and its reinforcement create a no-print or caution zone, while pocket contents can curve the surface. Approve artwork after the pocket location and filled shape are fixed. An internal or rear pocket may preserve a large front branding field.
Does adding pockets increase MOQ or lead time?
It can. Standard components may have limited impact, while custom-colored zippers, specialized finishes, unique pullers, or multiple materials may carry supplier minimums and added approvals. LUCKYSTAR confirms MOQ and timing for the selected specification rather than applying one rule to every project.
What should be tested before bulk production?
At minimum, verify product fit, usable opening, access when loaded, zipper movement, stops and puller, pocket attachment, end reinforcement, lining clearance, bag closure, cord interference, appearance, branding, and packing. Add project-specific cycling, strength, care, chemical, or water tests only with written methods and acceptance criteria.
Can LUCKYSTAR match a reference bag with a pocket and custom zipper pull?
LUCKYSTAR supports OEM/ODM and sample development from buyer specifications, drawings, references, or samples. Matching depends on the lawful design brief, available or specially developed materials and components, target performance, quantity, and approval plan. Tooling, minimums, timing, and test needs are confirmed per project.
Final Recommendation
Treat every added pocket as a second product interface and every zipper as a moving component. Define the contents first, protect the drawcord's operating zone, measure the usable opening, spread stress at the ends, plan the lining and sewing sequence, and approve the finished feature under real loading and access conditions. That work prevents a useful idea from becoming a jammed slider, torn corner, distorted logo, or inaccessible compartment in bulk production.
LUCKYSTAR can help turn a pocket-and-zipper concept into an order-specific custom drawstring bag specification, prototype, control sample, inspection plan, and export-ready packing proposal. Send the intended contents, dimensions, material preference, pocket sketch, zipper reference, artwork, quantity, destination, and required tests for review.

GET A QUOTE FOR YOUR CUSTOM DRAWSTRING BAG
Reviewed: September 14, 2026. Technical standards, materials, supplier component codes, testing, compliance, MOQ, price, and timing should be reconfirmed for the target market and order specification.