Drawstring Cord, Eyelet and Reinforcement Guide
A reliable drawstring bag does not come from choosing the “strongest” cord or adding the largest metal eyelet. It comes from designing a compatible system: cord surface and diameter must suit the channel; every exit must avoid cutting or chafing the cord; eyelets must be set through a stable material stack; and reinforcement must spread force into the bag rather than concentrate it at one hole or stitch line.
This guide helps brand, retail, event, gift, and sourcing teams specify that system, review samples, and set practical quality checks. For available design directions, visit LUCKYSTAR’s custom drawstring bags.
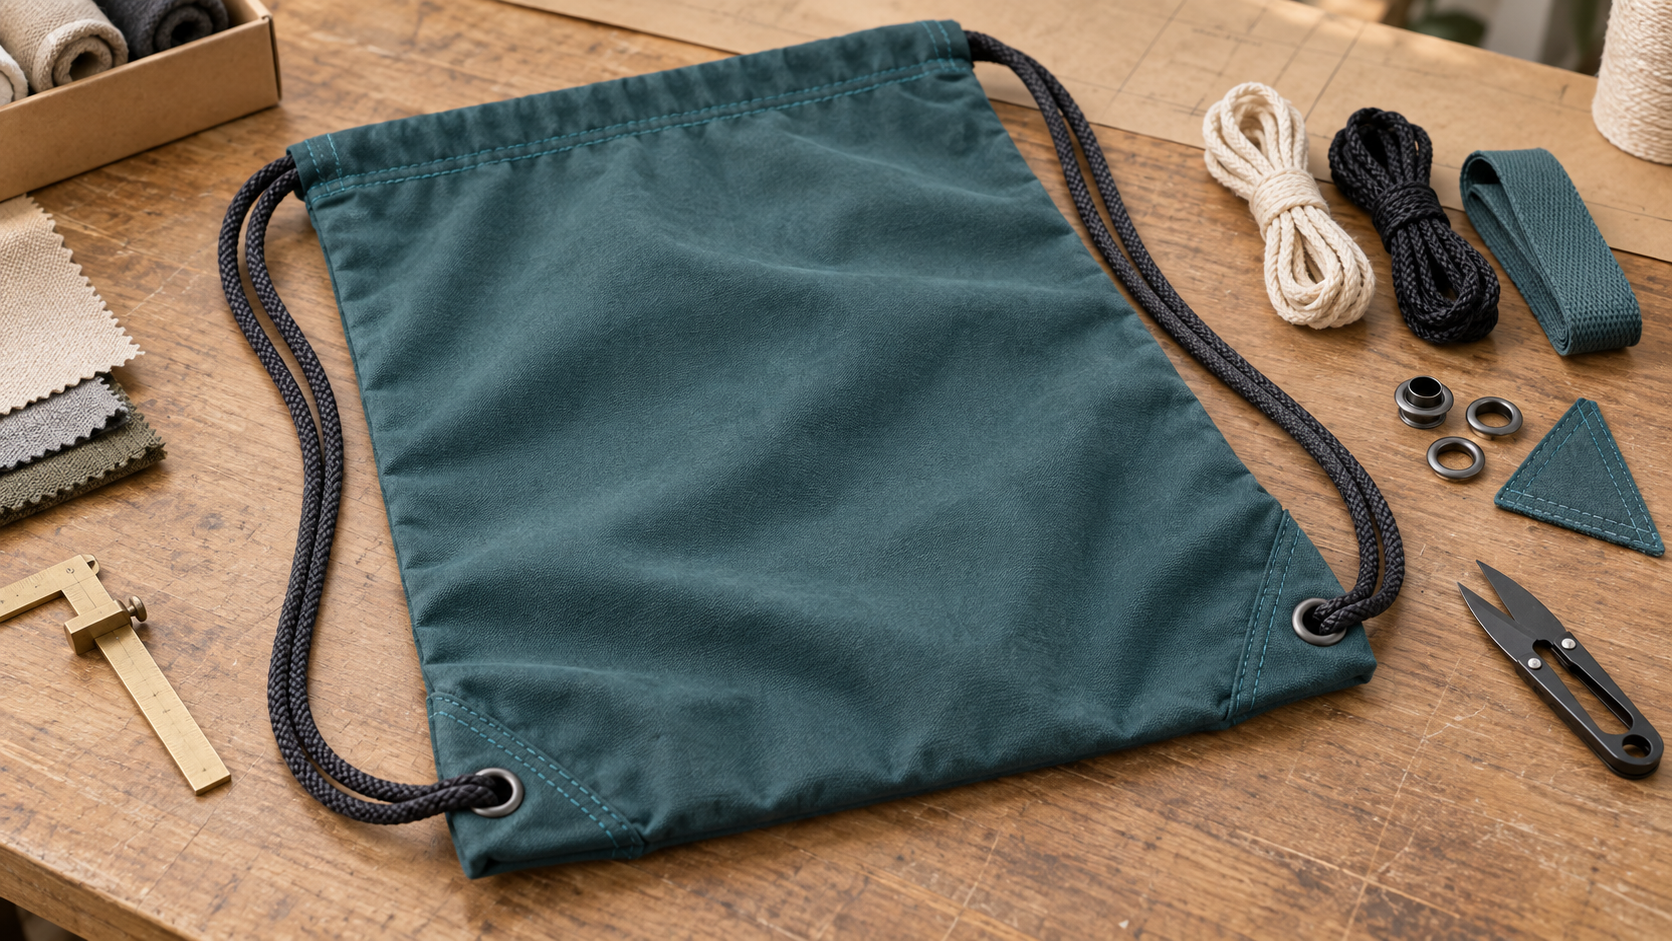
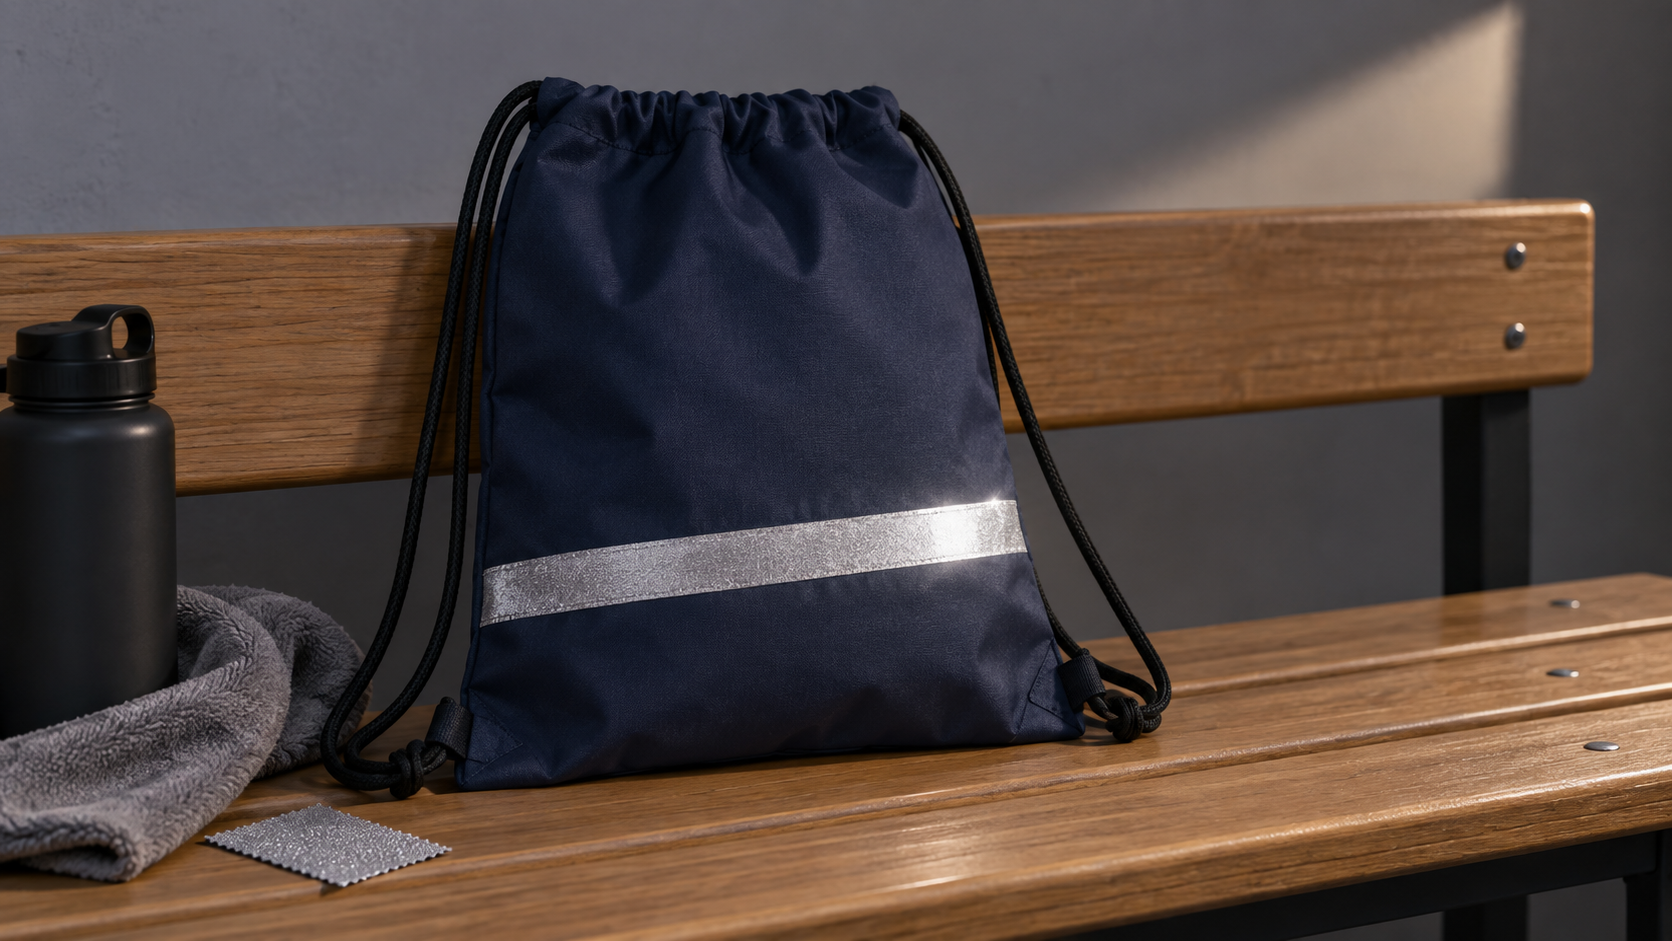
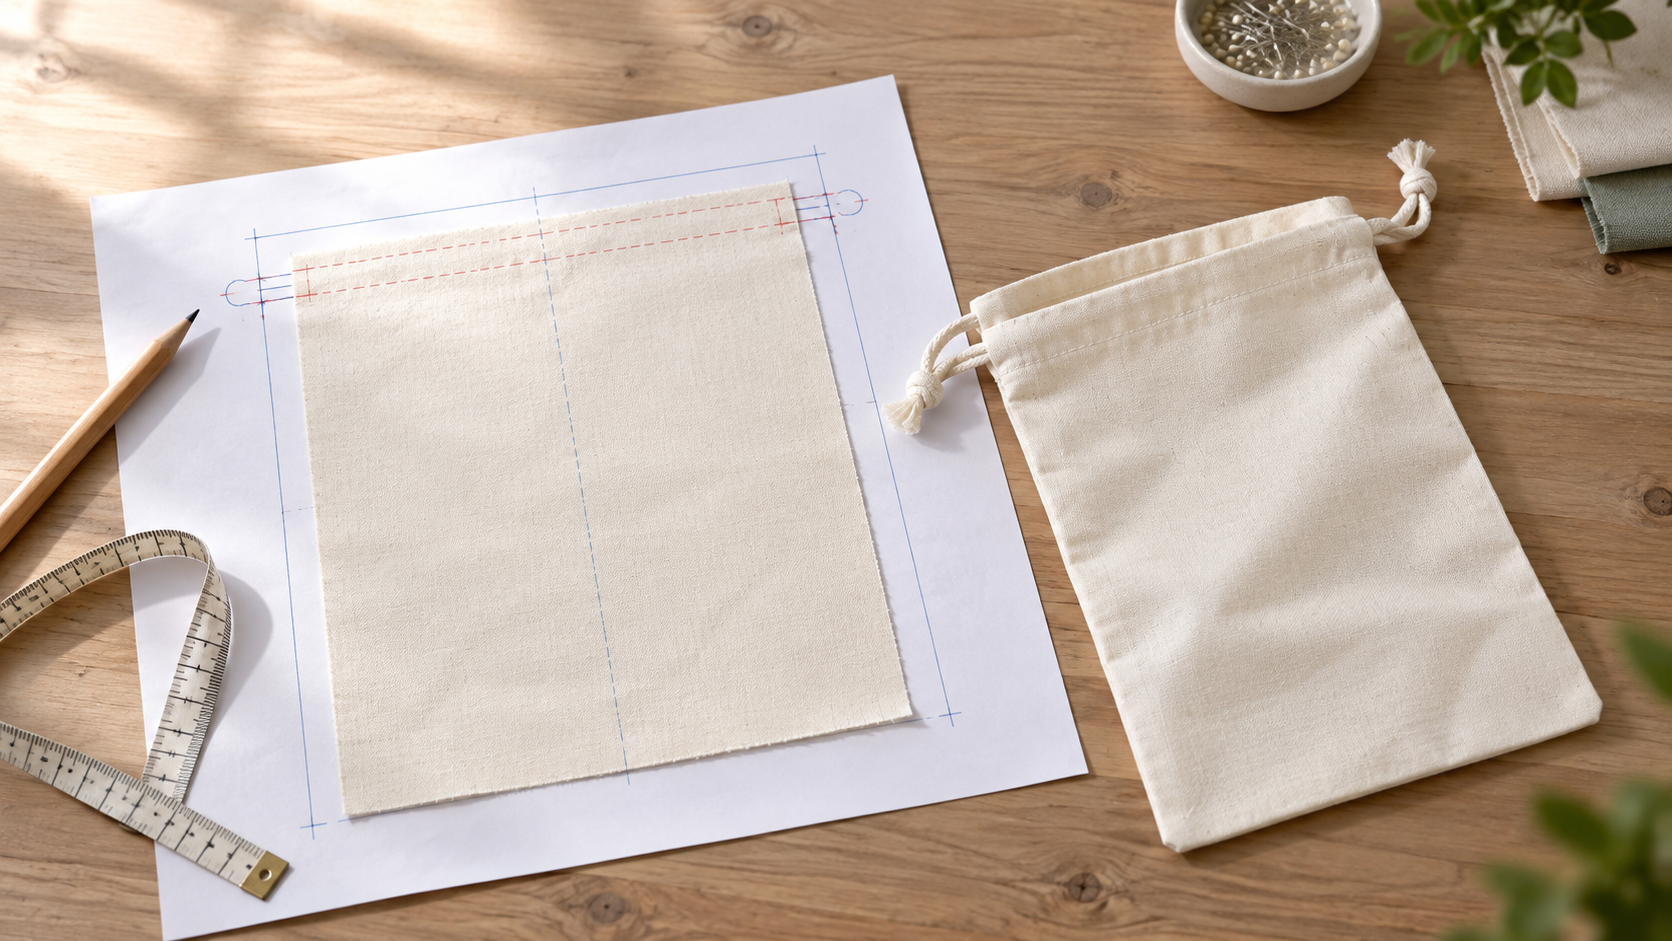
Image note: this AI-created scene was guided by a real company sample for construction cues only—specifically the drawcord-channel proportion, twin-cord arrangement, stitch scale, and soft fabric behavior. The unbranded backpack, cord options, eyelet parts, and reinforcement details are specification illustrations, not a current SKU, tested assembly, customer order, or load claim.
The Short Answer: Specify the Complete Load Path
For a pouch, the cord primarily opens and closes the mouth. For a drawstring backpack, the same cord may also act as a shoulder strap and transfer load to the lower anchors.That difference changes the fabric, cord, exit, reinforcement, seam, hardware, and tests required.
Use this sequence:
- Define whether the cord is a closure, tie, carry element, or combination.
- Identify every contact point from the top channel to the cord end or lower anchor.
- Choose a cord construction and diameter that move smoothly without feeling undersized.
- Select an eyelet, sewn exit, webbing loop, or other routing solution appropriate to the material.
- Build reinforcement that transfers force beyond the immediate hole or stitch concentration.
- Test the finished bag in the intended loading and handling pattern.
No isolated component rating can replace an assembly test.
Five Components That Must Work Together
| System element | Its job | Buyer decision | Typical failure if overlooked |
|---|---|---|---|
| Cord | Closes, ties, or carries | Material, build, diameter, finish, length, color | Fraying, stretching, slipping, discomfort, or breakage |
| Channel | Guides the cord around the opening | Finished height, seam bulk, number of paths, exits | Excess friction, incomplete closure, puckering |
| Exit/guide | Changes the cord direction or protects an opening | Sewn hole, buttonhole, eyelet, ring, or bound opening | Sharp edge, fabric tear, distortion, plating wear |
| Anchor | Connects the cord to the lower bag or end point | Knot, loop, eyelet, bar-tack, end fitting | Pull-out or local fabric failure |
| Reinforcement | Distributes force into a larger area | Patch material, geometry, layers, stitches, placement | The hole survives but the surrounding panel tears |
The best solution is balanced. An overbuilt eyelet set into weak fabric may tear out as one rigid piece; a strong patch attached with an unsuitable stitch line may simply move the failure to its edge.
First Decide What the Cord Does
Not every drawcord carries load.
| Bag format | Primary cord function | Main design priority |
|---|---|---|
| Jewelry or gift pouch | Open, close, and possibly tie | Soft hand, controlled gathering, clean ends, product contact |
| Shoe or dust bag | Repeated closure | Easy pulling, low abrasion, adequate opening, knot security |
| Laundry sack | Closure and handling | Grip, channel wear, load settling, seam interaction |
| Promotional drawstring backpack | Closure plus shoulder carrying | Comfort, anchor strength, lower-corner reinforcement, cord length |
| Cinch-top inner packaging | Retain a product during packing | Closure consistency, compactness, carton behavior |
If carrying is involved, document the intended contents, mass distribution, wearing configuration, handling cycles, and user group. Do not apply a pouch cord specification to a backpack merely because the two openings look similar.
Cord Construction: Twisted, Braided, Knit, or Flat
Cord behavior depends on more than fiber name.
| Construction | Useful characteristics | Watchpoints |
|---|---|---|
| Twisted rope | Traditional texture, easy visual identification | May untwist, flatten, snag, or change diameter under tension |
| Solid braid | Round, stable handling and broad use | Surface roughness and braid density affect channel friction |
| Core-and-sheath braid | Shape stability and controlled exterior | Core/sheath compatibility, cut-end control, hidden core exposure |
| Knit cord | Soft and flexible in many builds | Can stretch, flatten, or snag depending on loop structure |
| Flat woven tape | Wide contact area and graphic potential | Edge abrasion, twisting, uneven gathering, bulk at narrow exits |
| Ribbon | Decorative, suited to selected gift pouches | Knot security, edge fraying, moisture/heat sensitivity, low carry suitability |
Request an approved physical cord with supplier article code, construction, nominal dimensions, fiber declaration, color reference, and end treatment. A photograph cannot communicate compressibility, friction, recovery, or hand feel.
Cotton, Polyester, Nylon, and Polypropylene Cords
Fiber influences appearance and handling, but construction and finish remain decisive.
| Fiber direction | Often selected for | Qualification questions |
|---|---|---|
| Cotton or cotton-rich | Natural-looking pouches, soft gift packaging | Shrinkage, lint, dye transfer, moisture response, knot behavior |
| Polyester | Broad color and construction choice | Surface friction, heat-cut ends, finish, elongation, colorfastness |
| Nylon | Smooth, resilient or technical-feeling applications | Stretch, gloss, moisture response, abrasion at guides |
| Polypropylene | Lightweight cord systems | Hand feel, heat sensitivity, finish, end control, suitability for use |
| Blends or specialty builds | Specific look, softness, or function | Exact composition, core/sheath identity, repeat availability |
Do not describe a cord as sustainable, recycled, biodegradable, non-toxic, or certified from its appearance or supplier name. Any such claim requires order-relevant composition and evidence.
Cord Diameter Is a System Dimension
A thicker cord may feel substantial but increase channel friction and gathering bulk. A thin cord may close easily yet cut into the user’s shoulder, slip through an exit, or look out of scale. Soft cords compress under measurement, so “diameter” can vary with pressure and tension.
Record how the nominal dimension is defined, then retain the approved sample.For a flat tape, specify width and thickness rather than calling it a diameter. For a compressible round cord, inspection may use an agreed gauge or circumference method and a defined conditioning/tension procedure.
Do not use a universal cord-to-channel ratio. Seam intersections, lining, coating, surface finish, and whether one or two cords share the tunnel all change the necessary clearance.
Cord Length, Tail Length, and Symmetry
Cord length controls opening access, tie behavior, hanging ends, and backpack fit. A specification should distinguish total cut length, finished installed length, exposed tail, and—when applicable—shoulder-loop length.
| Measurement | Condition to define | Why it matters |
|---|---|---|
| Total cord length | Before or after end finishing | Purchasing and repeatability |
| Exposed tail | Bag open, flat, and symmetrically positioned | Appearance and tying |
| Closed tail | Mouth closed around the approved contents | Customer handling and loose-end risk |
| Shoulder loop | Bag loaded or empty; anchor-to-channel route | Fit and comfort |
| Left/right difference | Same bag condition and reference points | Prevents skewed opening and uneven wear |
Heat, knots, molded tips, stitching, and end caps can shorten the usable cord. Approve the complete assembly, not only a cut-length calculation.
Drawcord Channel Design
The channel must be high enough for the intended cord paths and seam bulk, yet compact enough to gather cleanly. Its edge finish, stitch line, lining, and side-seam intersections all influence friction.
For double-drawcord pouches, confirm whether two separate tunnels or one shared tunnel are used. Check that seams do not block the cord path and that the mouth opens to the required clear width. For coated or pile fabrics, test the exact surface: stiffness or pile can change how tightly the bag closes.
Document overall height, usable height, clear opening, and packed capacity alongside the channel specification.These measurements determine whether the finished bag can accept its contents and still gather to the approved appearance.
Side Exits Without Metal Eyelets
Many pouches route cords through side-seam gaps, bound openings, stitched buttonholes, or folded channel ends. These solutions avoid metal and may suit soft gift packaging, but they still need edge control.
| Exit type | Potential benefit | Approval risk |
|---|---|---|
| Open channel end | Simple, soft, low component count | Seam stress, fraying, cord catching |
| Reinforced side-seam gap | Integrated into sewing | Gap size, back-tack bulk, alignment |
| Stitched buttonhole | Controlled opening without hardware | Stitch density, cutting damage, cord abrasion |
| Bound or faced opening | Covers raw edge | Bulk, symmetry, binding wear |
| Fabric or webbing loop | Flexible guide or anchor | Loop pull-out, twisting, stitch concentration |
Metal-free does not automatically mean safer, stronger, more recyclable, or lower impact. The whole material and construction system must be evaluated for the target use and market.
Eyelet vs Grommet: Confirm the Supplier’s Terminology
The terms “eyelet” and “grommet” are used inconsistently.In some supply chains, an eyelet is a one-piece flange with a rolled barrel, while a grommet uses a mating washer or ring. In others, both words describe the same component family.
Avoid buying by name alone. Put a drawing or photo in the bill of materials and record:
- Outside flange diameter.
- Inside clear opening.
- Barrel length and wall form.
- Washer or back-ring type, if any.
- Base material and surface finish.
- Color/finish reference.
- Installation tool and setting profile.
- Approved fabric and reinforcement stack thickness.
The component must suit the compressed stack. A barrel that is too short may not roll securely; one that is too long may deform poorly or leave a rough profile.
Metal, Plastic, and Sewn Alternatives
| Routing component | Possible advantage | What must be verified |
|---|---|---|
| Steel-based eyelet | Broad availability and finish options | Corrosion/plating, burrs, deformation, magnetic needs if relevant |
| Brass-based eyelet | Distinct finish and forming behavior | Alloy/finish declaration, discoloration, product-contact requirements |
| Aluminum eyelet | Low mass and selected aesthetics | Deformation, edge condition, finish durability |
| Stainless component | Selected corrosion-resistance needs | Actual grade, forming, cost, finish, application suitability |
| Molded plastic guide | Metal-free appearance and color options | Cracking, sharp flash, retention, temperature/chemical exposure |
| Sewn/bound opening | Soft construction with fewer hard parts | Stitch wear, fraying, dimensional control |
| Webbing loop | Spreads force without punching the main panel | Loop material, fold, stitch box, bar-tack, seam integration |
Never infer rust resistance, nickel compliance, child safety, or market conformity from finish color. Request the exact material declaration and any necessary order-specific test evidence.
Eyelet Placement and Edge Distance
An eyelet too close to a raw edge or seam has little material around it to carry force.One placed too far inward changes the cord path and may create an uncomfortable or visually awkward corner. A thick seam under one side of the flange can prevent even setting.
Define placement from stable reference points, such as finished side and bottom seams. Record the location of the hole center, not just the outer flange. Check that the full flange sits on an even, supported stack and that the cord pulls in the expected direction.
There is no universal minimum edge distance for all fabrics, eyelets, and loads. Establish it by material behavior, component geometry, reinforcement shape, tooling, and assembly testing.
What Reinforcement Actually Does
Reinforcement should distribute force across a larger area and connect that area to stable seams or panel material. Simply adding another small layer around a hole may create a hard edge where the main fabric begins to tear.
Common approaches include self-fabric patches, heavier woven patches, webbing, coated reinforcement, synthetic leather-like patches, interfacing, folded corner constructions, or layered combinations. Choose the approach for load path, sewability, compatibility, thickness, appearance, and end use—not because one patch shape is popular.
Patch Geometry and Grain Direction
Triangular patches fit lower corners and can lead force toward side and bottom seams. Rectangular patches offer a broad field. Rounded shapes reduce sharp patch corners. Folded reinforcement can integrate with the bag edge. Geometry alone does not guarantee performance.
For woven material, patch orientation and grain direction can influence stretch and tear propagation.For coated materials, needle holes may initiate damage. For nonwovens, stitching can create a perforation line. For laminated stacks, incompatible stiffness may cause delamination or a hinge at the patch boundary.
Our best materials for custom drawstring bags and non-woven drawstring bag GSM guide provide material-selection context.
Stitch Pattern, Thread, and Needle Matter
A reinforcement patch can be attached with perimeter stitching, an X-box, multiple parallel lines, bar-tacks, or a project-specific combination. More stitches are not always better: excessive needle perforation can weaken coated, film-like, or nonwoven materials. Dense bar-tacks can create stiff stress concentrations.
Specify thread, needle, stitch type, stitch density, back-tack or lock method, seam allowance, and pattern dimensions where performance is important. Inspect skipped stitches, broken thread, fabric cutting, puckering, patch alignment, and the distance between the stitch line and the eyelet hole.
Load Path in a Drawstring Backpack
When worn, the cord changes direction at the top channel, travels down the bag, passes through or attaches at the lower corner, and returns toward the shoulder. Each bend creates contact pressure and movement. The lower anchor then transfers load into the patch, stitches, side/bottom seams, and body panel.
A useful sample review follows that route by hand. Look for:
- Abrasion at channel exits.
- Cord flattening or sheath wear at eyelets.
- Eyelet rotation, flange lift, or rough edges.
- Hole elongation and fabric whitening.
- Patch-edge lifting or local tearing.
- Stitch opening, seam slippage, or thread breakage.
- Unequal left/right cord length and bag skew.
The custom drawstring bag manufacturing process shows where these details enter material booking, cutting, assembly, and inspection.
Common Failure Modes and Likely Causes
| Failure symptom | Possible cause | What to investigate |
|---|---|---|
| Cord fuzzes near the exit | Burr, tight radius, rough plating, abrasive fabric edge | Inspect the guide under magnification and cycle the actual cord |
| Cord slips or unties | Surface finish, construction, knot geometry, end length | Test the intended closure and end finish |
| Eyelet spins | Poor setting, incompatible stack thickness, oversized hole | Check tooling, barrel form, hole preparation, and washer |
| Eyelet pulls out with a fabric ring | Local stack is stronger than surrounding panel | Enlarge or redirect reinforcement and review base material |
| Flange cracks or deforms | Component/tool mismatch or excessive setting force | Verify part specification and setting profile |
| Rust/discoloration appears | Base metal, plating, storage, sweat/moisture, chemical exposure | Define environment and relevant corrosion/chemical evaluation |
| Patch tears along stitches | Perforation, high stitch density, wrong orientation | Review material, needle, thread, and stitch geometry |
| Lower seam opens | Reinforcement does not connect into load-bearing structure | Redesign the corner system and seam integration |
| Bag closes unevenly | Cord lengths, paths, channel friction,or exits differ | Measure symmetry and inspect the entire route |
Failure analysis should identify the first event, not only the final damaged area. A torn panel may be the consequence of a seized cord or skewed anchor.
Cord-to-Hardware Compatibility Checks
The eyelet’s clear opening must accommodate the cord under real bending and compression. A nominal cord diameter smaller than the opening can still jam if the cord flattens, doubles back, carries a knot, or encounters a deformed barrel edge.
During sampling, inspect:
- Smooth pull through every expected angle.
- Cord position under a realistic load.
- Contact with the rolled barrel or washer edge.
- Heat-cut or molded end size relative to the opening.
- Noise and feel during movement.
- Color transfer, polishing, or plating marks.
- Performance after storage and packing compression.
Use production-equivalent components. A hand-set prototype with a different tool may not represent bulk assembly.
Decoration and Layout Conflicts
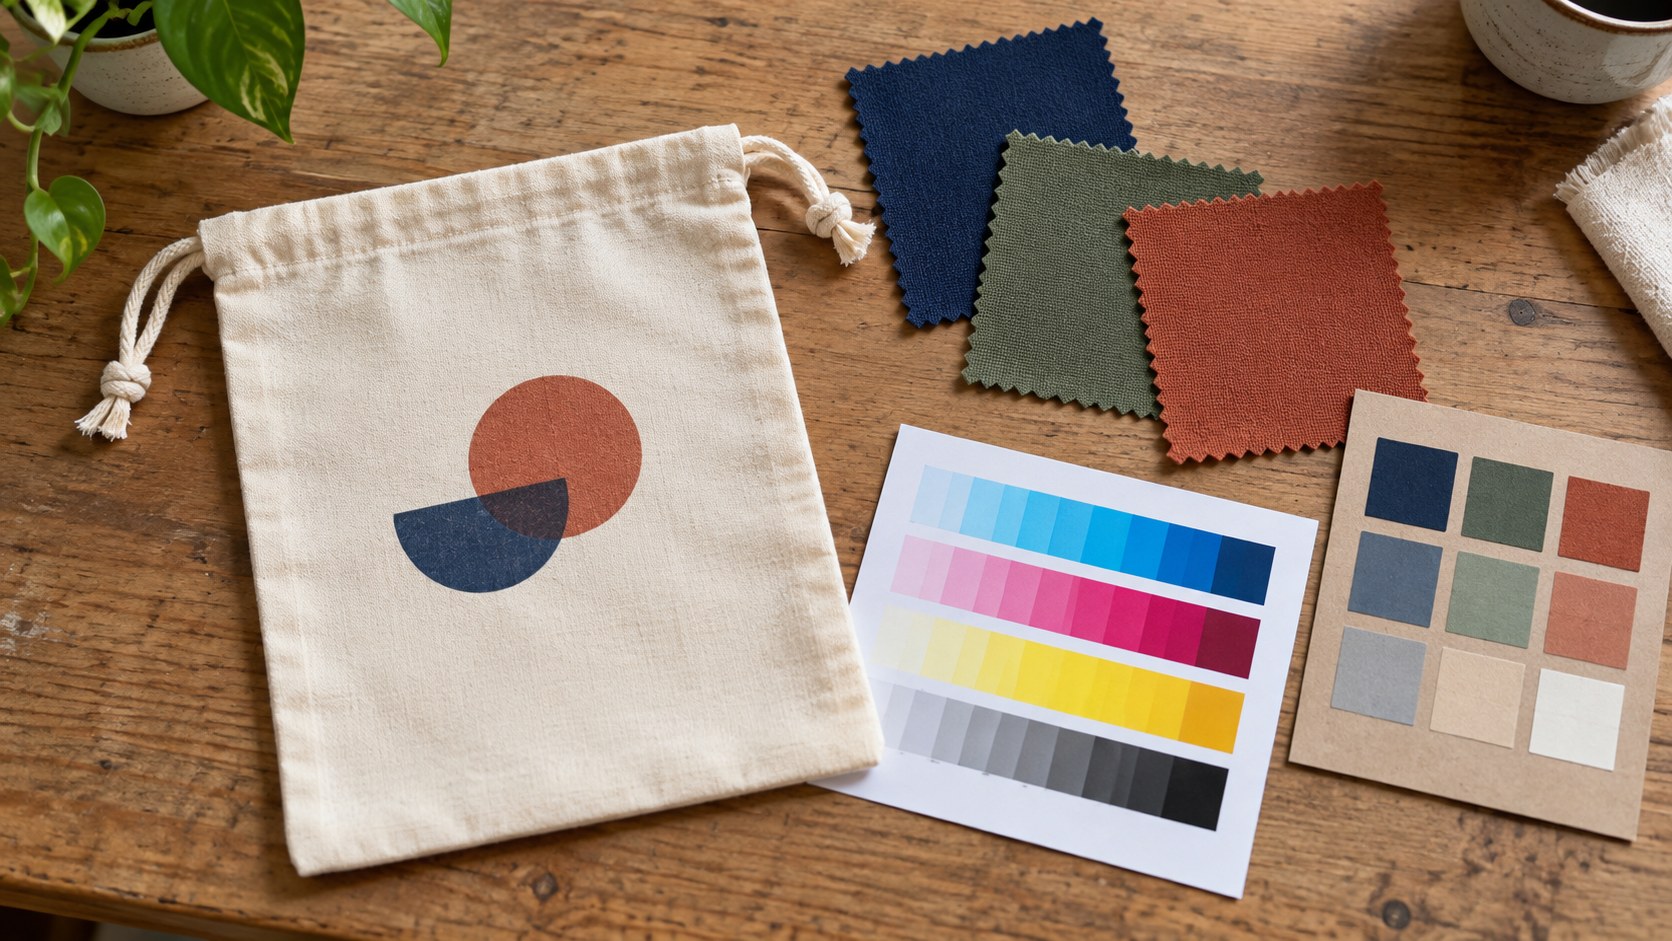
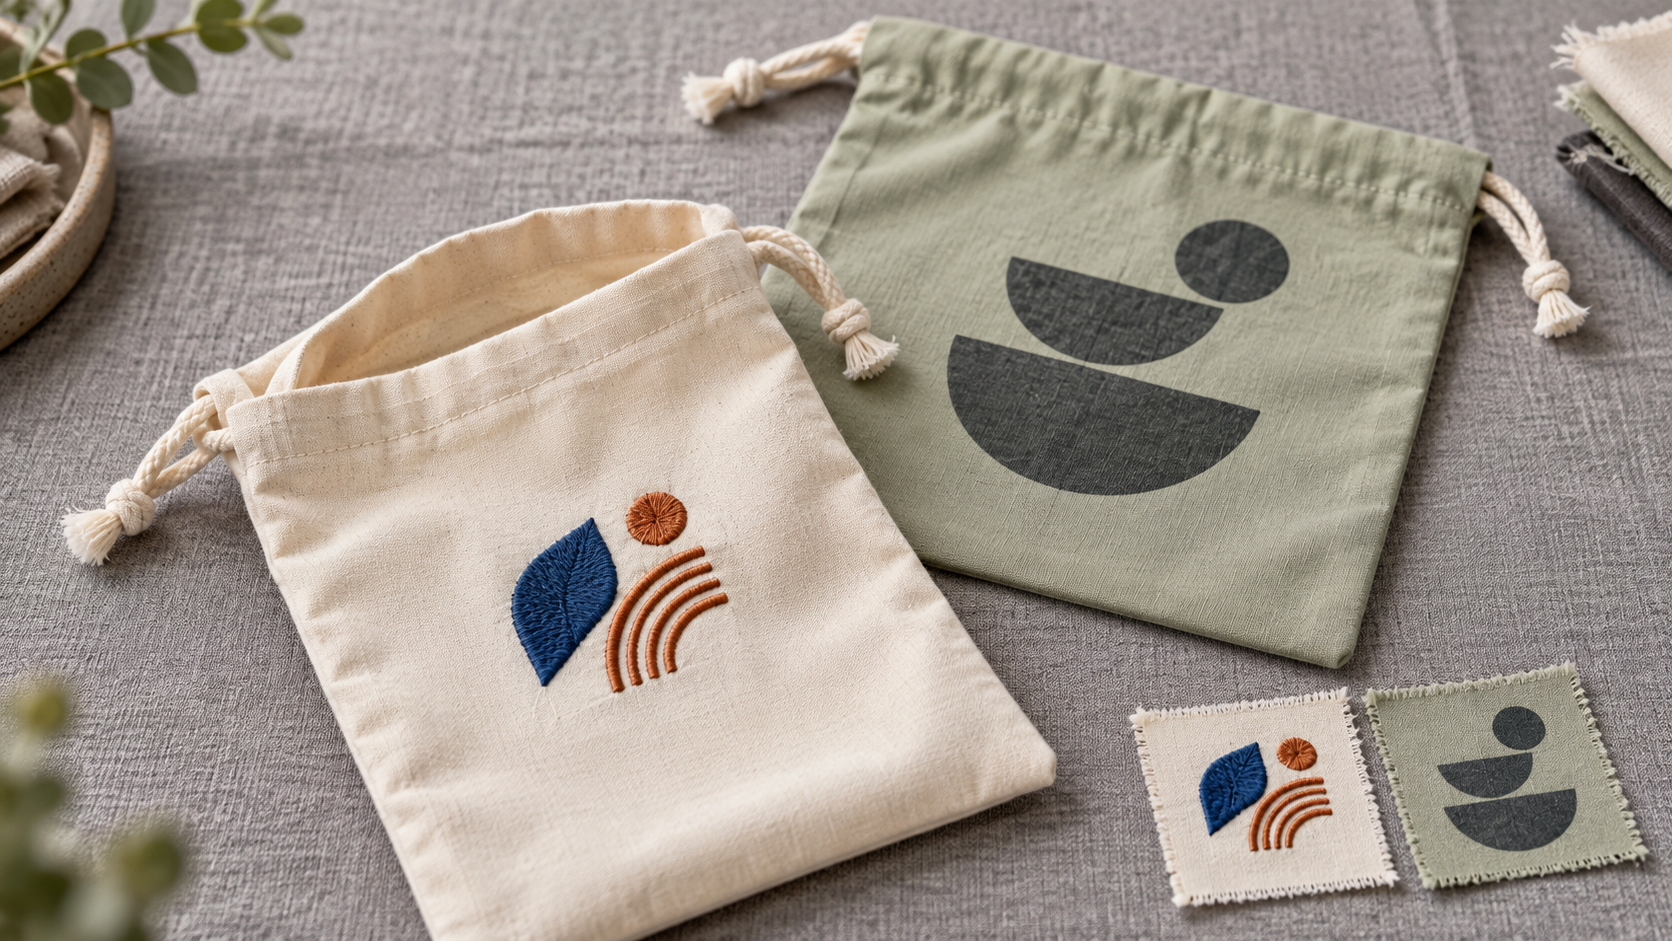
Reinforcement patches, eyelets, and cord movement occupy valuable visual space. A large front print can be hidden by shoulder cords. Foil or transfer decoration may be damaged if the folded bag places hardware against it in the carton. An embroidered area can stiffen the panel and change how the mouth gathers.
Keep artwork clear of high-fold, high-abrasion, and hardware-contact zones. Approve the bag open, closed, filled, carried, and folded for packing. Record the logo position from finished seams and note whether cords are included in the front-view presentation.
Material-Specific Design Notes
| Bag material | Cord/eyelet consideration | Reinforcement focus |
|---|---|---|
| Light polyester/nylon | Coating and thin layers may cut or pucker around holes | Use a compatible patch and avoid excessive needle perforation |
| Heavy canvas | Thick seams and folds can create uneven setting stacks | Level the flange area and manage seam bulk |
| Cotton pouch fabric | Soft channel works well for closure cords | Control fraying, shrinkage, and repeated rub at exits |
| Nonwoven polypropylene | Hole and stitch lines can initiate tearing | Spread force broadly and validate the exact GSM/build |
| Mesh | Open structure may not support local hardware alone | Integrate patches into solid binding or seam structures |
| Velvet/microfiber | Pile or nap changes friction and appearance | Protect the face from pressure marks and test direct decoration |
Read 210D vs 420D vs 600D polyester drawstring bags, polyester vs nylon drawstring bags, cotton vs canvas drawstring bags, and mesh drawstring bag strength and applications for deeper material qualification.
Laboratory Fabric and Seam Tests: Use the Correct Scope
ISO 13934-1:2013, reconfirmed in 2024, specifies a strip method for maximum force and elongation of textile fabrics. Its scope is mainly woven fabrics and says it is not normally applicable to several categories, including nonwovens and coated fabrics. A result can help characterize an appropriate base fabric, but it does not reproduce a punched hole, eyelet flange, corner patch, angled cord, or finished backpack.
ISO 13935-2:2026 covers the grab-method determination of maximum force to rupture for sewn seams loaded perpendicular to a straight seam. The current edition lists application limits and is not a whole-bag eyelet pull-out method. Use standards only where their specimen, material, load direction, conditioning, and endpoint fit the question.
Whole-Assembly Test Plan
A finished-product plan should reproduce the expected use and reveal the weakest path.
| Test block | Sample action | Possible observations | Acceptance basis |
|---|---|---|---|
| Closure cycling | Open and close through an agreed number of cycles | Friction, jamming, cord wear, channel damage | Project-specific visual and functional limits |
| Static loaded hang | Suspend agreed contents in defined orientation/time | Stretch, eyelet movement, seam opening | No specified failure or excessive deformation |
| Repeated lift/carry | Lift or wear through a defined routine | Anchor fatigue, cord comfort, asymmetry | Agreed functional and appearance criteria |
| Local anchor pull | Apply force through the production cord path | Pull-out, hole growth, patch/seam failure | Customer-defined method and threshold |
| Abrasion/contact review | Move cord through exits under representative tension | Fuzzing, burr damage, polishing | Limit sample or agreed grade |
| Pack-and-recover | Pack in intended carton arrangement, then unpack | Hardware impressions, creases, cord set | Approved recovery time and appearance |
Specify sample conditioning, load, rate, direction, fixtures, cycle count, inspection intervals, and stop rule. “Passes pull test” is incomplete without these details.
Sampling and Approval Gates
| Gate | Evidence | Decision |
|---|---|---|
| Component shortlist | Labeled cords, eyelets, washers, patches | Are identity, color, feel, and dimensions suitable? |
| Tooling trial | Eyelets set through production-equivalent stacks | Are roll, flange, washer, and reverse side acceptable? |
| Construction sample | Full channel, exits, anchors, seams | Does the cord route work without obstruction? |
| Loaded prototype | Intended product and handling pattern | Are closure, comfort, load path, and appearance acceptable? |
| Pre-production sample | Exact materials, decoration, components, and packing | Is the full specification ready to freeze? |
| Bulk retain | Sample selected from production | Can inspection and future reorders compare to an approved reference? |
The custom drawstring bag sample development process explains how to document revisions and freeze a production standard. Use the drawstring bag tech pack guide to control drawings, measurement points, component codes, and tolerances.
Incoming and In-Process Quality Control
| Stage | Inspection focus | Useful record |
|---|---|---|
| Cord receipt | Article, color, build, nominal size, surface, defects | Approved cord and lot record |
| Hardware receipt | Dimensions, base/finish declaration, burrs, plating appearance | Approved component and incoming sample |
| Reinforcement cutting | Shape, orientation, layer count, edge condition | Pattern and first-piece check |
| Hole preparation | Tool, size, position, clean cut | Setting work instruction |
| Eyelet setting | Alignment, roll, washer, flange, rotation, sharpness | Start-up sample and periodic checks |
| Sewing | Patch position, stitch geometry, seam integration | First-piece and in-line inspection |
| Cord installation | Route, length, symmetry, end finish | Functional check and measurement sheet |
| Finished bag | Closure, carry path, cleanliness, decoration, packing | Final inspection and retain |
The custom bag quality inspection checklist can help convert these controls into defect definitions, sampling, and release records.
Safety, Chemical, and Market Requirements
Hardware and long cords can introduce risks that depend on the user, product classification, age group, route to market, and intended use. Sharp edges, small detachable parts, restricted substances, skin contact, corrosion, and entanglement may need review. Do not assume that a fabric bag has no regulatory obligations or that a supplier’s general certificate covers the finished assembly.
At RFQ stage, identify destination markets and user groups. Ask which component declarations or tests are needed for the actual order. LUCKYSTAR does not present GRS, GOTS, BSCI, ISO, REACH, RoHS, CE, or other labels as universal company-wide certifications; evidence must match the applicable entity, product, material, component, standard, validity period, and transaction or batch where relevant.
Packing and Storage of Eyelet Bags
Metal hardware can emboss adjacent fabric, scratch a printed surface, or create concentrated pressure in tightly packed cartons. Long cords can tangle, pull unevenly, or mark pile fabrics. Moisture and incompatible packaging materials can affect some finishes.
Approve folding orientation, cord arrangement, interleaving if needed, inner-pack quantity, moisture controls where specified, carton compression, and recovery after unpacking. Keep loose replacement eyelets or tools out of finished-goods cartons unless intentionally included and safely packaged.
Cost, MOQ, and Production-Time Drivers
Cord and reinforcement choices affect more than component price. Custom dyeing, special braids, multi-color patterns, molded tips, branded hardware, nonstandard finishes, patch cutting, additional sewing, tooling changes, slow setting, testing, and individual cord arrangement can change minimums and lead time.
There is no permanent LUCKYSTAR MOQ, price, sample fee, or delivery period for every drawstring bag. Feasibility and commercial terms depend on the exact bag material, component specification, quantity, colors, decoration, performance criteria, packing, destination, and schedule. The article on custom drawstring bag MOQ and production time explains production constraints. Use the separate 2026 drawstring bag pricing guide to normalize quotation assumptions.
Cost Reduction Without Weakening the System
Begin with required function, then simplify. Use stock cord constructions and finishes when brand requirements permit. Standardize one compatible eyelet and setting stack across colorways. Reduce decorative end fittings before removing structural patch area. Consolidate cord colors or bag sizes only after sample evidence.
Do not replace a two-piece component with a one-piece part, reduce barrel length, shrink a patch, delete a washer, or cut stitch count without rechecking the assembly. A small material saving can move failure into the bag body or create a higher inspection/rework cost.Our article on reducing custom drawstring bag costs without sacrificing quality prioritizes required function before component simplification.
Why Work With LUCKYSTAR
LUCKYSTAR supports OEM/ODM bag projects for international brands, importers, wholesalers, distributors, and retail or promotional programs. The team can help translate a use case, reference sample, or drawing into an order-level specification covering bag material, channel, cord, hardware, reinforcement, decoration, sample approval, quality checkpoints, and packing.
The practical advantage is coordinated decision-making:
- Cord options are reviewed with the channel and user function.
- Eyelet or sewn-exit geometry is matched to the approved material stack.
- Reinforcement can be assessed within the whole load path rather than as decoration.
- Sample comments, component codes, dimensions, and test requests can be frozen before bulk work.
- Inspection and pack-out checks can follow the same approved construction.
All options remain subject to design feasibility, material/component availability, quantity, testing needs, schedule, and written confirmation. LUCKYSTAR does not use one sample or component result as a universal strength claim.
For supplier selection, use how to choose a custom drawstring bag manufacturer. The wider Custom Bag Manufacturer guide explains operating models and verification, while OEM vs ODM drawstring bag manufacturing helps define development responsibility.
RFQ Checklist for Cords, Eyelets, and Reinforcement
| RFQ field | Information to send |
|---|---|
| Bag use | Closure-only pouch, dust bag, laundry sack, or shoulder-carry backpack |
| Contents | Dimensions, total mass, distribution, hard edges, and handling cycle |
| Bag construction | Finished size, fabric/build, lining/coating, seams, channel, cord route |
| Cord | Fiber, construction, nominal round diameter or tape width/thickness, color, finish |
| Ends | Knot, sewn end, heat treatment where appropriate, tip, or hardware |
| Eyelet/guide | Drawing/photo, clear opening, flange, barrel, washer, material, finish |
| Reinforcement | Material, layer stack, shape, orientation, dimensions, stitch geometry |
| Placement | Hole center and patch coordinates from finished seams |
| Performance | Closure cycles, loaded carry, anchor pull, abrasion, corrosion/chemical needs |
| Compliance | Target market, user group, claim wording, declarations and test requests |
| Quantity/variants | Total, color split, component variants, repeat-order plan |
| Packing/delivery | Fold, cord arrangement, inner pack, carton, destination, required arrival |
International buyers can connect this specification to trade terms, inspection, shipping papers, customs work, and landed-cost planning through our guide to importing custom drawstring bags from China. Keep the product file and logistics file aligned when a component revision changes weight, packing, or tariff-relevant information.
Frequently Asked Questions
What cord is best for a drawstring bag?
There is no universal best cord. Choose by function, construction, hand feel, friction, diameter, elongation, color, end treatment, user comfort, and compatibility with the channel and guides. Approve a production-equivalent sample.
How thick should a drawstring cord be?
Thickness must suit channel space, opening behavior, eyelet clearance, bag scale, and whether the cord carries load. Define the measurement method because soft cords compress and flat tapes need width and thickness rather than one diameter.
Does a larger eyelet make the bag stronger?
Not automatically. A larger hole removes more fabric and can raise local stress. Strength depends on component geometry, setting, material stack, edge distance, reinforcement, stitches, seams, cord direction, and the whole-bag test.
Is a grommet stronger than an eyelet?
Terminology varies, so compare actual parts. A two-piece grommet may distribute setting differently from a one-piece eyelet, but either can fail if the barrel, washer, stack, tool, placement, or reinforcement is unsuitable.
Can a drawstring bag be made without metal eyelets?
Yes. Options include open channel ends, reinforced side-seam gaps, stitched or bound holes, webbing loops, and other sewn routes. Each needs its own abrasion, tear, pull-out, and usability review.
Why do eyelets fall out of drawstring bags?
Common causes include an oversized or damaged hole, wrong barrel length, uneven material thickness, unsuitable tooling, incomplete roll, missing/incompatible washer, weak local fabric, or loading that twists the component.
What reinforcement works for a drawstring backpack corner?
The choice depends on body material, coating, intended load path, eyelet, seam geometry, appearance, and testing. A patch should spread force into stable panel and seam areas without creating a new perforation or stiffness boundary.
How should eyelet sharpness be checked?
Inspect the front flange, rolled barrel, washer, and cord-contact path visually and by an agreed safe tactile or fixture-based method. Cycle the actual cord and look for fuzzing or cuts. Define acceptable limits rather than relying on “no sharp edges” alone.
Which strength test should I request?
Start with the failure mode: fabric strip strength, straight-seam rupture, local anchor pull-out, loaded hang, repeated carrying, or cord abrasion answer different questions. Specify the specimen, equipment, direction, rate, load/cycles, conditioning, and endpoint with the buyer’s quality or laboratory team.
Can LUCKYSTAR develop custom cord and eyelet options?
LUCKYSTAR supports custom bag development and sample coordination. Cord, hardware, reinforcement, custom finishes, testing, MOQ, pricing, and timing depend on the approved design, availability, quantity, destination requirements, and written quotation.
Final Recommendation
Treat the cord, channel, eyelet or sewn guide, lower anchor, reinforcement, seams, and bag panel as one mechanical system. Specify the actual components and stack, examine the full cord route, test the finished bag in its intended use, and retain an approved assembly for production and reorders.
LUCKYSTAR can help turn these decisions into a controlled custom drawstring bag brief. Send the bag use, contents, expected handling, material, size, artwork, quantity, destination, and required tests so development begins with the right load path.