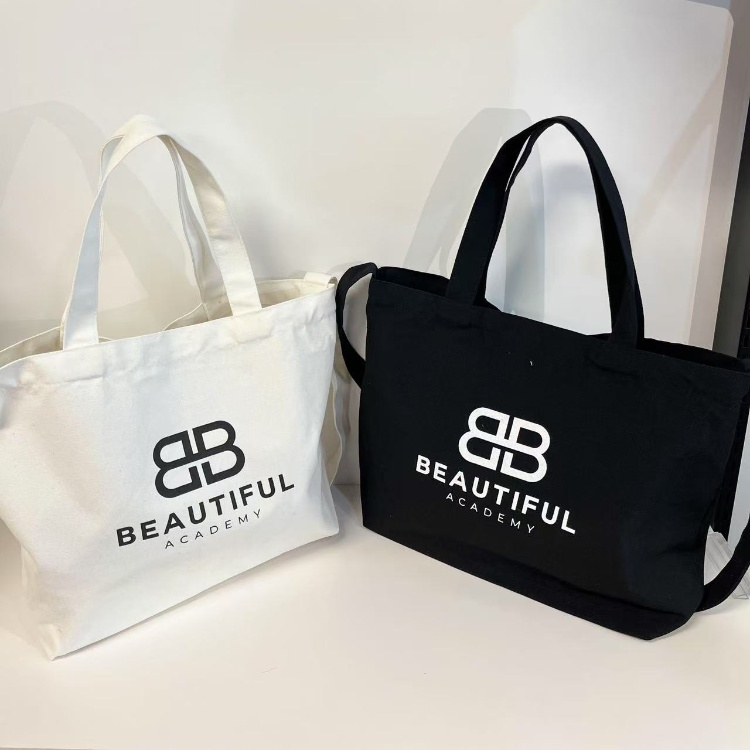
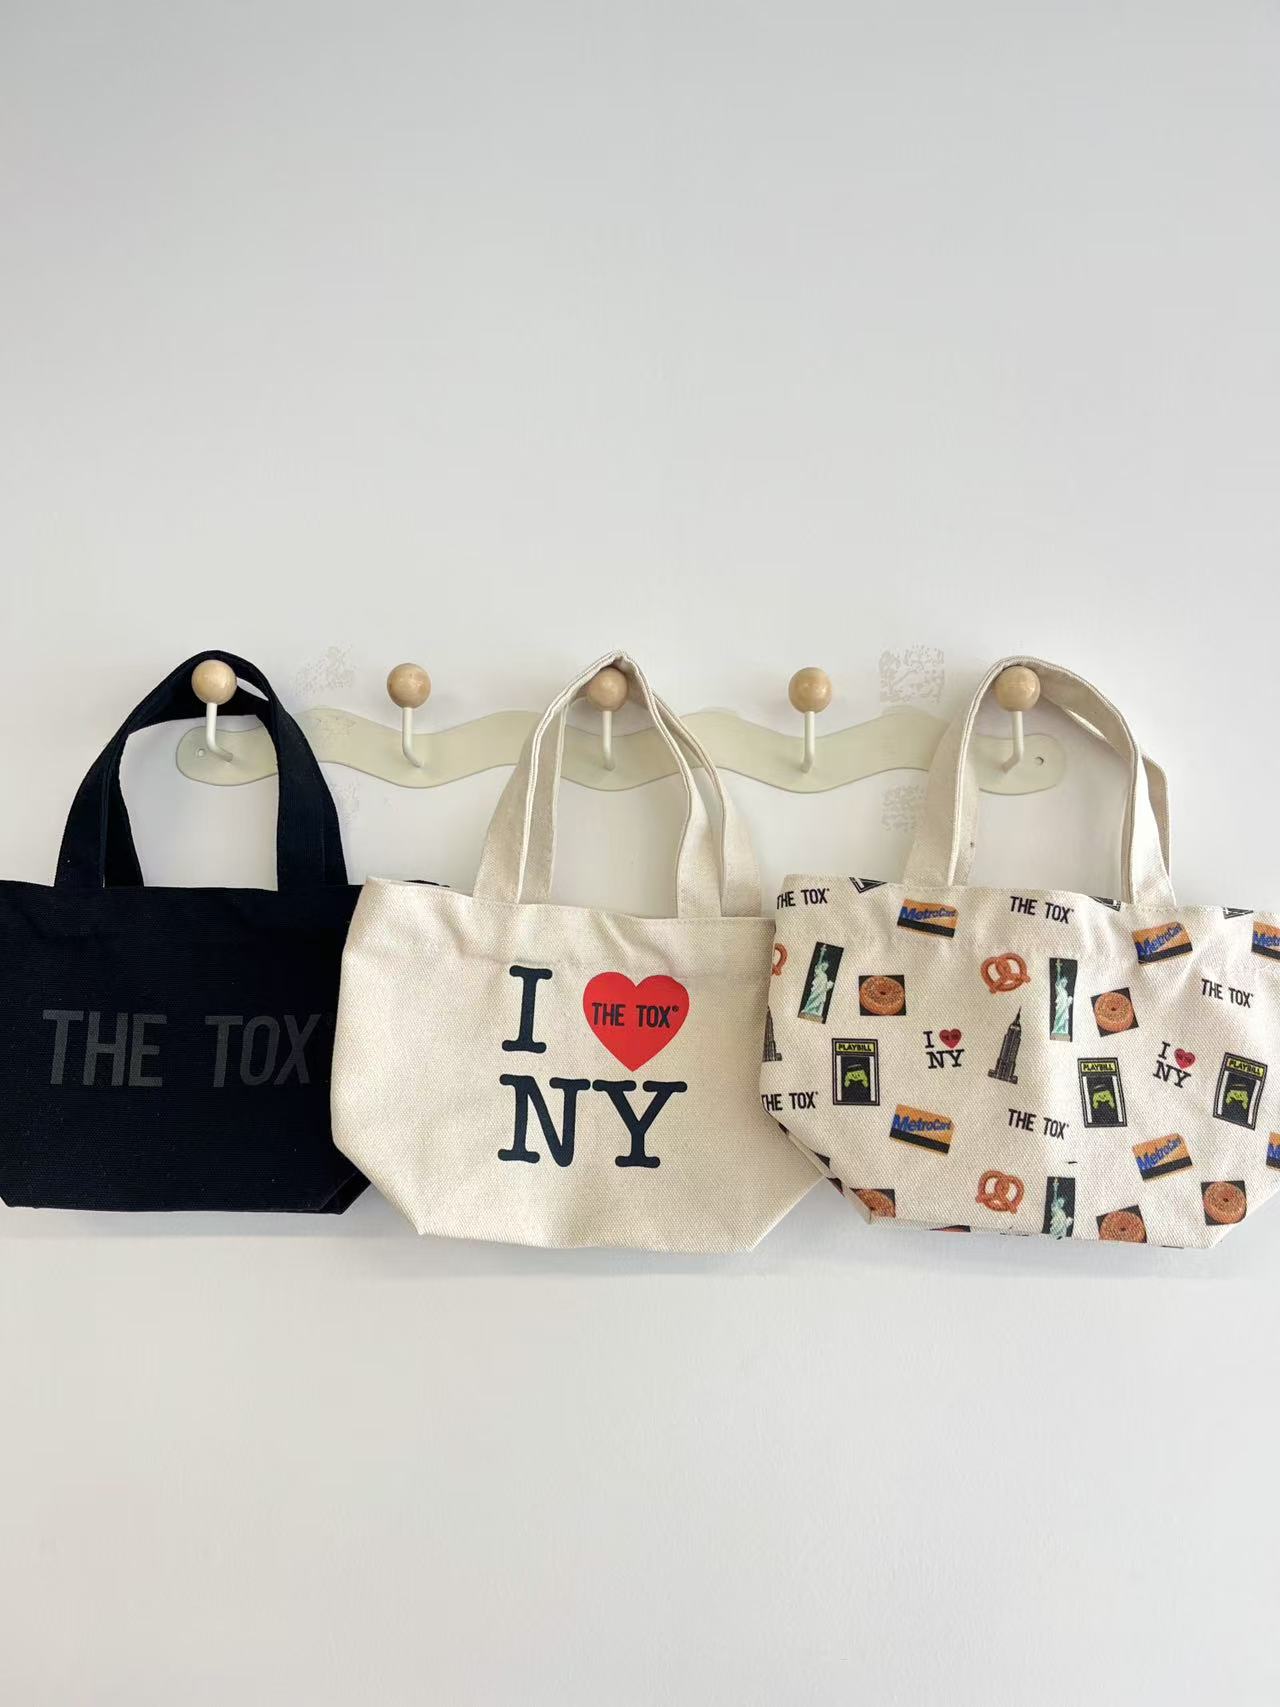
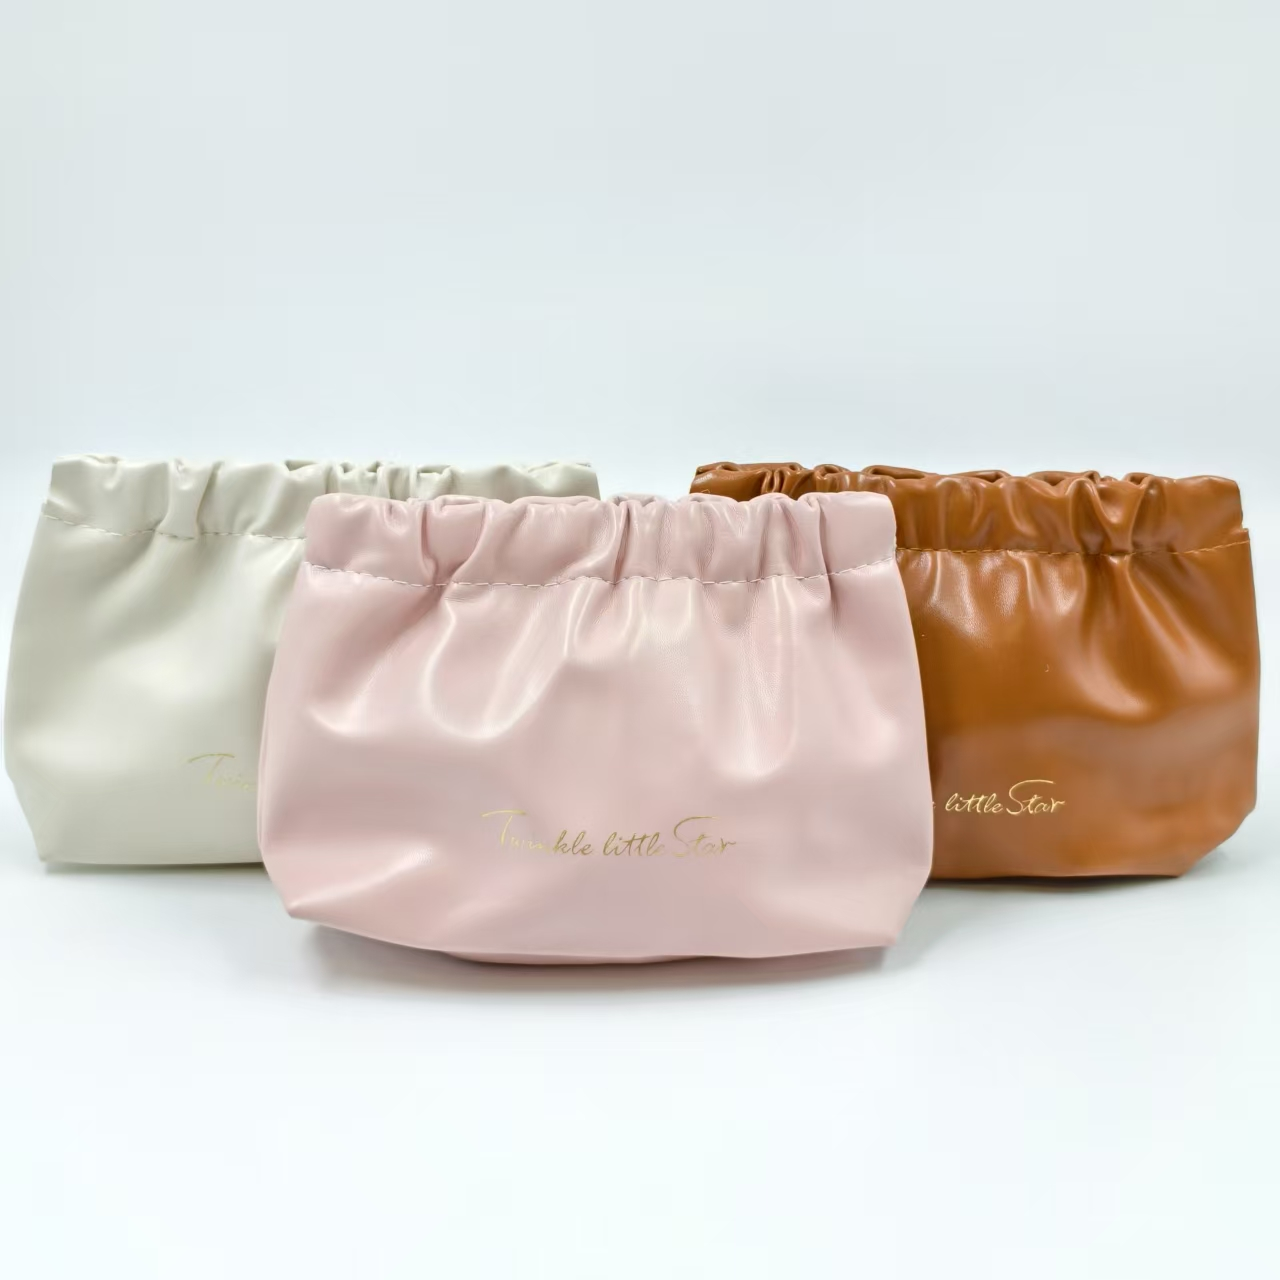
A bag may look simple when it is finished, but a factory has to make hundreds of connected decisions before that result exists. How wide is the gusset? Where does the zipper stop? Is the handle length measured end to end or as a drop? Which side of the fabric faces outward? What happens at a stress point? A custom bag tech pack answers those questions before cutting begins.
This guide explains how to prepare a custom bag tech pack that a sample room, costing team and production line can actually use. It is written for brands, importers, promotional product distributors and product managers developing totes, backpacks, cosmetic bags, cooler bags, drawstring bags and related sewn products. If you are still evaluating production partners, first review our Custom Bag Manufacturer: Complete OEM/ODM Buyer's Guide. If the bag format is not yet fixed, the product range can help you define the starting category.

Need a tech-pack gap review before quotation or sampling? Send the latest revision, intended use and load, drawings and dimensions, bill of materials, construction, artwork, quantity/SKU matrix, claims and tests, labels/packing, Incoterm/named place, destination and required arrival date. LUCKYSTAR can return its own open-point list, proposed development route and quotation assumptions.
What Is a Custom Bag Tech Pack?
A tech pack is the controlled set of instructions used to quote, sample, manufacture and inspect a product. For bags, it normally combines drawings, dimensions, materials, components, construction methods, artwork, labels, packaging and quality expectations. It is not merely a mood board, a photograph or a page of general notes.
The strongest tech packs remove avoidable interpretation without pretending that product development is already finished. Early versions can contain open points, but those points should be visible, assigned and resolved through sampling. The document then becomes a record of decisions rather than a collection of scattered messages.
| Document | Primary purpose | What it cannot replace |
|---|---|---|
| Design brief | Explains the user, use case, price position and creative intent | Detailed production instructions |
| Tech pack | Defines the product in measurable and reviewable terms | A physical proof of fit, feel and workmanship |
| Costing sheet | Records unit cost, tooling, packaging and commercial assumptions | Technical drawings or construction standards |
| Approved sample | Shows the accepted physical result | Written tolerances, color records and packing instructions |
| Purchase order | Confirms quantity, price, delivery and commercial terms | The complete product specification |
Why the Tech Pack Matters Before Quotation
A factory can quote from a photograph, but the number will be based on assumptions. Two suppliers may interpret the same image differently: one may allow a lightweight lining, another a heavier one; one may price a basic zipper, another a branded-grade component. The quotations appear comparable even though the products are not.
A structured pack creates a common basis. It also helps the manufacturer identify cost drivers, feasibility problems and missing information early. That makes the first quotation more useful and reduces the chance of discovering a major cost change after the sample is approved. For commercial planning, compare the specification with our guides to typical custom bag MOQs and custom bag cost drivers.
| Without a controlled tech pack | With a controlled tech pack |
|---|---|
| Prices depend heavily on each supplier's assumptions | Suppliers cost the same defined product |
| Sample comments are spread across chats and email threads | Revisions are recorded against one version |
| Dimensions are interpreted from photos | Measurement points and tolerances are visible |
| Approved details can disappear during bulk production | The production team has a signed reference |
| Inspection becomes subjective | Inspectors can compare goods with stated criteria |
The Core Sections of a Bag Tech Pack
There is no single universal layout, but the following sections work well for most sewn bags. Keep each section concise enough for production staff to use at a workstation. A longer document is not automatically a clearer document.
| Section | Information to include | Common mistake |
|---|---|---|
| Cover and control page | Style name, item code, owner, date, revision and status | Sending files with no revision history |
| Product overview | Use case, target user, capacity and performance priorities | Describing appearance but not function |
| Technical drawings | Front, back, sides, top, bottom, interior and detail views | Showing only a front view |
| Measurements | Numbered points, measurement method, finished dimensions and tolerance | Listing dimensions without explaining where to measure |
| Bill of materials | Shell, lining, foam, webbing, zippers, hardware, thread and reinforcements | Using vague terms such as “good-quality zipper” |
| Construction | Seam type, stitch details, binding, reinforcement and assembly notes | Assuming a sample-room method will be remembered in production |
| Color and artwork | Color standard, placement, size, technique and approved files | Approving color from an uncalibrated screen alone |
| Labels and packaging | Label content, position, folding, protection, carton and assortment | Leaving packaging until production is almost finished |
| Quality requirements | Critical dimensions, workmanship, tests and defect rules | Using “high quality” as the only standard |
Step 1: Establish Document Control
Start with an item code and a revision system. A simple sequence such as V0.1, V0.2 and V1.0 is enough if everyone follows it. Put the version and issue date on every page, not only the cover. Mark the working status clearly: concept, quotation, sample revision, approved for production or superseded.
One authorised owner on the buyer's side should control the master file and approval status. The supplier may annotate it, but accepted decisions should return to the controlled master rather than creating parallel specifications. Record the revision, issue date, author/approver, change summary, affected pages or items and superseded files, then distribute the release to every party using it. ISO 10007:2017 is useful background for configuration management, but the parties still need their own document-control procedure and contract hierarchy.
| Revision | Appropriate use | Release rule |
|---|---|---|
| V0.x | Concept, feasibility and initial costing | Open points may remain but must be identified |
| V1.x | Sample development | Each issue records sample comments and decisions |
| Production issue | Bulk material booking and manufacturing | All critical specifications approved by authorized people |
| As-produced record | Reorders and future improvements | Reflects approved production changes and final packaging |
Step 2: Draw Every View the Factory Needs
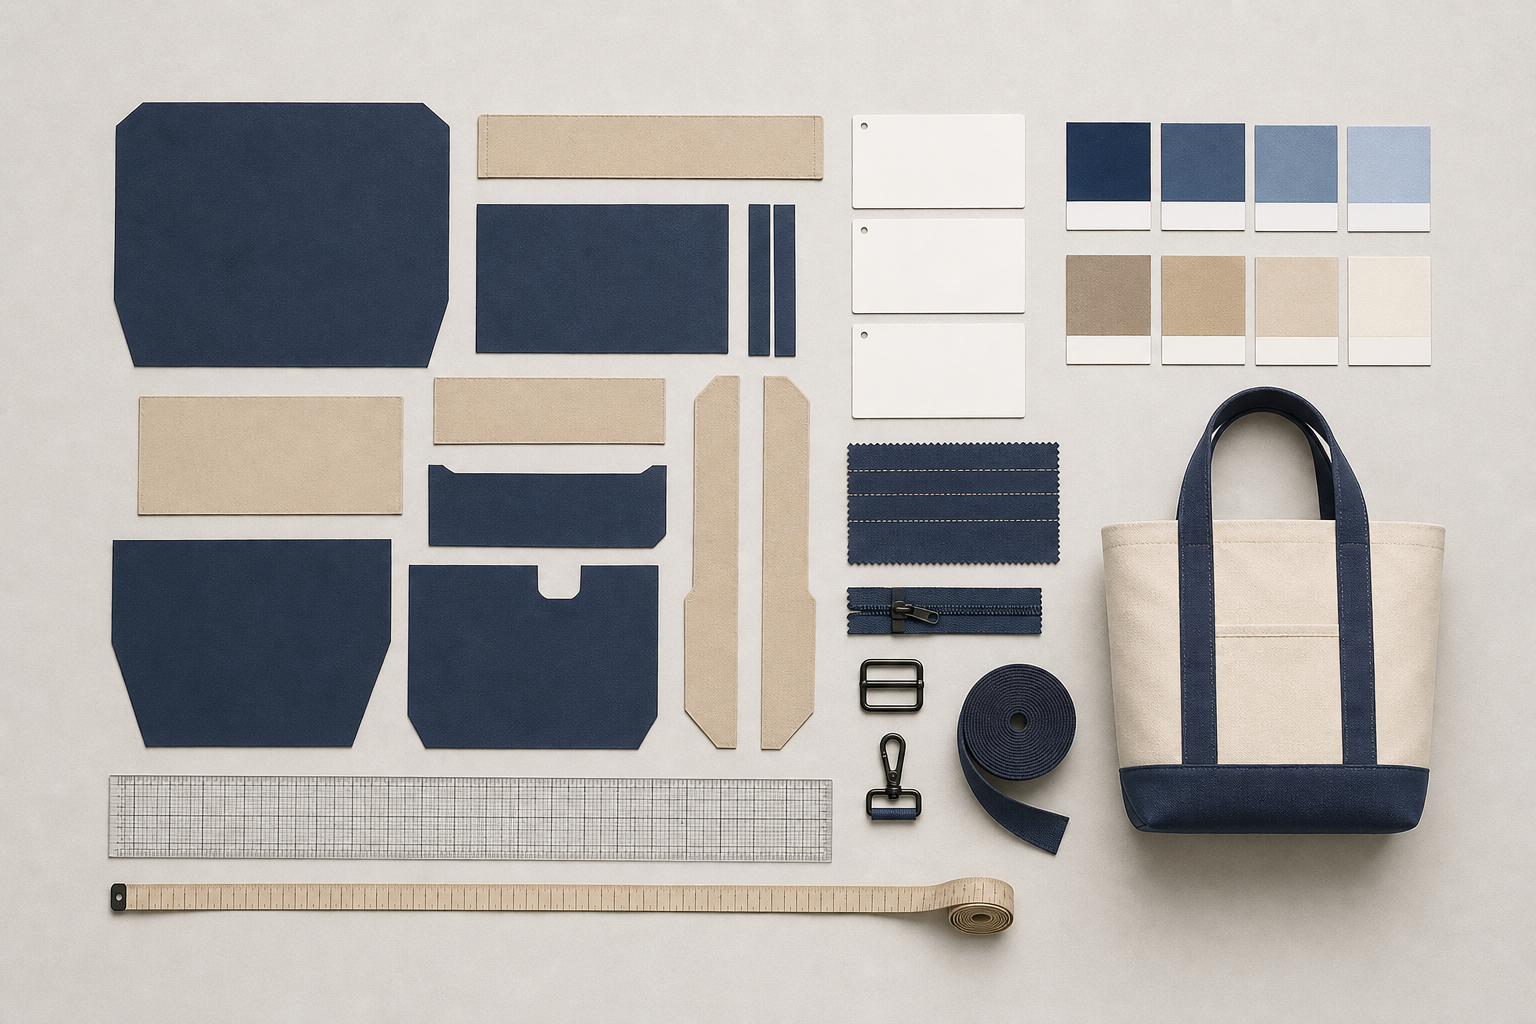
Technical drawings do not need to be artistic. They need to be unambiguous. Use clean line drawings with consistent proportions and numbered callouts. Show front and back, both sides when they differ, the base, the top closure and the interior. Add enlarged detail views for complicated pockets, strap anchors, zipper garages, piping or layered panels.
Distinguish visible stitching from panel edges and fold lines. When left and right are mirrored, say so. When they are not, show both. If a component is hidden in the finished bag—such as a reinforcement patch—use a cutaway or exploded view. The objective is to let the pattern maker understand design intent before guessing.
Step 3: Build a Measurement Specification
Finished bag measurements are often affected by foam, binding, curves and the way a soft product is placed on the table. For that reason, a dimension without a measurement method is incomplete. Give every point a code, such as A for finished width and B for finished height, then show the same code on the drawing and measurement table.
State whether the bag is measured empty, lightly filled or flattened. Explain whether handles are measured as total length or vertical drop. Set realistic tolerances according to product type and construction. A rigid molded case and a soft cotton tote should not automatically share the same tolerance.
| Point of measure | Define in the tech pack | Potential ambiguity |
|---|---|---|
| Finished width | Top, center or base width; seam-to-seam or edge-to-edge | A tapered bag has several valid widths |
| Finished height | Base seam to top edge, excluding or including trim | A curved opening changes the reference point |
| Depth/gusset | Finished depth at a named location | Binding and foam affect the visible result |
| Handle drop | Vertical distance from top edge to underside of handle | Often confused with cut length |
| Pocket position | Distance from fixed seams or centerline | Measuring from a movable edge causes variation |
| Logo position | Artwork center relative to defined product reference lines | A visual center may differ from geometric center |
Step 4: Create a Usable Bill of Materials
The bill of materials, or BOM, names every material and component that goes into the bag. Describe each item with enough information to source or verify it. For fabric, include fiber or material type, construction, weight or thickness, finish, color reference and any performance requirement. For hardware, include material, finish, size, shape and functional expectation.
A reference sample can help communicate hand feel or appearance, but record what the sample is proving.Is it the color, coating, stiffness, texture or complete construction? Otherwise, different teams may use the same reference for different purposes.
| BOM item | Useful specification fields | Evidence to approve |
|---|---|---|
| Shell fabric | Composition, weave/knit, weight, finish, color and usable width | Supplier swatch or approved cutting |
| Lining | Composition, weight, coating, color and opacity | Lining swatch in the intended color |
| Foam or padding | Material, thickness, density and location | Cross-section or padded panel sample |
| Zipper | Type, gauge, tape color, slider, puller and length | Physical zipper and puller set |
| Webbing | Fiber, width, thickness, weave, color and breaking requirement if relevant | Cut length from proposed production lot |
| Hardware | Component drawing, internal width, material, finish and color | Physical sample or signed reference |
| Thread | Fiber, ticket size, color and use location | Stitch sample on actual material |
| Reinforcement | Material, size and exact hidden position | Construction sample or cutaway photo |
Step 5: Specify Construction, Not Just Appearance
Two bags can look similar but perform differently because of what is inside the seams. Use detail callouts for seam allowance, binding, edge paint, folded edges, topstitching, bartacks, box stitches and hidden reinforcement. Identify stitch rows and important stitch distances where appearance or strength depends on them.
Focus first on high-risk areas: handle attachments, shoulder-strap anchors, zipper ends, base corners and openings that receive repeated force. Invite the factory to propose a production-friendly alternative when the requested method is difficult, but require that alternative to be documented and approved before it replaces the original requirement.
| Risk area | Tech-pack instruction to consider | What to verify on the sample |
|---|---|---|
| Handle attachment | Reinforcement size, stitch pattern and position | Load path, symmetry and no exposed reinforcement |
| Zipper opening | Finished length, end treatment and seam clearance | Smooth travel without catching the lining |
| Bound seam | Binding material, finished width and overlap location | No missed edges, puckering or excessive bulk |
| Padded panel | Foam type, quilting or retention method and edge reduction | Even feel and clean seam turn |
| Base corner | Notch, dart or boxed-corner method | Matching shape and left-right consistency |
Step 6: Control Color, Branding and Artwork
Separate product color from artwork color. Reference an accepted color system, a physical standard or an approved material swatch, and identify which reference takes priority if they disagree. Different substrates reflect light differently, so an ink on cotton may not visually match molded plastic hardware even when both target the same code.
For every logo, state the decoration method, finished size, position, orientation and color. Attach production-ready vector artwork where possible, and include a visual placement drawing. Define whether the dimensions refer to total artwork, the visible mark or the printing plate. Embroidery also needs thread, stitch direction and backing decisions; woven labels need fold type, edge treatment and sewing position.
| Branding method | Tech-pack details | Sample approval focus |
|---|---|---|
| Screen print | Ink type, color, print size, location and opacity expectation | Coverage, edge definition, adhesion and hand feel |
| Heat transfer | Film type, artwork size, position and pressing limits | Edge lift, color, surface change and durability |
| Embroidery | Thread reference, size, stitch file, backing and placement | Density, distortion, puckering and small-detail clarity |
| Woven label | Yarn colors, dimensions, fold, cut edge and sewing method | Legibility, alignment and edge comfort |
| Metal badge | Material, finish, logo relief, fixing method and protective backing | Finish consistency, security and damage to contents |
Step 7: Add Labels, Packaging and Carton Instructions
Packaging influences both cost and product condition. Define hangtags, barcode labels, care or origin labels, tissue, inserts, dust bags, polybags and carton packing early enough to include them in costing and compliance review. Show where each label is placed and who supplies the artwork or data.
State the folding method, whether straps are secured, which hardware needs protection and how bags are arranged in the carton. If shape recovery matters, define stuffing or support. Carton dimensions may remain provisional until the final sample is available, but the target pack quantity and destination requirements should be known.
| Packaging level | Questions to resolve | Record in the pack |
|---|---|---|
| On-product | Which permanent labels are required and where? | Artwork, material, size, language and sewing position |
| Individual pack | How is the bag folded and protected? | Folding diagram, inserts, bag type and warning requirements if applicable |
| Inner pack | Are colors or sizes bundled? | Assortment, quantity and identification label |
| Export carton | What pack quantity protects the product and fits handling needs? | Carton type, target dimensions, gross-weight limit and marks |
| Pallet or delivery unit | Does the destination require a specific configuration? | Pallet, wrap, label and routing instructions where applicable |
Step 8: Translate Quality Expectations into Checks
Sampling boundary: if final inspection uses acceptance sampling, state the standard and edition, lot definition, inspection level, scheme, AQL by defect class, sample selection, acceptance/rejection numbers, critical-defect rule, switching or reinspection rules and failed-lot disposition. ISO 2859-1:2026 does not replace 100% checks for agreed critical features or separate functional tests.
“Good quality” is not an inspection instruction. Identify the dimensions, functions and appearance points that matter most. Define test methods when a result cannot be judged visually. Requirements should fit the product's use, materials, target market and buyer risk assessment rather than being copied blindly from another style.
Link every critical quality check to a specification, approved sample or test requirement. Decide who will inspect, at which stage, using what sample plan or acceptance rule. The detailed Custom Bag Quality Inspection Checklist can help turn the tech pack into an inspection-ready document.
| Quality topic | Objective requirement example | Where to record it |
|---|---|---|
| Dimensions | Named measurement point with finished tolerance | Measurement specification |
| Function | Zipper opens fully without catching; buckle locks and releases correctly | Functional-check list |
| Workmanship | No open seams, skipped stitches, exposed raw edges or unsecured thread ends in defined areas | Defect reference sheet |
| Appearance | Logo position, panel symmetry and acceptable color reference | Artwork page and approved sample |
| Strength | Buyer-defined load or performance test appropriate to intended use | Test protocol and report requirement |
| Packing | Correct assortment, protection, barcode and carton mark | Packaging specification |
Step 9: Use the Sample to Close Open Points
The first sample is a working prototype, not a ceremonial approval. Review it against the tech pack point by point. Record each comment with a photo, location, requested change and priority. Distinguish a defect from a design revision: a defect fails the current specification, while a design revision changes it.
After each review, update the master pack and issue a clean revision. Do not rely on a marked sample alone, because marks can be lost and physical samples can deteriorate. Keep the final approved sample together with the final production issue. Our Custom Bag Sample Development Process explains how to organize prototype rounds and approvals in more detail.
| Comment status | Meaning | Required action |
|---|---|---|
| Must correct | Product does not meet an agreed critical requirement | Revise before approval and show evidence |
| Design change | Buyer is changing the previous instruction | Update specification, cost and timing impact |
| Factory proposal | Supplier suggests a method, material or tolerance change | Buyer approves or rejects in writing |
| Accept for this sample | Temporary deviation is understood but not approved for bulk | Keep the production requirement unchanged |
| Approved | Point is accepted for the next controlled stage | Capture it in the master pack and approval record |
A Practical Tech-Pack Workflow
A disciplined workflow keeps design, sourcing and production aligned. Build the pack early, then increase its precision as evidence becomes available. The document should mature with the product rather than being written once and forgotten.
| Stage | Buyer output | Factory output | Decision gate |
|---|---|---|---|
| Concept and range selection | Brief, reference images and target parameters | Feasibility questions and relevant examples | Choose a workable product direction |
| Initial tech pack | Drawings, preliminary BOM, dimensions and branding | Cost assumptions, options and risk comments | Authorize prototype |
| Sample round | Consolidated review against the pack | Revised sample and updated material evidence | Approve or request another round |
| Pre-production | Production issue, artwork and packaging approvals | Material confirmations and production plan | Release bulk manufacturing |
| Production and inspection | Approved standards and inspection instructions | Goods, in-process records and packing evidence | Accept, correct or hold shipment |
| Reorder record | As-produced pack and lessons learned | Confirmed repeat specification | Start the next order from controlled data |
The complete custom bag manufacturing process shows where these gates fit between design and delivery. When scheduling work, also allow enough time for sample rounds, material approvals and packaging confirmation; see How Long Does Custom Bag Production Take? for a fuller planning framework.
Common Tech-Pack Mistakes
Treating a reference photo as a specification
A photo can communicate style, but it rarely reveals hidden construction, material performance or exact scale. Use it as a reference and state which features should be followed.
Mixing approved and unapproved information
Use status labels, color coding or an open-point list. Production staff should not have to guess whether a note is final.
Changing the sample without changing the document
If the pack and approved sample disagree, the next team may follow the wrong reference. Update both the written requirement and revision log.
Over-specifying the wrong details
Do not spend pages controlling a minor visual point while leaving strap strength, pocket size or packaging undefined. Rank details by user impact and commercial risk.
Ignoring cost and manufacturing feedback
A tech pack should control the intended result, but it should also permit an informed discussion. Ask the manufacturer to identify expensive, fragile or inconsistent details and document any agreed alternative.
Tech-Pack Handover Checklist
| Check | Ready when… |
|---|---|
| Document control | Every page carries the current item code, revision and date |
| Views and callouts | All exterior, interior and hidden critical details are shown |
| Measurements | Each point has a method, finished value and appropriate tolerance |
| Materials and trims | Every component has a specification and approval reference |
| Construction | Stress areas, seams, stitches, binding and reinforcement are defined |
| Branding | Method, artwork, size, color and placement are approved |
| Packaging | Labels, folding, protection, assortment and carton requirements are covered |
| Quality | Critical checks and objective acceptance references are available |
| Open points | Nothing unresolved is presented as production-approved |
| Sign-off | Authorized buyer and factory contacts know which issue controls production |
Company-claim boundary: the following section is LUCKYSTAR publisher self-description and a commercial development proposal. It does not independently prove the legal seller, factory ownership, in-house engineering, material or capacity availability, sample or bulk quality, certification, MOQ, price or delivery. Legal contracting entity, nominated mills, production and decoration sites, subcontractors, development scope, charges, documents, samples, inspection and schedule depend on the exact order and written confirmation.
How LUCKYSTAR describes its tech-pack review
LUCKYSTAR states that it can review a buyer-controlled bag brief and return its own questions and proposed development route for approval.
- Audit the inputs: identify missing or conflicting use, dimension, material, construction, artwork, label, packing, test and commercial fields.
- Separate status: distinguish requirements, supplier proposals, open points, sample observations, approved changes and as-produced records.
- Connect evidence: link swatches, trim samples, colour standards, artwork, strike-offs, prototypes, tests and packed samples to item codes and revisions.
- Map responsibility: name the legal seller and proposed mill, sample room, production, decoration, test/inspection and packing parties, including outsourced steps.
- Release in writing: record assumptions, exclusions, substitutions, approval gates, document hierarchy, quotation basis and change-control rules.
Review the bag product range and sample-development guide, then send the current revision for an order-specific gap review.
Frequently Asked Questions
Do I need specialist software?
No. Professional design software can speed up drawings and revision control, but a well-organized PDF made from common drawing and spreadsheet tools can work. Clarity, measurement logic and version discipline matter more than the software name.
Can the manufacturer create the tech pack?
Yes, some manufacturers provide development support. The buyer should still supply design intent, use case, brand assets, target quantities and commercial priorities, then review and own the approved specification. Confirm whether drawing or development charges apply.
How detailed should the first version be?
Detailed enough to expose major cost and feasibility assumptions. Use open-point markers for information that depends on supplier advice or sampling. Do not label an incomplete document as approved for production.
Should tolerances be the same for every measurement?
No. Set them according to material behavior, construction method, product function and measurement repeatability. Discuss critical points with the manufacturer and inspector before production.
Is the approved sample enough for a reorder?
It helps, but a controlled as-produced tech pack is safer. Materials can change, samples age and undocumented production decisions are easily forgotten. Keep both the retained sample and final records.
Convert the latest design state into one controlled production package
Release a traceable item and revision that connects drawings, measurement methods, bill of materials, construction, artwork, labels, packing, samples, tests, inspection and commercial assumptions.

Review the LUCKYSTAR bag range, then send the current tech-pack revision through the contact form or Email a project brief. The email link opens a prefilled draft for your review before sending.
Legal seller and facilities, development responsibility, material and capacity availability, samples, tests, certifications, inspection, MOQ, charges, price, packing, schedule and delivery terms are subject to current evidence, final specification, quotation, contract and written confirmation.