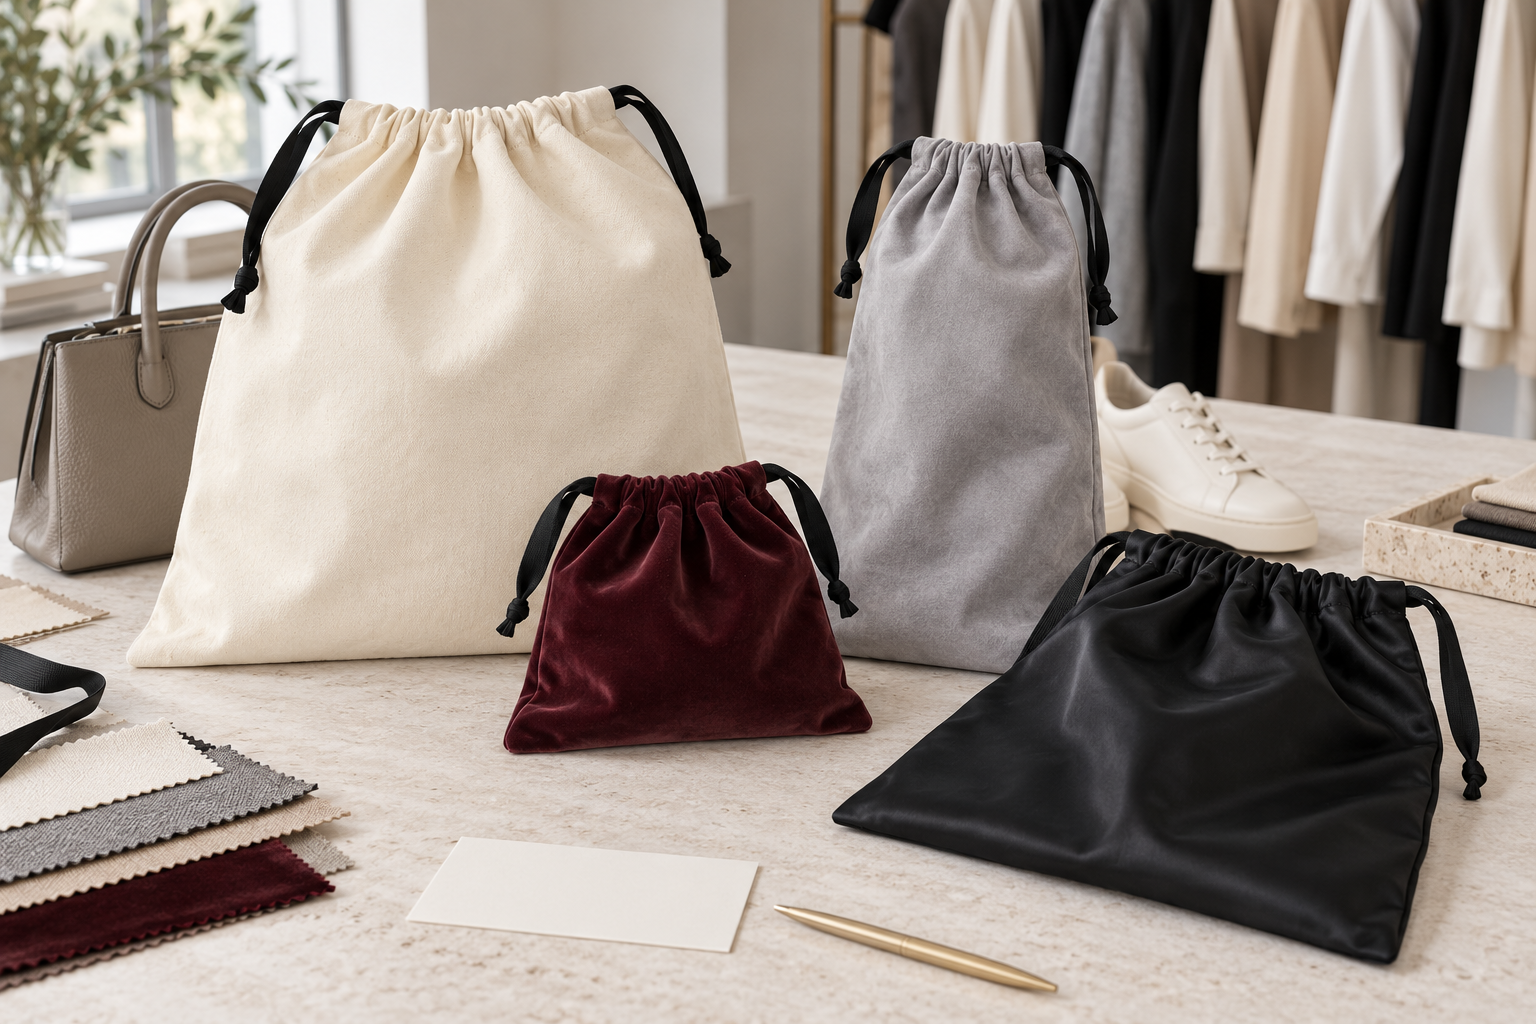
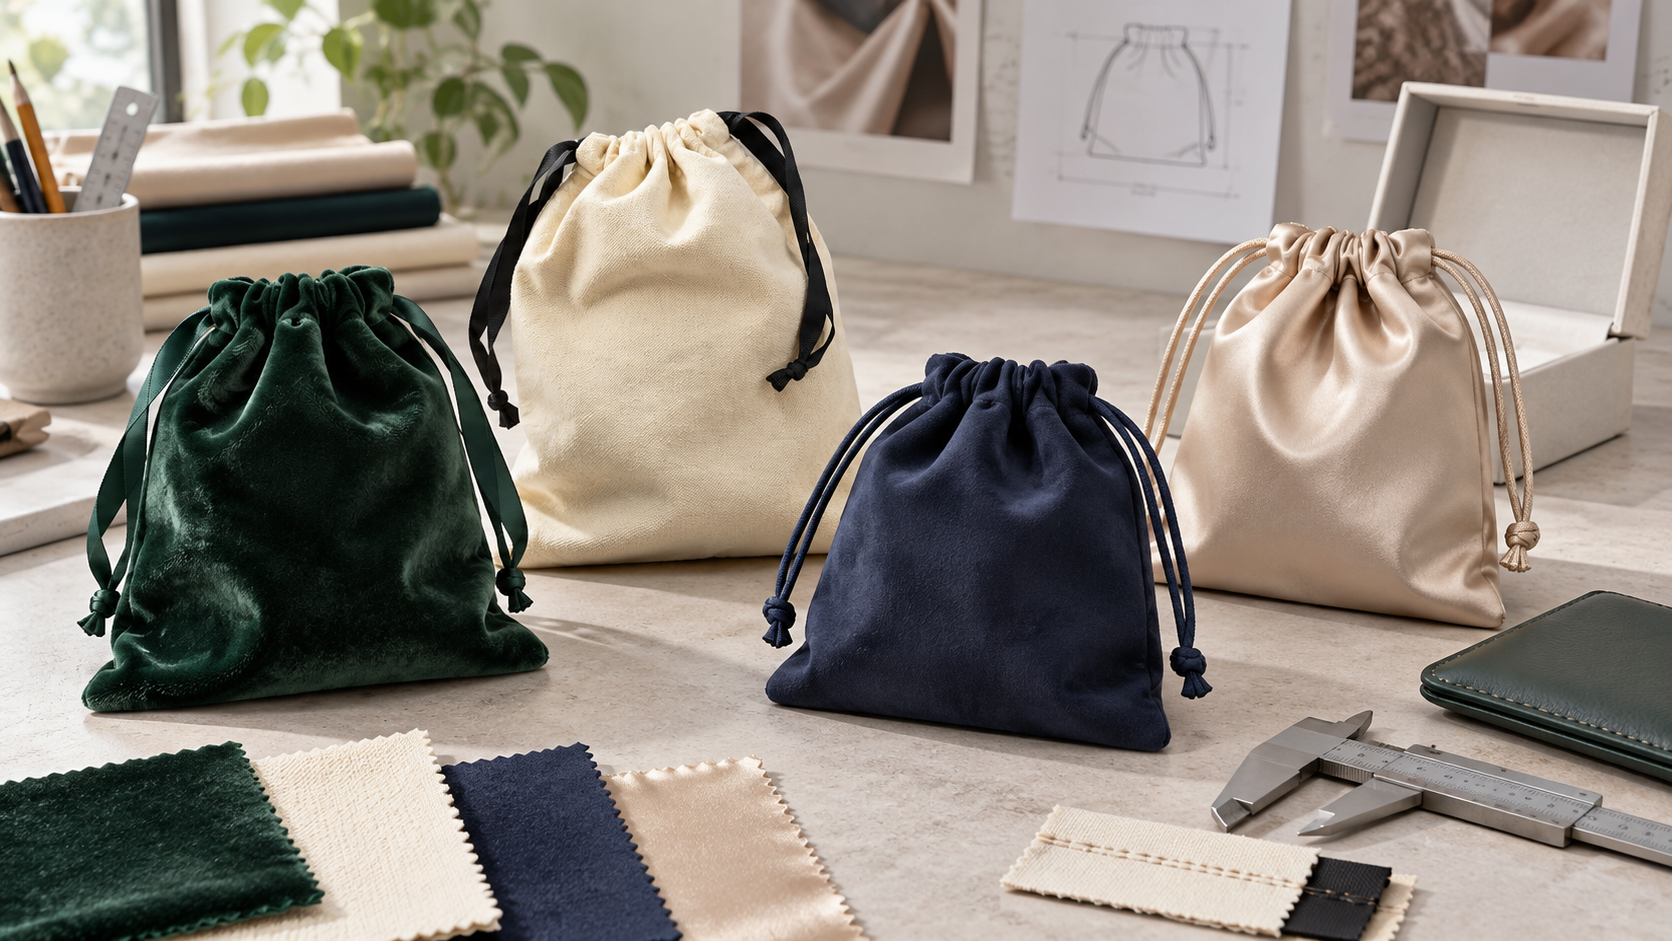
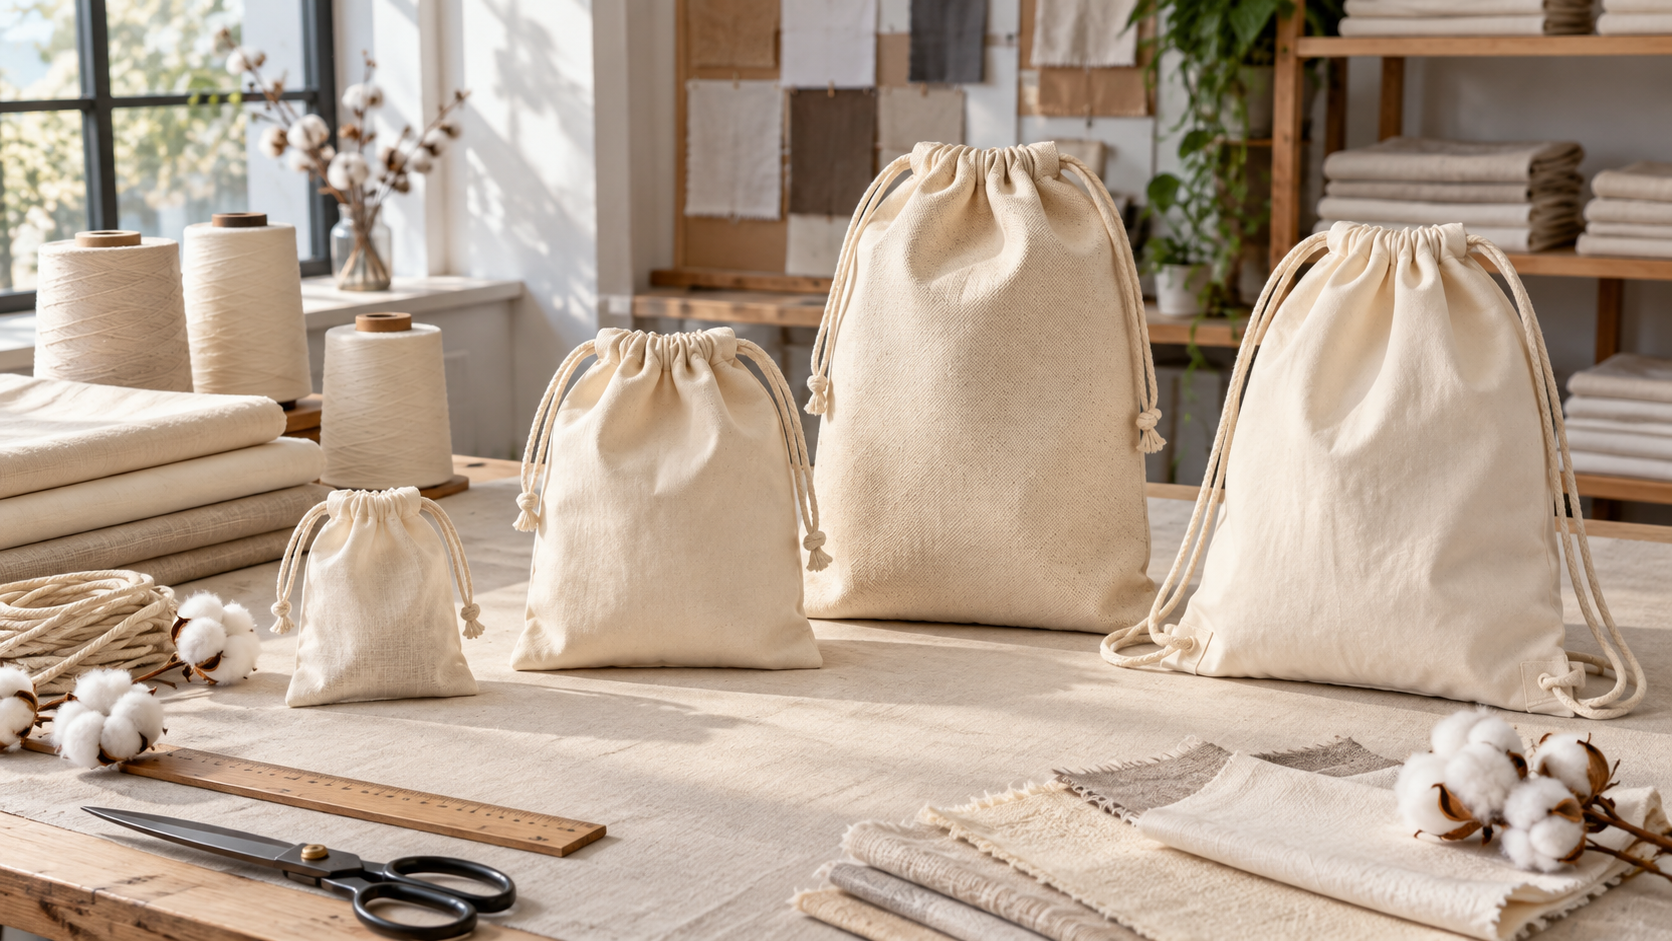
A beautiful shopping bag sample can still fail at checkout. The opening may collapse while staff try to load it, a shoe box may catch on the gusset, a rope handle may feel too short over a winter coat, or a laminated panel may look perfect when flat and misalign when the bag is opened. Sample development should find these problems while changes are still inexpensive.
The Custom Shopping Bag Sample Development Process has two jobs. It must prove that the chosen material and converting route can reproduce the design, and it must prove that the finished carrier works in the store. This article focuses on that retail evidence. The category-wide Custom Bag Sample Development Process covers the general prototype sequence, while Custom Shopping Bag Manufacturing Process: From Design to Delivery shows what happens after development is released.
Explore paper, reusable, jute, mesh, canvas and transparent directions on LUCKYSTAR's custom shopping bag product page. Buyers who are still qualifying a partner should also use How to Choose a Custom Shopping Bag Manufacturer and the broader Custom Bag Manufacturer Guide.
Planning an order? Send one decision-ready sample brief. Include the retail basket, dimensions, material, handles, printing, quantity by SKU, open decisions, evidence required and target bulk-release date.
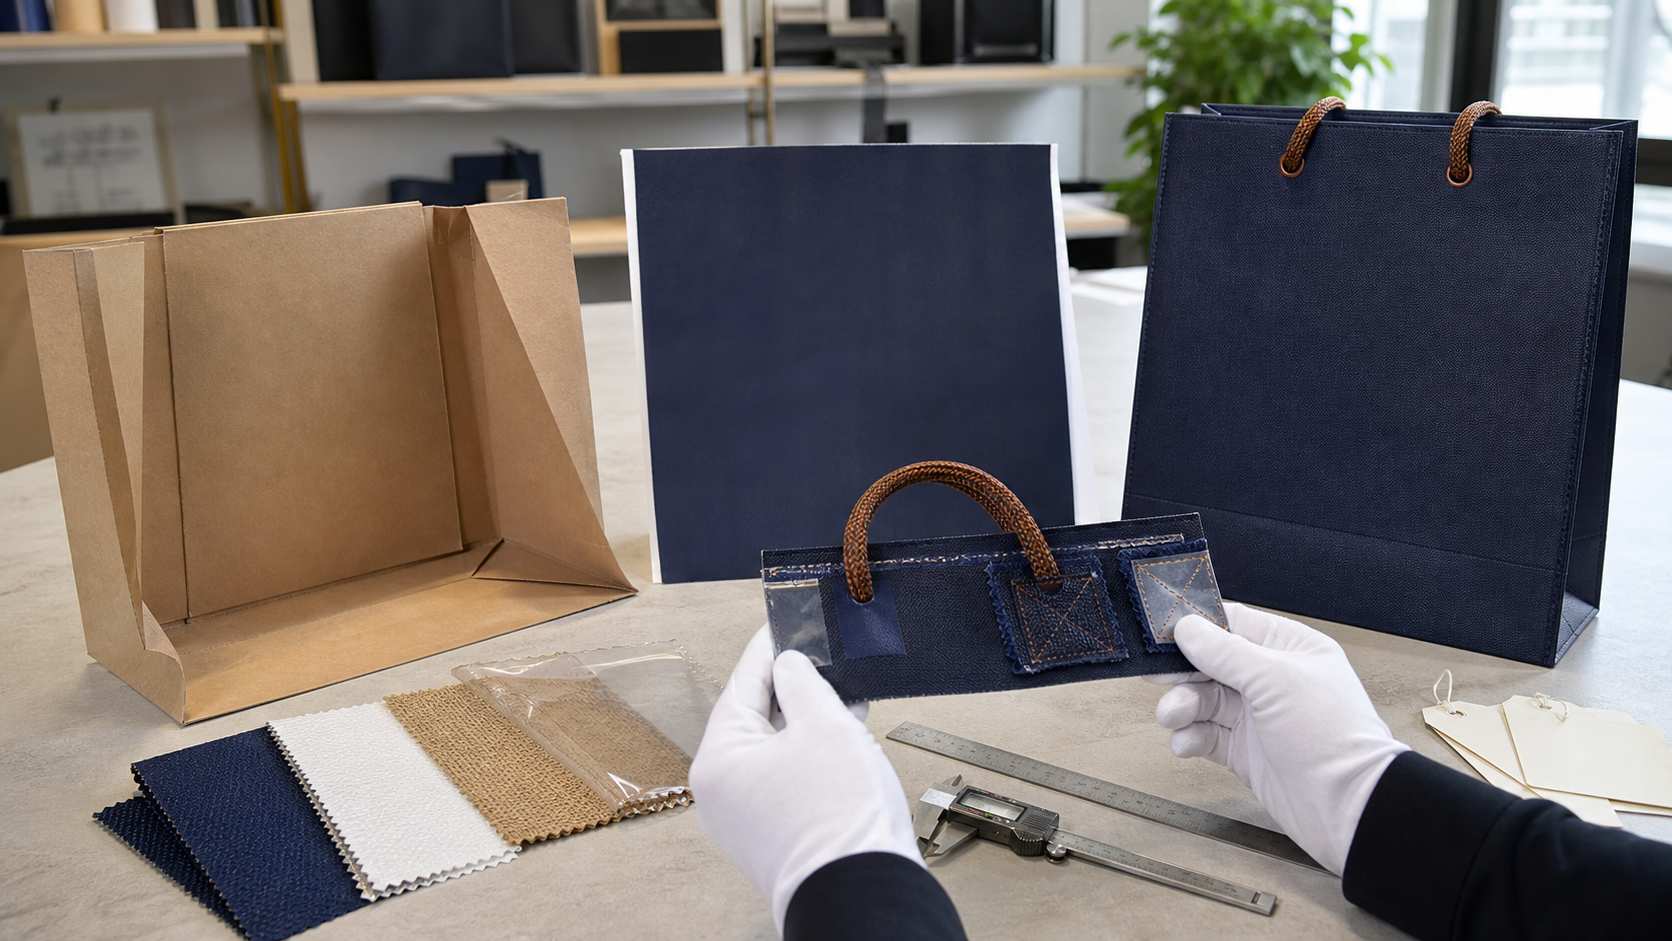
A sample program is stronger when each artifact closes one decision: fit, material, print, construction, retail use or bulk release.
Page role: This process guide owns the custom shopping bag sample path from buyer brief and material review through artwork, prototype, measured approval and production reference. Use the worldwide shopping bag manufacturer guide for a supplier shortlist, and the custom shopping bag collection for specification and quotation planning.
Use a sample ladder, not one all-purpose prototype
A Custom Shopping Bag Prototype does not need every premium finish if the open question is size. Conversely, a white dummy cannot approve print adhesion or finished appearance. Separating decisions can save tooling, courier time and revision cycles.
| Sample artifact | Question it should answer | What it does not approve | Release evidence |
|---|---|---|---|
| Dimension dummy | Opening, W × H × gusset, base, product fit and handle drop | Final color, print, finish or production performance | Measured dummy plus photos of the filled trial |
| Material and handle kit | Body grade, texture, color, stiffness and hand-contact components | How the complete bag carries its load | Supplier references, weight/thickness and signed swatches |
| Print/finish strike-off | Color, opacity, detail, adhesion, gloss and process feasibility | Converted registration around gussets, seams and folds | Physical target on the intended substrate |
| Engineering prototype | Construction, reinforcement, load path, opening and handling | Bulk repeatability if convenient sample inputs were used | Build sheet, measurements and functional results |
| Checkout and pack-out trial | Store speed, product protection, comfort, folding and carton behavior | Unspecified market or transport conditions | Named products, method, result, photos and decision |
| Production-reference sample | The complete product and packing standard to release | Automatic acceptance of every bulk unit | Signed sample, frozen BOM/artwork, tolerances and control plan |
Do not force a single physical object to carry contradictory meanings. Mark every sample with project, sample type, revision, date, material source and approval status. An attractive prototype made with substitute materials can support a design meeting, but it must not silently become the bulk standard.
Step 1: define the retail trial before drawing the bag
The sample brief should begin with the bag's job. Collect the largest normal item, heaviest likely basket and most awkward shape. Describe whether staff pack the bag on a narrow counter, whether customers carry it by hand or shoulder, and whether identical bags must lie flat under the till.
Run the trial with actual products where practical. If confidentiality or availability prevents that, use dimensionally and materially representative dummies. A list of dimensions alone misses friction, sharp corners, shifting bottles and the speed of a real packing sequence.
| Retail input | What to record | Sample decision it controls | Common blind spot |
|---|---|---|---|
| Normal basket | Product count, dimensions, mass, rigidity and packing order | Everyday capacity and opening | Testing only one convenient rectangular box |
| Maximum sensible basket | Largest/heaviest combination the store expects one bag to carry | Gusset, base, reinforcement and handles | Treating abuse loading as normal use |
| Checkout station | Counter width, bag storage, opening method and target packing flow | Fold, mouth stiffness and handle lay | Approving the bag only in an office |
| Carry context | Hand/shoulder use, clothing, walking time and product movement | Handle drop, width, edge feel and load distribution | Using a static hang test as a comfort test |
| Brand moment | How the bag is seen when flat, filled and carried | Artwork orientation, safe area and finish | Approving only the front panel on screen |
| Store allocation | Sizes, colors, artwork versions and units per store/carton | Sample variants and packing proof | Discovering label or carton splits after bulk is complete |
Step 2: choose the route-specific proof sequence
Shopping bags come from different industries. Paper converting, ultrasonic bonding, woven-film lamination, cut-and-sew construction and transparent-film joining do not share the same evidence. Select the production route before requesting a final decorated sample.
| Route | Early sample that saves time | Process proof to request | Risk to examine on the assembled bag |
|---|---|---|---|
| Paper carrier | Converted white/kraft dummy with actual size, folds and handle position | Printed/finished sheet plus handle attachment section | Fold cracking, glue lap/base opening, handle pull-out and finish scuff |
| Direct-print non-woven PP | Actual-GSM panel and bonded/sewn seam section | First print on the body roll/lot and handle reinforcement sample | Bond width, seam allowance, print rub and handle distortion |
| Laminated woven/non-woven PP | Plain converted dummy to settle gussets and binding | Reverse-printed film, laminate bond and converted registration sample | Artwork meeting at gussets, delamination, binding and edge shape |
| Jute/canvas/mesh | Cut pattern in available material plus handle/seam trial | Print or embroidery strike-off on the intended lot | Panel skew, fraying, shade, seam puckering and base/handle load path |
| Clear PVC or TPU | Film/trim compatibility and joining section | Printed/welded or sewn edge sample with surface protection | Scratching, blocking, cloudy welds, trim migration and shape recovery |
As of 15 September 2026, a paper-bag supplier page described physical sample approval and load checks, while a non-woven supplier page described a pre-production sample using stated final inputs before written release. Treat both as supplier-controlled process descriptions. The actual project needs its own measurable standard and evidence.
Step 3: issue a shopping-bag sample brief
The brief should describe the trial, not just the appearance. Include finished W × H × side/bottom gusset, measurement method, handle drop/width, body specification, reinforcement, print surface, finish, fold and packing. Attach a dimensioned pattern or dieline once the route is selected.
Mark safe zones around paper glue laps, gussets, seams, top turns, handle holes and base folds. Show how artwork should read when the bag is flat and when it carries products. For wrapped artwork, approve the meeting logic rather than asking the factory to “continue the pattern naturally.”
Add a sample assumptions page. If the development sample uses substitute color, digital print instead of bulk print, hand cutting, different film or an available handle, list each difference and its expected effect. The later production-reference sample must close those gaps.
Step 4: approve materials and handles as identified components
A swatch should be traceable to a supplier code or production description. For paper, record grade, basis weight, surface and finish. For PP, record composition, gsm, color and laminate structure. For jute/canvas, state composition, weight or construction, usable width, finish and color source. For clear film, identify polymer, thickness, surface and conditioning needs.
Handles deserve their own evidence: material, diameter/width, drop, color, end treatment and attachment. Compare the handle both loose and installed. A soft rope may feel premium but create a bulky fold; a thin webbing may reduce carton cube but feel sharp at the target load.
| Component evidence | Approve | Verify on complete sample | Retain for bulk |
|---|---|---|---|
| Body swatch | Identity, composition/grade, weight/thickness, texture, color and finish | Stiffness, opening, folds, print response and loaded deformation | Signed swatch and source/lot reference |
| Handle and reinforcement | Material, size, shade and attachment concept | Drop, comfort, symmetry and surrounding body behavior | Installed section plus component specification |
| Ink/printed film | Color, opacity, detail, coverage and adhesion | Gusset/fold registration, rub and appearance under final finish | Physical strike-off and artwork revision |
| Finish or laminate | Gloss/matte level, bond, surface feel and compatibility | Crease behavior, scuffing, blocking and cleaning | Finished reference panel with process description |
| Board, binding, zipper or trim | Material, thickness/size, color and placement | Fit, flexibility, edge condition and packing effect | Component code and approved assembly detail |
If the bag carries a material or sourcing claim, the sample and paperwork should refer to the same input. Use FSC chain of custody to verify the certificate holder, validity, product scope, claim and sales documentation for the actual order. For recycled-content claims, consult GRS 5.0 and its transition information; verify the certificate holder and product scope, then obtain shipment-level transaction evidence where applicable. A labeled swatch alone is not order-level proof.
Step 5: approve printing on the converted geometry
A digital file can approve content and approximate position. It cannot prove ink/substrate interaction, finish, fold cracking or the way artwork wraps a side gusset. Use the intended substrate for the physical strike-off. Then inspect a converted bag under the agreed lighting.
Paper buyers should check the glue lap, top turn, handle zone, bottom fold and any foil/emboss registration. Direct-print non-woven buyers should check opacity, edge definition, cure and rubbing. Laminated PP needs artwork alignment after film stretch, lamination, cutting and assembly. Fabric/jute needs print response on actual texture and panel orientation. Clear material needs opacity and viewing from both sides.
Record the master by date and version. “Match the PDF” is not a physical color method, and a photograph is not a reliable finish standard.
Step 6: conduct a real checkout and carrying trial
A retail trial should look like retail. Place folded samples where stores will keep them. Ask staff to take one, open it, load products in the normal sequence and hand it over. Observe whether panels stick, handles tangle, the mouth collapses or products need to be rearranged.
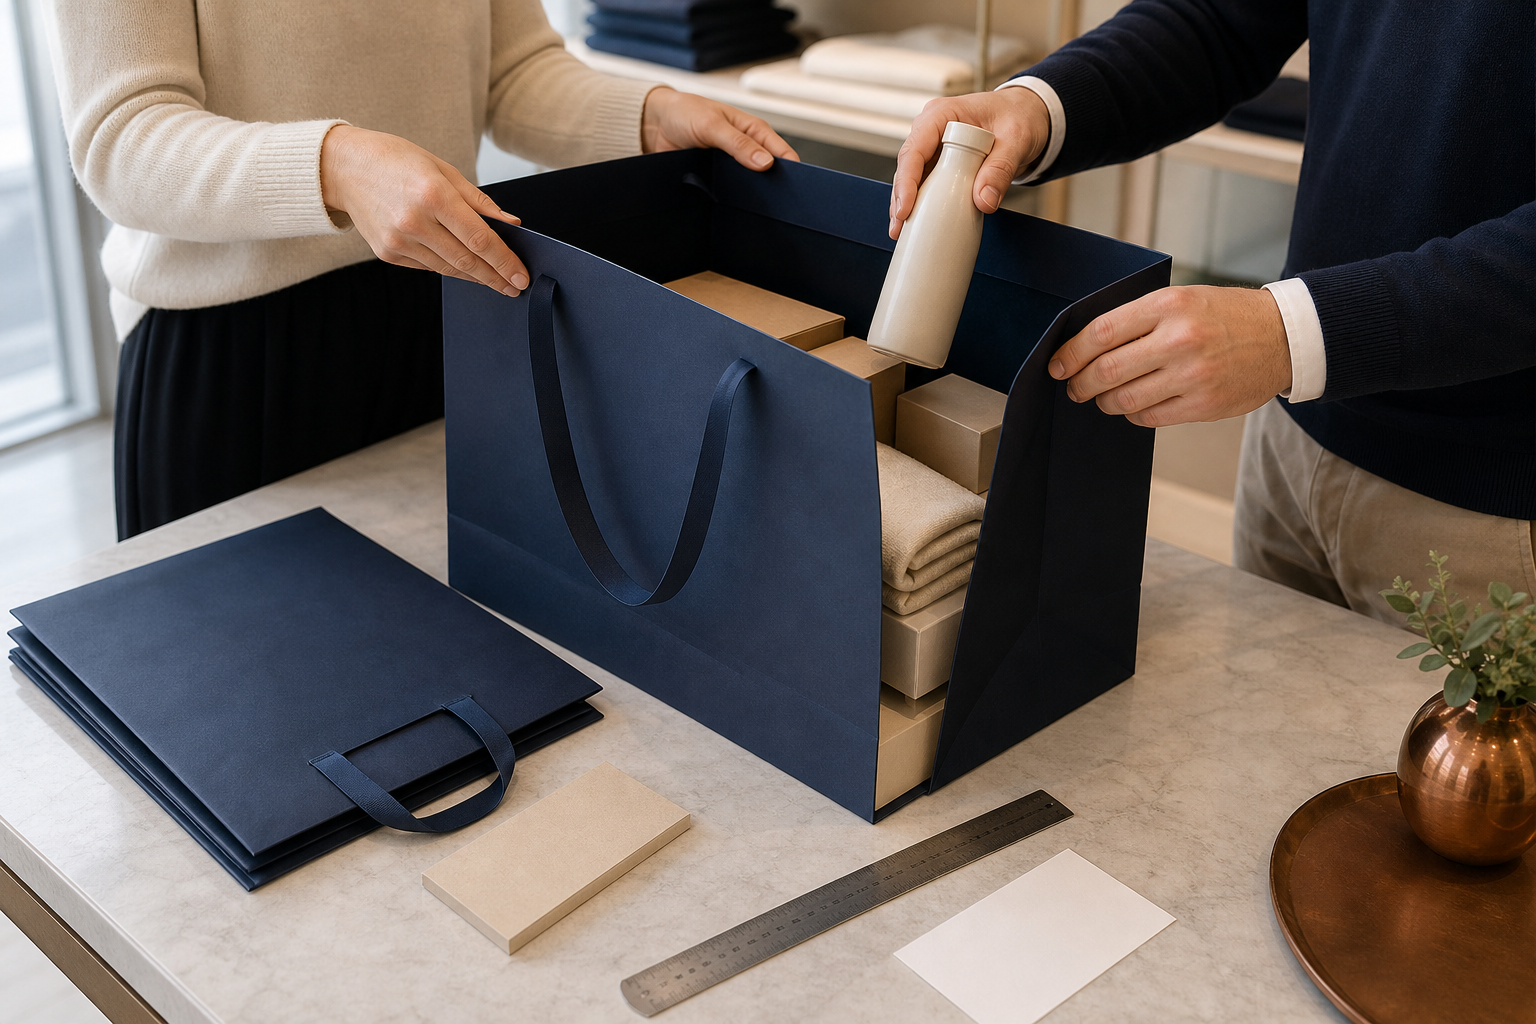
The right prototype is tested with the products, counter space and handling sequence it will meet in the store.
| Trial station | Method to define | Evidence to capture | Typical design response |
|---|---|---|---|
| Opening | Start from packed fold; normal staff action; repeat across samples | Time/observations, sticking, mouth stability and handle tangling | Adjust fold, stiffness, top construction or handle lay |
| Product loading | Use named normal and maximum-sensible baskets in sequence | Snagging, crushing, void space, double-bagging and reorder of items | Change opening, gusset, base, board or size family |
| Lift/carry | Define load, distribution, lift/cycle or duration and failure rule | Handle comfort, attachment, seam/bond, deformation and product movement | Change handle width/drop, reinforcement or load path |
| Presentation | View flat, filled, carried and placed on counter/floor | Artwork orientation, standing, creases and finish marking | Move artwork, alter base or protect finish |
| Recovery/reuse | Open after representative packed hold; refold if reuse is intended | Permanent distortion, cracked fold, delamination or difficult storage | Revise material, fold, finish or packing compression |
Use a documented method rather than an impressive but unrepeatable stunt. The load, filler shape, conditioning, duration and pass/fail rule should be stated. Paper carrier guidance also emphasizes testing the bag with representative contents rather than pulling an empty handle: loaded paper-carrier review.
Step 7: validate the folded bag, carton and store allocation
The product sample is incomplete until its packing has been tried. Fold direction can create a visible crease through a logo. Rope handles can mark a laminated panel. Jute can produce lint; clear film can scratch or block. Aggressive compression may improve carton density and damage the presentation that justified the bag.
Build a production-representative bundle and master carton. Measure external dimensions and gross weight after packing. Open samples from the top, middle and bottom after a defined hold. Check store or warehouse labels against the actual SKU matrix.
| Pack-out proof | Question | Acceptance evidence | Information frozen |
|---|---|---|---|
| Fold and handle lay | Does the bag open correctly without visible damage? | Folded/open photos after representative hold | Fold diagram and handle position |
| Inner bundle | Are units protected, countable and easy for stores to handle? | Verified count, closure/protection and sample opening | Units per bundle and inner material |
| Master carton | Does it protect without excessive cube or compression? | Physical carton dimensions, gross weight and condition | Units/carton, box spec and total CBM basis |
| SKU/store label | Can receiving separate every size, color and artwork? | Label scan/reconciliation against allocation file | Label content, location and carton map |
| Distribution challenge | Is the packed system suitable for the intended route? | Trial shipment or chosen laboratory/field result where required | Test method, sample identity and report |
For formal distribution validation of the packaged product, choose a procedure that represents the actual distribution environment. ISTA advises using the current appropriate procedure and representative samples as close as possible to production products and packages; field trials may complement laboratory work. This scope is different from a store carrying trial. Do not claim an ISTA result unless the correct protocol, laboratory/reporting conditions and representative packaged product support it.
Step 8: control revisions so the right sample reaches the line
After each round, issue one numbered comment file. Each item should state the observed issue, required change, owner and evidence needed for closure. Update the drawing, bill of materials and artwork when a change affects them. Do not approve a sample through scattered messages that leave conflicting instructions.
Photograph the sample from repeatable angles and mark the sample itself with its revision. Keep rejected versions clearly separated. If only one element changes—for example handle drop—state which previous approvals remain valid and which tests must be repeated.
A correction is not closed because the factory writes “noted.” It closes when the updated artifact or data proves the intended change.
Step 9: approve a production reference and its data pack
The final approval should be a package of evidence, not a signature on a visually attractive bag. The physical reference, specification and control plan must all describe the same product. If the sample was handmade or printed with a different process, list the remaining bulk first-off gate.
| Release element | Must agree with the sample | Used during bulk for | Reopen approval when… |
|---|---|---|---|
| Dimensioned specification | Size, gussets, handles, reinforcement, seams/bonds and tolerances | Cutting/converting setup and measurements | Geometry or measurement method changes |
| Bill of materials | Body, handles, reinforcement, ink/film, trim, board and packing | Purchasing, incoming control and traceability | Source, grade, color, finish or component changes |
| Artwork and color standard | Version, placement, substrate, print route and finish | Press/print setup and first-off approval | Artwork, substrate, ink or print process changes |
| Retail/function record | Product basket, load method, outcome and failure rule | In-line/final verification of critical functions | Intended contents or load path changes |
| Packing standard | Fold, protection, bundle, carton, label and allocation | Pack-out, logistics data and receiving | Handle, finish, carton count or distribution route changes |
| Open-point register | Every sample-to-bulk difference and responsible bulk gate | First-off hold/release and escalation | An open point cannot be verified as planned |
How long does shopping bag sample development take?
There is no universal duration per sample round. Timing depends on which decision the artifact must close, whether production-route material and decoration are available, which tooling is required, how many variants are included, courier transit and how quickly one approval owner returns consolidated comments.
| Sample gate | Supplier should date | Buyer should freeze |
|---|---|---|
| Dimension dummy | Start, dispatch and review-ready dates | Product basket, finished dimensions, gussets and handle position |
| Material/handle and print proof | Input availability, proof production and dispatch | Material identity, color reference, decoration method and acceptance criteria |
| Engineering prototype | Construction release, completion and trial date | Build sheet, reinforcement, load method and open deviations |
| Production-reference sample | Final-input release, completion, approval and bulk start eligibility | Specification revision, artwork, BOM, packing and signed decision record |
Ask for actual dates after the route and inputs are confirmed. A dimension dummy and material kit may run in parallel, while a production-reference sample should follow closed structural and visual decisions. See Custom Shopping Bag MOQ and Production Time for the link between sampling, material release and bulk scheduling.
How much does a custom shopping bag sample cost?
Cost depends on tooling, materials, print setup, hand work, revision count and shipping. A blank dummy can be inexpensive; a fully printed laminated woven-PP or premium converted-paper sample may carry one-off plates, dies or setup that cannot be absorbed into one unit. Ask for sample, tooling, courier and refundable/creditable charges separately.
The purpose of the sample is to reduce total project risk, not to mimic bulk unit price. Compare the development route with How Much Do Custom Shopping Bags Cost? 2026 Pricing Guide before deciding which decisions need physical evidence.
Company-claim boundary: LUCKYSTAR statements in this section are publisher self-description, not third-party verification, a sample-time promise, a production-capability guarantee or evidence that one sample represents every assigned factory. Confirm the contracting entity, assigned production site, subcontracting, inputs, process route, sample deviations, quality scope, cost, schedule and bulk-release conditions for each order.
How LUCKYSTAR describes its shopping bag sample review
The public custom shopping bag range presents paper, reusable PP, jute, mesh, canvas and transparent directions that buyers can use to frame a route-specific sample plan. LUCKYSTAR states that its project team can discuss dummies, material/handle evidence, print proofs, engineering prototypes, retail trials, revisions, production references and pack-out assumptions, subject to specification and written confirmation.
- Decision-specific artifacts: state which question each sample answers and what remains open.
- Material and handle identity: record the lot/reference and any substitute used during development.
- Retail trial: define opening, product fit, carrying, presentation and storage methods.
- Controlled revisions: link comments to drawings, artwork, specification and sample versions.
- Bulk handoff: connect the approved reference to BOM, first-off checks, inspection and packing.
- Campaign coordination: connect the bag brief to the stated Product Range where relevant.
Request a project-specific sample plan with the real product basket, bag dimensions, material direction, artwork, quantity by SKU, destination and target bulk-release date.
Frequently asked questions
What is the first sample for a custom shopping bag?
For a new structure, start with a dimensionally accurate blank dummy to check opening, product fit, gussets, base and handles. Material and print evidence can follow or run in parallel. Do not pay for every premium finish before the geometry works.
Do paper and reusable shopping bags need the same samples?
No. Paper needs converted folds, glue/base and handle-attachment evidence. Non-woven needs actual GSM, bond/seam and reinforcement review. Laminated PP needs printed film, laminate bond and converted registration. Jute/canvas and clear film have their own material and joining risks.
Can I approve a custom shopping bag from photos?
Photos can close visible comments when scale, lighting and sample identity are controlled, but they cannot prove feel, true color, opening, handle comfort, loaded behavior or pack-out. High-risk or premium programs should use physical evidence for those decisions.
How many sample rounds are normal?
One or two physical rounds may be enough when the brief is complete and the route is proven. A new structure, custom material, complex print or many decision-makers can require more. Separate issues with a dummy and strike-offs to avoid rebuilding the whole bag for every comment.
Should the sample use final production materials?
The production-reference sample should use intended inputs wherever possible. If an early prototype uses substitutes, list them. Any difference that affects color, strength, print, folding, finish or packing needs a later bulk first-off or physical approval gate.
How should shopping bag carrying capacity be tested?
Define representative contents, mass, distribution, conditioning, lift/carry or cycle method, duration and failure rule. Examine the whole load path—body, base, gussets, seams/bonds, reinforcement and handles—rather than testing one loose component.
Does sample approval guarantee bulk quality?
No. It creates the reference. Bulk still needs incoming material checks, first-off approval, in-line controls and final inspection against the frozen specification. The sample should be connected to those controls, not displayed separately in an office.
What should be saved after approval?
Retain the physical sample, dimensions, BOM, artwork, color/print target, material and handle references, trial results, revision log, packing standard and open-point list. Use named versions at both buyer and supplier locations.
Approve evidence that can survive bulk production
A reliable Shopping Bag Sample Development program does not chase a perfect-looking object. It builds evidence in the right order: retail job, dimension dummy, route-specific materials and print, assembled function, checkout use, packing and finally a traceable production reference.
Review the custom shopping bags product page, consult the Shopping Bag Manufacturer selection guide and connect the development record to the wider Custom Bag Manufacturer Guide. When the retail basket and artwork are ready, ask LUCKYSTAR to plan the samples.

Request a decision-ready shopping bag sample plan
Define the retail basket, dimensions, materials, handles, printing, SKU matrix, open decisions, trial method, packing and target bulk-release date. Ask each sample artifact to close one named decision.
Review LUCKYSTAR custom shopping bag options, then send your project details through the contact form or Email a project brief. The email link opens a draft for your review before sending.
Factory and subcontracting, materials, process route, sample substitutions, claims, testing, inspection, cost, MOQ, schedule and bulk-release conditions are subject to due diligence, specification and written confirmation.