Last reviewed: September 24, 2026
Custom Embroidery T-Shirt: Digitizing and QC Guide
Buyer Quick Answer
Approve a custom embroidery T-shirt as one system: the named knit garment, artwork at finished size, digitized stitch file, thread, needle, backing, hooping, placement and care route. First approve a sew-out on the actual fabric; then approve a finished pre-production shirt; finally convert that evidence into bulk first-off and line checks. A crisp digital logo or embroidery sample on stable cloth does not prove that the same stitches will sit flat, feel comfortable and survive care on a stretchy T-shirt.
Scope: this guide owns T-shirt-specific embroidery engineering from artwork audit through sew-out and finished-garment release. For complete supplier selection, commercial planning and shipment control, use the custom product manufacturer pillar guide.
Scope: What This Guide Owns
This page answers one buying question: how should a supplier turn artwork into repeatable embroidery on a knitted T-shirt? It does not repeat the brand-application overview in custom embroidery branding solutions, the factory-continuity criteria in the custom T-shirt manufacturer guide, or campaign allocation in the bulk promotional T-shirt guide. Here, every decision ends in physical approval evidence.
Define the T-Shirt Program
State the wearer, channel, garment fit, use frequency, climate, care route, order quantity, size range, colors, logo positions and target delivery. A left-chest mark for office uniforms has different comfort and repeat-order needs from a large back emblem for an event. Identify which requirement leads: premium texture, small-run identity, wash durability or visual impact. Also state the target market because labeling, fiber claims and care information may affect the garment and packing specification. For cross-category brand architecture, see the custom caps and apparel brand program.
Choose the Garment Platform Before Digitizing
Freeze the T-shirt style, supplier article, fiber content, knit, nominal fabric mass, finish, colorway, rib, seam construction and size set before asking for a final embroidery file. A design digitized for a stable heavy jersey may pucker or sink into a lighter, more elastic knit. If stock garments and custom-cut garments are both under consideration, treat them as different platforms. Retain a labeled sample and lot reference so the approved sew-out can be traced to bulk.
Specify the Knit Beyond Fiber and GSM
Fiber and nominal GSM are useful identifiers, not complete behavior. Record whether the body is single jersey, interlock, pique or another structure; note elastane, surface finish, usable width and recovery. Ask for fabric direction and face. Compare color lots because dyeing and finishing can change hand or dimensional behavior. The technical file should name the actual article, not merely “100% cotton T-shirt,” which leaves the supplier free to substitute a visibly similar but less stable base.
Jersey and Pique Are Different Bases
Single jersey can curl and distort more readily around concentrated stitches, while pique has a more textured surface that may affect edge clarity and coverage. Neither is automatically better. Run the same finished-size design on each proposed base with its intended backing, then compare fabric flatness, detail, reverse feel and recovery after care.
Control Stretch and Recovery
Measure or at least compare stretch and recovery in the two main garment directions under an agreed method. Map the result to the logo orientation and hooping plan. Excess movement while sewing can create registration gaps, outlines that miss their fills and rippled fabric after the hoop is released. Avoid solving instability only by adding dense stitches or excessive backing; that may create a stiff plaque. The approval target is a balanced assembly that returns flat without sacrificing coverage.
Approve Color and Surface on the Actual Garment
Thread color is perceived beside the dyed knit, not in isolation. View the garment, thread card and finished sew-out together under agreed lighting. Brushed, enzyme-washed, heathered or slub surfaces can change edge definition and contrast. Dark garment fibers may show between sparse stitches; pale thread may appear different after repeated laundering. Approve every materially different colorway or define a justified grouping, and retain physical references rather than relying on monitor values.
Map Stable Decoration Zones
Mark the intended embroidery area on each size and identify nearby seams, neck ribs, plackets, pockets, underarm curves and hems. Stable flat zones are easier to hoop and sew consistently. A design that works on a medium may crowd a seam on the smallest size or appear too low on the largest. Create a placement rule by size group when necessary. For related garment construction risks, the hoodie fabric, fit and finish guide shows why decoration cannot be separated from the base garment.
Audit Artwork at Finished Size
Review the artwork at its actual embroidered dimensions. Identify minimum letters, isolated dots, thin gaps, narrow borders, gradients and overlapping shapes. Decide what can be represented by thread and what must be simplified. Record the approved visual change rather than letting an operator improvise. A vector file helps define geometry but is not a machine-ready stitch plan. The owner of the brand should approve both the simplified artwork and the physical sew-out.
Treat Digitizing as Production Engineering
Digitizing assigns stitch types, paths, directions, underlay, sequence, densities, tie-ins, trims and compensation to the design. These choices interact with the selected fabric and machine. Keep the editable master file, machine-format output, design dimensions, thread sequence and revision code together. A low price based only on stitch count can encourage shortcuts or excess density; instead, approve the result against coverage, edge quality, fabric flatness, runnability and comfort.
Compare Stitch Types and Their Jobs
| Stitch type | Useful role | T-shirt risk | Evidence to approve |
|---|---|---|---|
| Running stitch | Fine paths, detail, travel and selected outlines | Sinking, broken appearance or cutting the knit when overworked | Finished-size detail and reverse-side path |
| Satin stitch | Letters, borders and narrow columns with sheen | Looping, snagging or poor coverage when the column is unsuitable | Column width, edge control and snag review |
| Fill stitch | Larger solid areas and directional texture | Puckering, stiffness, heat and long run time | Flatness, coverage, hand and run trial |
| Motif or specialty stitch | Controlled decorative texture | Unsecured segments, snag points and unstable repeats | Full motif at scale after care |
Running Stitch for Fine Paths
Use running stitches where the physical line can remain visible on the named knit. Review repeated passes and travel paths because they can perforate or stiffen a small area. A detail that disappears on the sew-out should be enlarged, converted or removed.
Satin Stitch for Columns
Satin columns can produce bright edges and readable lettering, but their safe width depends on thread, fabric and design. Approve the narrowest and widest elements physically. Check whether long exposed stitches invite snagging during wear or laundering.
Fill Stitch for Larger Areas
Fill direction and sequence can distribute or concentrate distortion. Large fields should be reviewed for puckering, hand, needle penetrations and machine time. Splitting a field, changing angle or opening negative space may outperform simply increasing density.
Build Underlay for the Named Fabric
Underlay anchors the top stitches, supports edges and helps isolate the design from the knit. Choose its type and extent from the actual garment and top-stitch geometry. Too little support can allow sinking or gapping; too much can harden the design and add penetrations. Ask the digitizer to identify the underlay strategy in the approval record. Inspect the reverse to confirm that travel and tie-in paths are controlled rather than hidden by backing.
Balance Density, Coverage and Hand
Do not set one universal density number for every T-shirt. Thread size, stitch type, fabric color, surface, underlay, backing and machine tension all affect coverage. Compare the least dense construction that meets the agreed visual and durability standard with denser options. Record the approved file revision and sew-out. If a dark knit shows through, the remedy may be better underlay, direction or thread rather than simply packing in more needle penetrations.
Plan Stitch Direction and Sequence
Stitch direction controls light reflection, perceived color and how force enters the fabric. Sequence controls which elements stabilize or distort later elements. Review whether outlines sew after fills, whether adjacent fields pull in opposite directions, and whether color changes or trims create loose ends. The machine path should avoid long unnecessary travel across a next-to-skin surface. A run simulation is useful, but the physical sew-out remains the release evidence.
Control Pull Compensation Physically
Embroidery can draw columns inward along one axis and spread them along another. Pull compensation anticipates that behavior, but a generic setting cannot replace a same-fabric trial. Measure key finished features on the sew-out, especially borders, gaps, registered outlines and small counters. If the geometry changes after washing or relaxing, adjust the digitizing or support system and repeat the approval. Keep the final measurement with the file revision.
Set Minimum Detail by Sew-Out
Create a limit sample for the smallest approved text, gap, line and isolated element. View it from normal use distance and inspect it closely for thread crowding or fabric damage. If the program includes several garment bases, the weakest base defines the shared design limit unless separate files are controlled. This prevents sales mockups from promising details the factory cannot reproduce consistently. Any later artwork reduction should trigger a new sew-out rather than proportional scaling of the old file.
Choose Thread by Performance and Appearance
Specify thread material, brand or controlled equivalent, ticket or size, finish, color reference and any special requirement such as matte appearance or bleach resistance. Polyester and rayon embroidery threads can differ in sheen, strength and care response; neither should be chosen by a generic superiority claim. Test the actual thread with the garment's wash route and target use. Metallic or specialty threads need separate runnability, snag and comfort approval.
Control Thread Color With Physical References
Use a current thread card, labeled cone or retained sew-out as the color standard. State whether the goal is exact match, tonal harmony or deliberate contrast. Confirm every color on the selected garment shade because background and stitch direction affect perception. For reorders, identify allowed thread substitutions and the approval route. If several machines or factories are involved, distribute the same physical standard and record lot differences before bulk production begins.
Match Needle to Thread and Knit
The needle system, point, size and condition must suit the machine, thread and knitted base. An inappropriate or damaged needle can cut yarns, create holes, skip stitches or increase thread breaks. Record the approved setup and replacement rule with the line sheet. After sewing, stretch the area gently and inspect for cut loops or growing holes around the design. Needle damage is a fabric failure even when the front embroidery initially looks clean.
Select Backing for Stability and Comfort
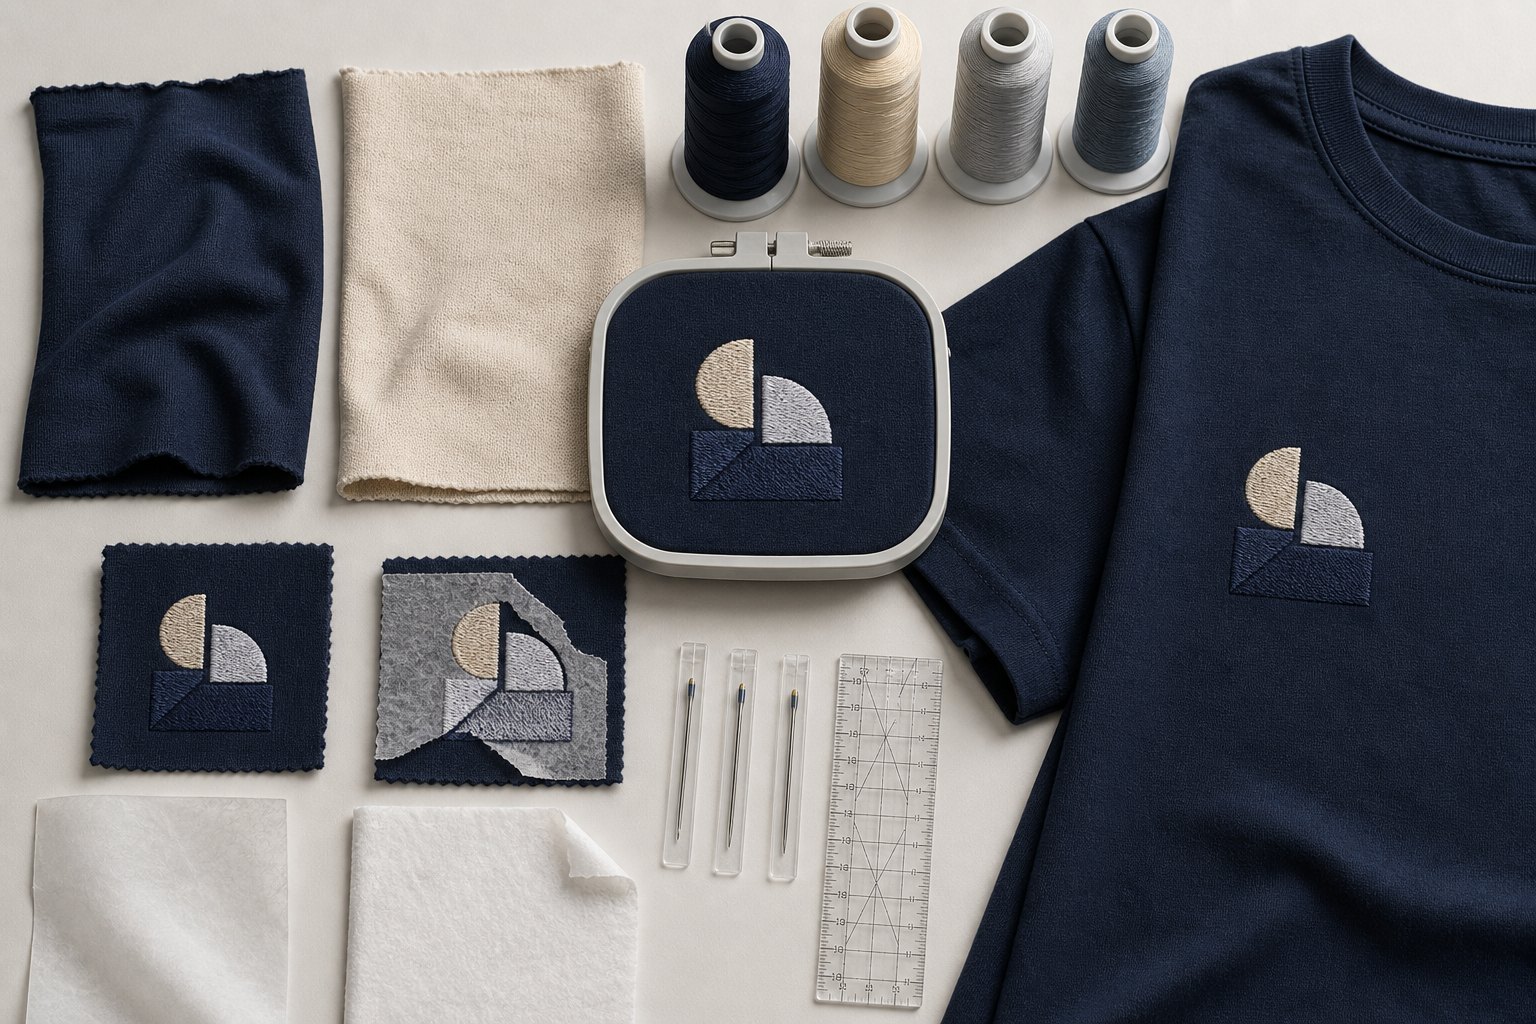
Compare cut-away, tear-away and other stabilizers on the actual knit. The chosen backing must support sewing and later wear without an unacceptable hard edge, show-through, bulk or residue. Record material, weight, layer count, coverage and trimming method. Avoid treating backing as invisible consumable: its edge can be felt by the wearer, and a supplier may substitute it unless it appears in the bill of materials and golden sample.
Next-to-Skin Comfort Is a Release Criterion
Inspect the inside of the shirt after backing trim, thread clipping and any cover material. Feel the design on-body or against a representative surface and define prohibited sharp corners, loose tails, adhesive residue and excessive stiffness. If a comfort cover is used, approve its attachment and behavior after laundering rather than assuming it will remain bonded.
Use Topping Only When the Surface Needs It
A water-soluble or removable topping can help keep stitches above selected textured surfaces, but it should solve a demonstrated problem. Approve its application, removal and residue on the production garment. Flat jersey may not need the same treatment as fleece or coarse pique. If topping changes run time or requires wet removal, include that operation in cost, capacity and quality planning. Do not leave unremoved film visible between narrow stitches.
Hoop Without Distorting the Knit
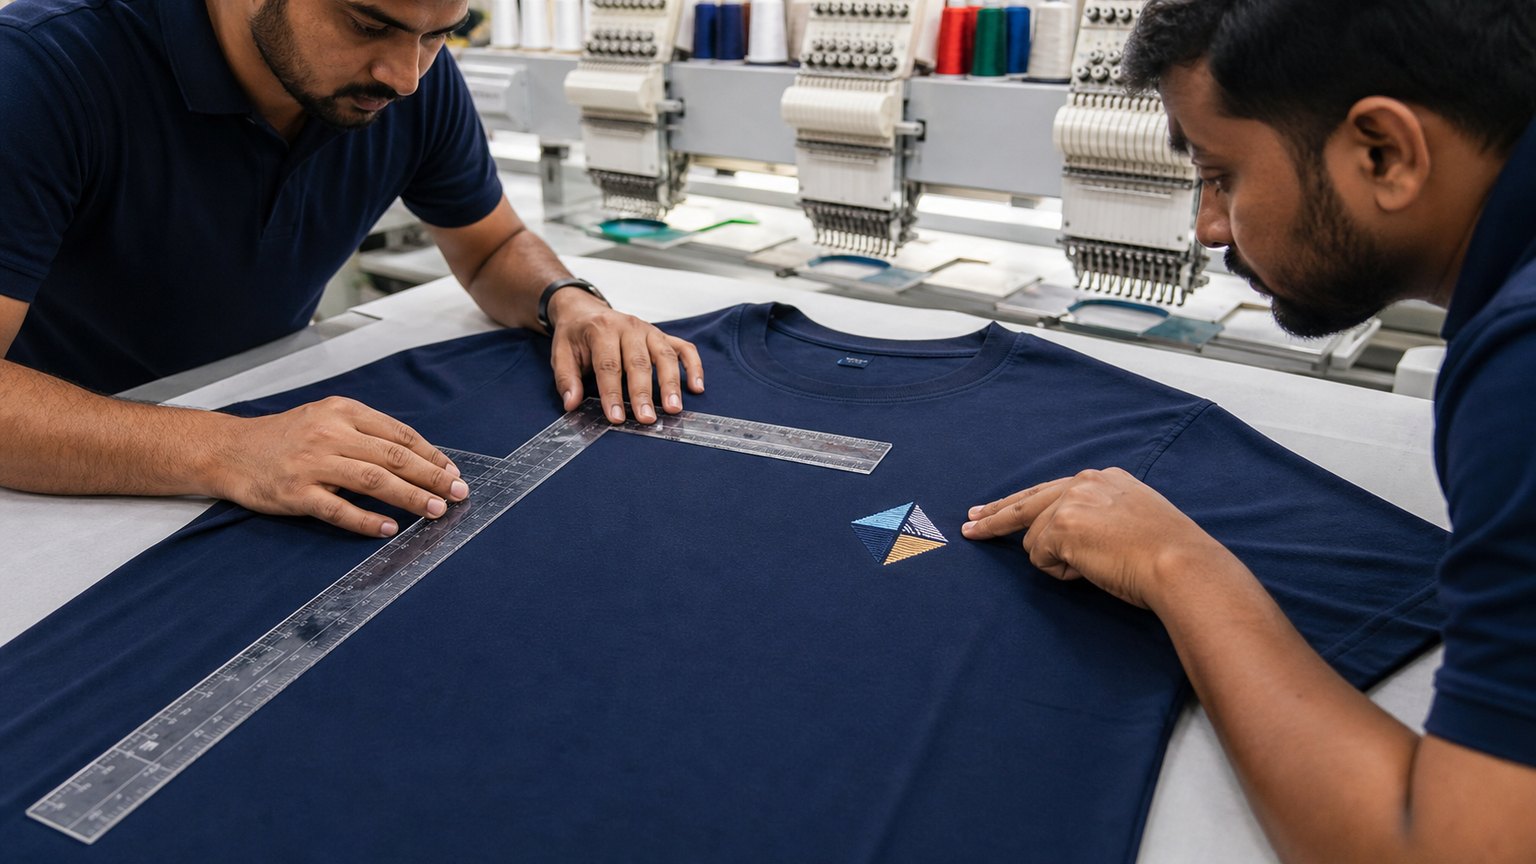
Hoop the garment squarely with controlled tension; do not stretch it into a drum and then judge the released result. Define the frame, support, placement jig and operator method. Check hoop marks, seam interference and whether the garment can move freely around the machine head. For difficult positions, compare clamps or fixtures through a trial. The approval should show the garment relaxed after sewing, because flatness inside the hoop can conceal distortion.
Set Placement From Stable Garment References
Define the measurement origin, orientation and tolerance. A left-chest position may reference center front, high-point shoulder, neck seam or armhole, but the chosen landmarks must be stable and repeatable across sizes. Include a diagram and a physical approved shirt. State whether measurement is taken before or after relaxation. The custom polo shirt manufacturer guide is the adjacent reference when plackets and collars change those landmarks.
Keep Embroidery Away From Seams and Rib
Machine feet, hoops and needles need clearance around bulky seams, ribs and folded edges. A design placed too close may sew unevenly, shift or damage the garment. Map the safe embroidery window for every size and note any construction change that moves it. If the logo must cross a seam, create a dedicated prototype and inspect registration, skipped stitches, needle damage and reverse comfort. Do not release it from a flat digital mockup.
Compare Decoration Architectures on T-Shirts
| Architecture | Useful starting point | Main trade-off | Required approval |
|---|---|---|---|
| Direct embroidery | Compact chest, sleeve or back marks | Needle load, backing and inside feel act directly on the knit | Same-fabric sew-out and finished shirt |
| Embroidered patch | Dense artwork needing a stable carrier | Patch edge, attachment and stiffness | Finished patch assembly after care |
| Applique plus embroidery | Large areas with fewer fill stitches | Cut edge, shrinkage and material compatibility | Actual applique, edge stitch and garment wash |
| Print plus embroidery | Layered visual effects with selective texture | Registration, process order and mixed-care behavior | Complete decorated garment, not separate strike-offs |
Approve a Same-Fabric Sew-Out
The first engineering sample should use the production knit, color, backing, thread, needle family and finished design size. Label front and reverse with garment article, color, date, file revision, machine and operator setup. Inspect detail, coverage, registration, flatness, holes, thread security and hand after release from the hoop. A sew-out on felt or stable woven cloth may help the digitizer, but it cannot be the buyer's T-shirt approval.
Approve the Finished Pre-Production T-Shirt
Move the approved file into a complete garment made from the intended bulk materials. Check placement by size, orientation, garment measurements, surrounding seam behavior, inside finish, labels and pack-out. Wear or drape the shirt to judge how the decoration sits on the body. Freeze one pre-production garment as the visual and construction standard. The general sampling logic in the custom sample approval guide also applies: a presentation sample is not automatically production evidence. The design-to-delivery process guide explains how a frozen pre-production standard connects to first-off release and shipment.
Inspect the Inside as a Wear Surface
Turn the garment inside out. Check backing trim distance, sharp corners, loose bobbin thread, long travel stitches, knots, oil, residue and any applied comfort cover. Define which reverse-side features are acceptable rather than hiding them in photography. The inspector should confirm that trimming has not cut the garment or embroidery and that repeated rubbing against skin or an undershirt will not expose a hard edge. Keep reverse-side reference photos with the golden sample.
Test Puckering, Gapping and Distortion
Lay the shirt relaxed on a flat surface after sewing and conditioning. Look for waves radiating from the design, compressed fabric, open registration gaps, misaligned outlines and distorted neck or side seams. Measure agreed design features and compare the surrounding panel with the undecorated state. If problems appear, change hoop tension, backing, underlay, density, sequence or compensation systematically and repeat the sew-out. Pressing alone must not disguise an unstable construction.
Test Thread Security and Snag Risk
Inspect starts, stops, trims and exposed satin lengths. Apply a fit-for-purpose gentle snag and flex review that represents the product's use, then define prohibited loose loops, unraveling or pulled stitches. Specialty and metallic threads need particular attention. Record the method and sample state; do not publish a blanket “snag-proof” claim. After the test, inspect the knit beneath the embroidery because a secure thread field can still damage the garment.
Validate Washing and Drying
Use the garment's intended care route and agree the number of cycles, detergent, temperature, mechanical action and drying procedure. ISO describes ISO 6330:2021 as domestic washing and drying procedures for textile testing; it is a menu of procedures, not a universal pass limit. Select the applicable route with the buyer or laboratory. Examine the complete garment for thread change, puckering, backing behavior, shrinkage, holes and decoration security.
Measure Garment Recovery and Placement After Care
Mark and measure the garment according to an agreed state before care, after drying and after a defined recovery period. ISO states that ISO 5077:2007 determines dimensional change of fabrics, garments or textile articles after specified washing and drying. Agree applicability and acceptance values. Recheck logo position from the same garment landmarks; differential shrinkage can make a technically unchanged embroidery appear misplaced.
Check Colorfastness and Transfer
Review garment dye, embroidery thread and any backing or cover together, especially dark-to-light combinations. ISO states that ISO 105-X12:2016 addresses resistance to rubbing off and staining other materials using dry and wet rubbing tests. Ask a competent laboratory to confirm whether and how it applies to the selected components. Define acceptance before testing and inspect both the embroidery and adjacent fabric rather than claiming “colorfast” without a method.
Build T-Shirt Embroidery CTQs
Create critical-to-quality lines for garment article, color, size, design code, file revision, dimensions, position, thread, backing, needle setup, flatness, registration, minimum detail, reverse finish and care result. Each CTQ needs a method, state, tolerance or defect definition and record owner. Link the garment plan to the broader product quality CTQ framework and adapt the categories to apparel rather than copying bag tests.
Compare Approval Gates
| Gate | Decision | Evidence | Do not release when |
|---|---|---|---|
| Artwork audit | Can the design be represented at finished size? | Approved simplification and dimensioned art | Minimum details remain imaginary |
| Same-fabric sew-out | Does the stitch system work on the knit? | Labeled front/reverse sample and file revision | Fabric, backing or setup differs from production |
| Pre-production shirt | Does the complete garment meet use and care needs? | Placement, comfort, measurements and care result | Any BOM, artwork or criterion is open |
| Bulk first-off | Does the line reproduce the approval? | Material identity, setup, CTQs and retained unit | Substitution or process drift appears |
Freeze the Golden Sample and Records
Label the approved shirt, sew-out, thread reference, backing, artwork, stitch file and test record with one control revision. State whether the golden sample is unwashed or represents an approved post-care state. Buyer, factory and inspector should use the same evidence; a photo alone cannot control hand, reverse finish or thread shade.
Control Bulk First-Off and Line Checks
Before the full run, verify bulk garments, thread lots, backing, file revision, frame, placement jig and machine setup against the approval. Inspect first-off units across relevant sizes and heads. During production, check position, flatness, registration, thread security, reverse trimming, needle damage and stains at agreed intervals. The quality inspection checklist supplies a useful defect-classification structure; customize it for embroidery failure modes and apparel measurements.
Manage Reorders and File Changes
Lock the garment article, color, thread, backing and stitch-file revision on the purchase order. Require written approval before a material, factory, machine route or digitized file changes. Retain a production unit and labeled thread sample from each order. If the garment supplier changes its knit or finish, repeat the sew-out and applicable care checks even when the style number remains similar. A clean version history prevents an old machine file from silently returning on reorder.
Normalize MOQ, Cost and Lead Time
Compare quotes against one specification. Garment minimums, stock colors, digitizing, stitch count, color changes, trims, hooping difficulty, backing, size distribution, samples, testing, finishing and packing all affect economics. Ask suppliers to separate one-time development from recurring unit costs and to identify the capacity assumption. For program-level planning, the corporate uniform supplier guide owns replenishment and size continuity, while this page controls embroidery release.
Recognize Supplier Red Flags
- The final file is approved before the exact T-shirt fabric and finished size are known.
- The only sew-out is on felt or a stable woven base, not the production knit.
- Density, backing and placement are described as universal settings for every garment.
- The supplier shows the front but will not provide reverse-side evidence.
- Wash, color or durability claims omit the procedure, cycles, sample state and acceptance result.
- Bulk thread, backing, garment or file revision can change without written reapproval.
Send a Production-Ready RFQ
Provide target wearer and market, garment article or full knit specification, size and color range, quantity by variant, finished artwork dimensions, positions by size, physical color references, intended care, packing and delivery. Ask for an artwork-risk review, staged sew-out plan, backing and needle proposal, finished pre-production shirt, care-test evidence, CTQs, bulk first-off gate and change-control process. Compare the response with the wholesale embroidered caps guide only for cap-specific hooping and structure, and use basic wear program planning for coordinating shirts with wider merchandise. The global custom apparel partnership page provides company-level context without duplicating the technical approval workflow. Review one current custom T-shirt product reference, then align supplier and shipment decisions through the complete custom manufacturing framework.

GET AN EMBROIDERY T-SHIRT QUOTE
Email a prefilled embroidery T-shirt brief
Include the garment article, finished logo size, positions, colors and care route so the first sew-out can test the real production risk.