Last reviewed: September 28, 2026
Why a Good Mockup Can Produce a Bad Tote
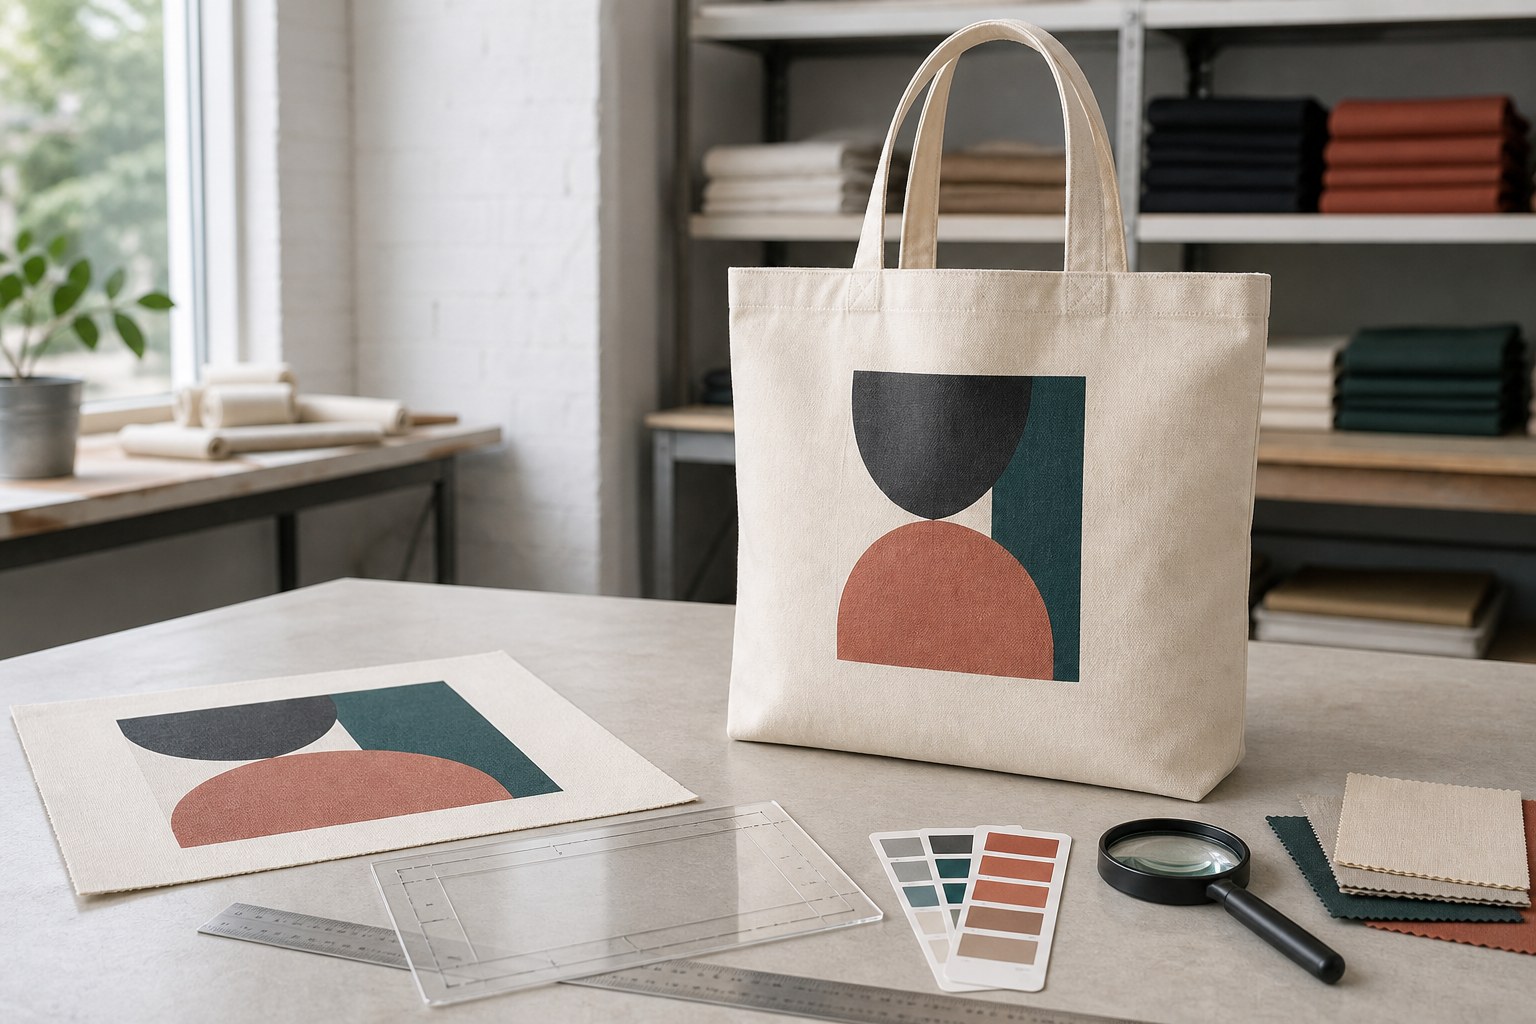
A mockup communicates an idea. It may not define the bag size, printable surface, distance from a seam, color build, underbase, front orientation or acceptable placement movement. Two teams can approve the same attractive image while imagining different physical results.
The production file removes that ambiguity. It turns a screen composition into dimensions and references that the artwork team, sample room, printer, sewing line and inspector can all use.
Start With the Approved Tote, Not a Generic Rectangle
Artwork belongs to a specific finished product. Record the tote style, finished width and height, gusset, top treatment, handle attachment, pockets, closures and material. A template created for a flat 38 cm tote should not be reused without review on a smaller gusseted construction.
Connect the artwork sheet to the same revision used in the custom bag tech pack. If the bag pattern changes, the print file may need a new approval even when the graphic does not.
Freeze the Blank Before Final Print Placement
A print strike-off can be developed while the bag is being sampled, but final position requires a stable construction. Moving handle attachments, changing top hem depth or adding a pocket alters the visual and physical print zone.
Record the material color, finish and weight or thickness convention. Natural canvas texture, dyed cotton, coated fabric and recycled polyester can change edge detail, contrast and ink coverage.
Create a Finished-Bag Coordinate System
Define where measurements begin. Common references include the finished top edge, vertical centerline, side seam, bottom seam, pocket edge or handle-attachment line. State whether placement is measured to the artwork bounding box, visual center or a named mark inside the design.
A coordinate without a reference is not a specification. "Centered" can mean centered on the cut panel, finished front, opening, handle pair or visible area when the tote is filled.
Measure the Printable Zone, Not the Bag Width
The finished width includes areas that may not provide a flat, even print surface. Side seams, gusset folds, bottom shaping, pockets and handle reinforcement reduce usable space. Heat and pressure equipment may need further clearance.
Show the maximum technical zone and the preferred visual zone separately. Important logos and text should not sit at the technical boundary merely because the equipment can reach it.
Map Excluded and Conditional Areas
Mark seams, thick hems, handle stitching, snaps, zippers, pockets, fold lines and areas hidden by normal use. Some zones are impossible for one method but possible before sewing with another production route.
Conditional areas need a note. A print crossing a gusset may be intentional, but the buyer should approve the distortion when the bag opens and the variation when it lies flat.
Build the Artwork Approval File
| File element | What it must define | Approval evidence | Owner |
|---|---|---|---|
| Bag identity | Style code, revision, finished dimensions and material | Approved bag specification | Buyer and manufacturer |
| View map | Front, back, inside and orientation | Annotated finished-bag drawing | Artwork team |
| Print geometry | Width, height, coordinates, printable and excluded zones | Dimensioned artwork sheet | Engineer or merchandiser |
| Artwork master | Version, vector/raster assets, fonts and linked images | Released production file | Buyer design team |
| Color definition | Named target, separations, underbase and substrate | Color target and strike-off | Buyer and printer |
| Bulk rule | Placement tolerance, defect limits and inspection method | Signed control sample and checklist | Quality team |
Define Front, Back and Orientation Clearly
Mark the front using construction features, not only the word "front." A tote may look symmetrical until a side label, pocket, seam direction or closure reveals the intended face. State whether artwork is single-sided, two-sided with the same image or two-sided with different versions.
For text or directional art, confirm the top of the graphic relative to the tote opening. Include a small physical reference photo when panel orientation could be reversed during printing.
Separate the Artwork Master From the Placement Sheet
The artwork master contains the production graphic. The placement sheet shows where and how that graphic applies to the bag. Keeping them separate prevents a scaled screenshot or low-resolution mockup from becoming the production file.
Name both files with the project, style, side, artwork code, revision and date. Remove obsolete versions from the released package while preserving them in controlled history.
Keep Vector and Raster Requirements Method Specific
Solid spot-color graphics usually benefit from clean vector paths. Photographic or tonal artwork requires sufficient raster detail at the final print size. Convert or package fonts according to the production workflow and confirm linked images are included.
Do not prescribe one universal format without the printer's process requirements. The method guide explains the technical routes; this approval file records the actual file used for the selected route.
Set Logo Scale on the Finished Tote
Approve size in millimeters, not as a percentage seen on screen. Review the tote flat, filled and carried. A centered graphic can appear too low when the bottom gusset opens or too close to the handles when the bag hangs.
Keep the logo proportions locked unless an approved responsive brand version exists. Stretching a mark to fill a convenient print zone is not a manufacturing solution.
Control Small Type, Lines and Reversed Detail
Canvas weave, ink spread, underbase and transfer edge can close small gaps or weaken fine lines. Ask the printer to flag details below the proven capability for the chosen material and process.
Approve a physical result at actual size. A zoomed PDF can make detail look perfect while the printed fiber surface changes legibility.
Define Color on the Actual Substrate
A digital value or color reference names a target; it does not show how that color looks over natural, black or dyed fabric. Record the substrate, any white underbase, opacity expectation and whether small shade movement is acceptable.
For a deeper explanation of physical color approvals, use the color matching and bulk approval guide. The category differs, but the principle of a controlled target and approved physical standard remains relevant.
Choose Contrast Before Chasing Exact Color
A perfectly matched dark color can disappear on a dark tote. Review contrast, opacity and edge definition together. Natural fibers also vary in tone, so the same ink can read differently across fabric lots.
If the artwork uses negative space, make clear whether that area is unprinted fabric, white ink or transparent transfer film. The visual result and production setup are different.
Plan Artwork Variants as Separate SKUs
Language, store, event, colorway and personalization variants create separate approval and quantity decisions. Give each variant a code and map it to bag color, side, artwork file, order quantity and carton identity.
Do not allow a folder of similarly named files to control production. The Wholesale Tote Bags Guide covers assortment and reorder planning; the artwork file must connect that assortment to the correct printed unit.
Use Three Physical Approval Gates
| Approval gate | What it proves | What it does not prove | Release decision |
|---|---|---|---|
| Digital layout | Content, spelling, version, dimensions and intended position | Actual color, texture, opacity or hand feel | Release file preparation |
| Printed strike-off | Ink or transfer result on representative material | Finished-bag placement, seams, folds or orientation | Release decoration settings |
| Finished printed sample | Scale, position, bag interaction and overall appearance | Every unit in bulk production | Release the controlled construction |
| Pre-production reference | Final bag, material, artwork and packing package | Automatic lot acceptance | Release bulk against inspection rules |
| First production piece | Line setup matches the approved reference | Later drift across the run | Start and monitor production |
Approve the Digital Layout Without Treating It as a Sample
Check text, side, orientation, artwork dimensions, reference coordinates and variant code. Confirm that template guides, notes and hidden artwork are not part of the print layer.
A digital approval is valuable because it catches file errors early. It should be labeled as a layout approval so nobody interprets it as approval of physical color or finished placement.
Use the Strike-Off to Lock the Print Result
Print on the intended material, or document any substitute. Review color, opacity, edge detail, coverage, surface feel and obvious process defects. If the full artwork is expensive to test, include the most difficult lines, solids, reverses and color relationships.
Sign, date and identify the accepted strike-off. A photograph can support communication but should not replace the controlled physical reference when color or texture is critical.
Approve Placement on the Sewn Sample
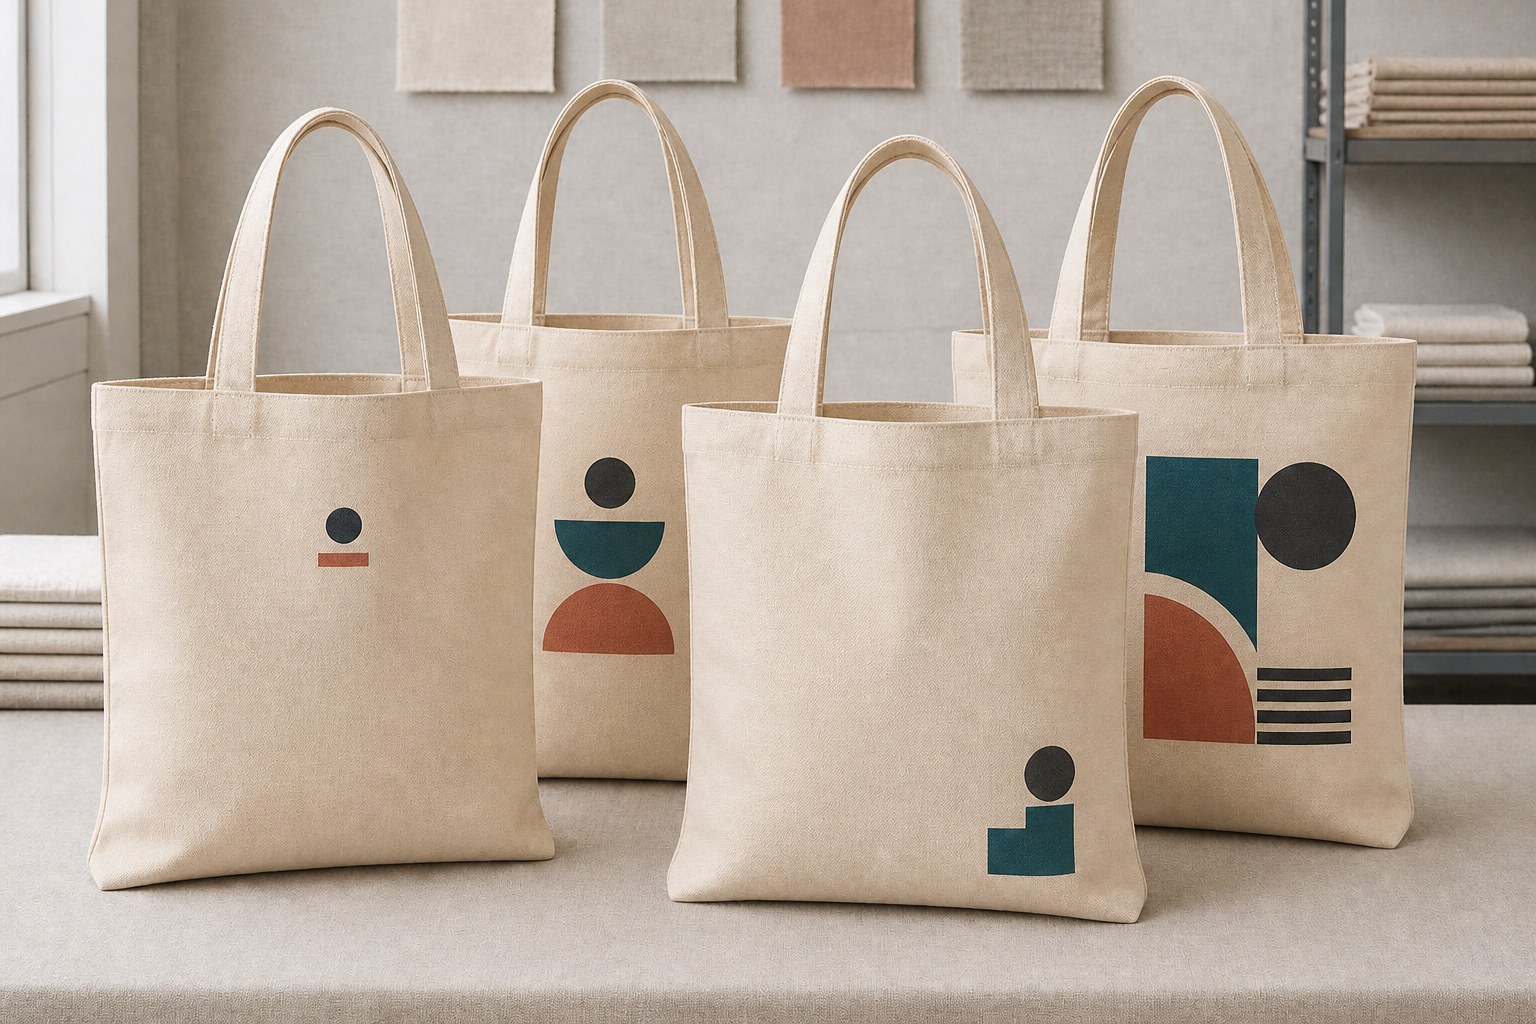
The finished sample reveals whether the artwork sits correctly between handles, seams, gussets and pockets. Fill the tote with representative contents and view it from normal carrying distance, not only flat on a table.
The broader Custom Bag Sample Development Process explains sample stages. For this page, the required output is a printed tote linked to the exact released artwork and coordinate sheet.
Assess Hand Feel, Folding and Care Exposure
A large solid print may stiffen the panel. A transfer edge may become noticeable when the tote folds. Ink or film can react differently to rubbing, cleaning or storage pressure.
Define any relevant rub, flex, wash or care check before bulk. Use the actual finished tote because fabric, print and construction interact.
Write a Placement Tolerance That Can Be Measured
State the allowed movement from named horizontal and vertical references. Consider bag-construction variation as well as print setup. A tight tolerance that the sewn product cannot support creates repeated disputes without improving the user result.
Use visual boundary samples when a numeric shift affects perception differently in different directions. A slightly low centered mark may be more noticeable than the same movement sideways.
Convert Approval Into a Production Run Sheet
The line needs the bag style, material/color, side, artwork code, print dimensions, coordinates, orientation, method settings, approved reference and variant quantity. Include how pieces move after printing and how they remain separated.
The Custom Bag Manufacturing Process explains the complete flow. The run sheet controls only the artwork handoff inside that flow.
Approve a First Production Piece
Compare the first setup result with the control sample before the run continues. Check bag identity, artwork version, side, orientation, scale, position, color relationship and surface defects.
Keep the approved first piece or a clear signed reference at the workstation. Recheck after screen cleaning, transfer adjustment, shift change or another event that could alter the setup.
Inspect Position, Appearance and Function Separately
A print can be in the right place but have poor opacity. It can look attractive but sit on the wrong side. It can pass appearance review while interfering with a fold or pocket.
Use the Custom Bag Quality Inspection Checklist for the complete product. Add artwork-specific points instead of replacing the wider inspection plan.
Classify Print Findings Before Bulk Release
| Finding | Immediate decision | Evidence to retain | Corrective path |
|---|---|---|---|
| Wrong artwork, side or orientation | Stop affected production | Piece, run sheet and file version | Correct setup and isolate the lot |
| Position outside tolerance | Hold the affected range | Measurements and sequence | Reset fixture and define disposition |
| Color or opacity shift | Compare with physical standard | Control sample and affected pieces | Review material lot and print settings |
| Pinholes, blockage or broken detail | Assess frequency and severity | Defect samples and production timing | Clean, adjust or remake process setup |
| Print passes but bag construction fails | Hold product decision | Full bag and inspection record | Route to construction quality owner |
| Approved result and lot checks match | Release the defined lot | Inspection report and references | Pack by controlled variant |
Preserve the Approval Trail for Repeat Orders
Archive the released artwork, placement sheet, strike-off identity, finished control sample, first-piece approval, production settings and inspection findings. Record any approved deviation rather than silently updating the standard.
A repeat order should begin by confirming whether the bag material, construction, artwork and method remain the same. The Custom Tote Bag Supplier Guide explains the wider repeat-supply relationship.
Understand the Cost and Schedule Effects
Artwork colors, print area, number of sides, setup, strike-offs, personalized variants, bag material and testing all affect quotation and time. A late placement change may require a new fixture, screen, transfer layout or finished sample.
Use the Custom Bag Cost Guide for commercial variables and the cost and lead-time guide to plan approval decisions before the critical path.
Warning Signs in a Printed Tote Proposal
- The production team receives only a low-resolution mockup.
- The print dimension is given without finished-bag coordinates.
- Front and back are assumed rather than identified.
- Artwork is approved on a screen without a representative substrate.
- The sample uses a different bag revision from the bulk order.
- Several variants share confusing filenames and no SKU map.
- Placement tolerance is promised but no measurement reference exists.
- The first production piece is not compared with a physical standard.
How Luckystar Supports Printed Tote Approval
Luckystar can review the tote construction, material, print route, artwork file, printable zone, placement, strike-off, finished sample, variant map and production handoff. The required proof and testing level should match the design and market rather than follow one generic template.
Buyers evaluating the wider factory relationship can use the manufacturer selection checklist and the core Custom Bag Manufacturer Guide.
Information to Send for a Printed Tote Quote
- Finished tote style, dimensions, gusset, handles, pockets and closures.
- Material composition, color, weight or thickness and finish.
- Front, back or internal artwork requirement.
- Vector artwork or final-size raster assets and fonts.
- Print dimensions, preferred position and excluded zones.
- Color targets, opacity needs and bag colorways.
- Variant codes, quantities, packaging and delivery market.
- Required samples, tests, target date and repeat-order expectations.
Send the bag specification, artwork, colorways, sides, quantities, intended placement and delivery target. Luckystar can review the information needed for sampling and quotation.
Email a prefilled printed-tote artwork brief

Frequently Asked Questions
What files should a buyer send for custom printed tote bags?
Send the production artwork, bag specification and a separate placement sheet. The artwork format should match the selected printing process, while the placement sheet identifies the bag revision, side, size, coordinates and color information.
Is a digital mockup enough to approve a printed tote?
No. It can approve content and intended layout, but it cannot prove physical color, opacity, texture, placement on the sewn bag or performance during use. Add a representative strike-off and finished printed sample.
How should print position be measured on a tote bag?
Use named finished-bag references such as the top edge, centerline, side seam or handle-attachment line. Measure to a defined artwork bounding box or control mark and state an achievable tolerance.
Can artwork be printed over seams, pockets or gussets?
Sometimes, depending on the construction sequence and printing method. Mark these as excluded or conditional zones and approve the physical distortion, pressure or registration effect before bulk production.
Why does the printed color differ from the artwork on screen?
Screens emit light, while ink or transfer material interacts with fabric color, texture, opacity and any underbase. Approve color on the actual or representative substrate under an agreed viewing condition.
What must be checked on the first production piece?
Verify the bag and artwork versions, side, orientation, scale, coordinates, color relationship, opacity and surface quality against the approved control sample before the line continues.
Approve the File, the Print and the Finished Tote
Review the current custom tote bag range to identify the exact construction before artwork coordinates are released. Successful custom printed tote bags depend on a controlled chain: approved bag, released artwork, measurable placement, representative strike-off, finished sample, first production piece and bulk inspection. When every stage points to the same reference, the graphic that looked right on screen becomes a result the factory can repeat.